How to Make Sand Play Dough


Laura @inspiremyplay
Founder of @inspiremyplay, Early Years teacher for 11 years and mummy to three gorgeous girls. I'm passionate about about the benefits of play in early childhood.
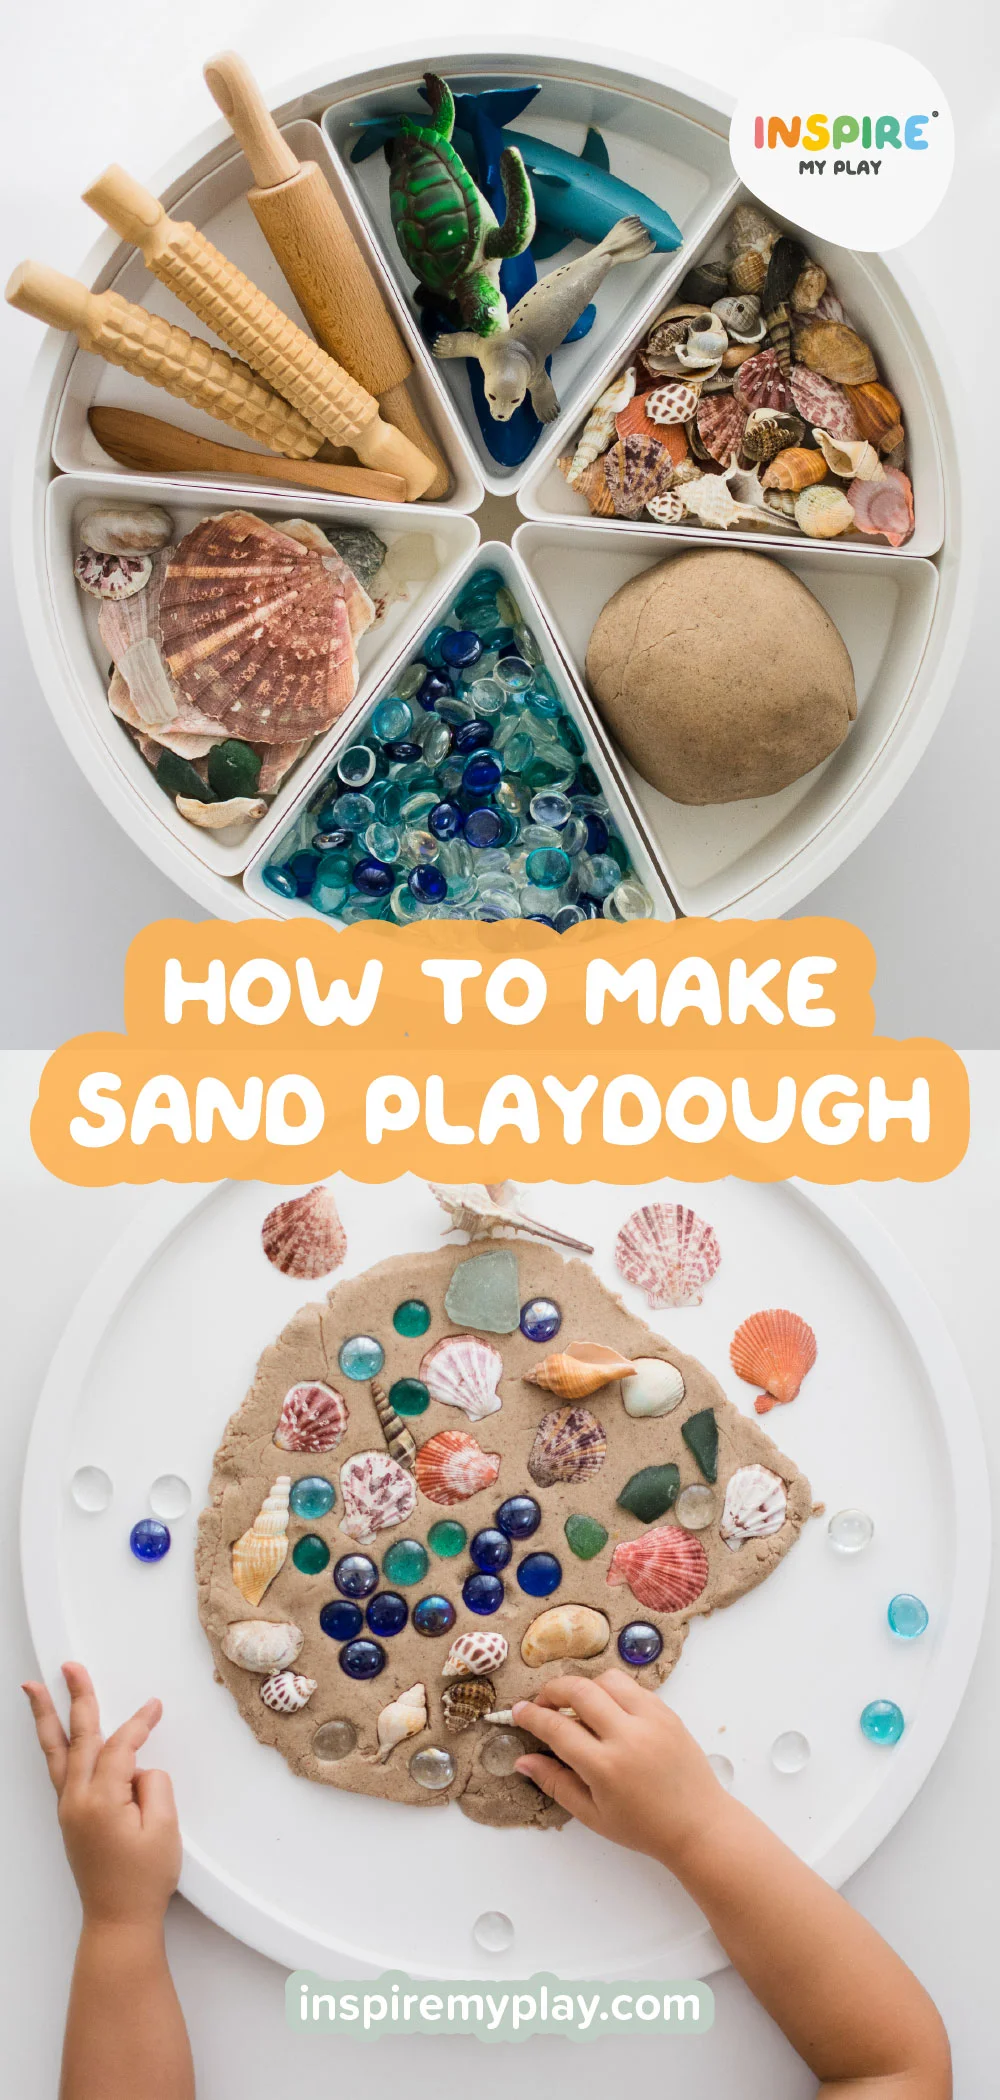
For a fun variation on regular playdough, try making sand playdough! It can be whipped up in 5 minutes by adapting our usual no-cook recipe. Simply add shells and other beach treasures for hours of summer fun and exploration!
I made this playdough a while back, and it's been so popular on my Instagram feed I thought I'd share with you exactly how I made it. Playdough is always a hit with my kids and offers so many opportunities for learning, as well as developing those all-important fine motor skills.


I'm always looking for new ways to present playdough that are fresh and interesting. This sand playdough was a huge hit with the girls and they’ve enjoyed playing with it on many occasions throughout the summer, and beyond! This playdough is made in exactly the same way as our regular no-cook playdough, but with some added beach sand or play sand. The sand gives the playdough a great colour and makes the texture slightly grainy. It's still easy to mould and print with, and feels similar to regular playdough, but it’s just slightly denser and more sand-like!
For this particular activity I set up the playdough with a selection of shells, sea glass and glass pebbles from the girls’ collection. They had a great time making prints with the shells and creating pictures. We've collected most of these shells ourselves from our trips to the beach over the years, they've proved very popular and are so interesting to explore! The glass pebbles also worked really well with this set up. We use these a lot in loose-part play, and to make transient art or small-world setups.

Another fun way to use sand playdough is to explore phonics! It’s perfect for practicing letter sounds and spelling out words. Our silicone Letter Sets make learning letters both fun and interactive — their recessed design allows children to press and imprint letters into playdough, reinforcing letter recognition, hand-eye coordination, and concentration — all through engaging sensory play.
What You Need to Make Sand Playdough
- 1 1/2 cups of flour
- 1/2 cup of salt
- 1 1/2 cups of sand
- 2 tablespoons of cream of tartar
- 2 tablespoons of coconut oil (or vegetable oil)
- 1 to 1 1/2 cups of boiling water
Method
To make this playdough, simply combine the dry ingredients, including the sand in a mixing bowl. Then add the coconut oil and 1 cup of boiling water.
Give the mixture a good stir. If it feels too dry, add a little more water in small increments until you get the right consistency.
Once the mixture has cooled slightly, take it out of the bowl and give it a really good kneed on the worktop.
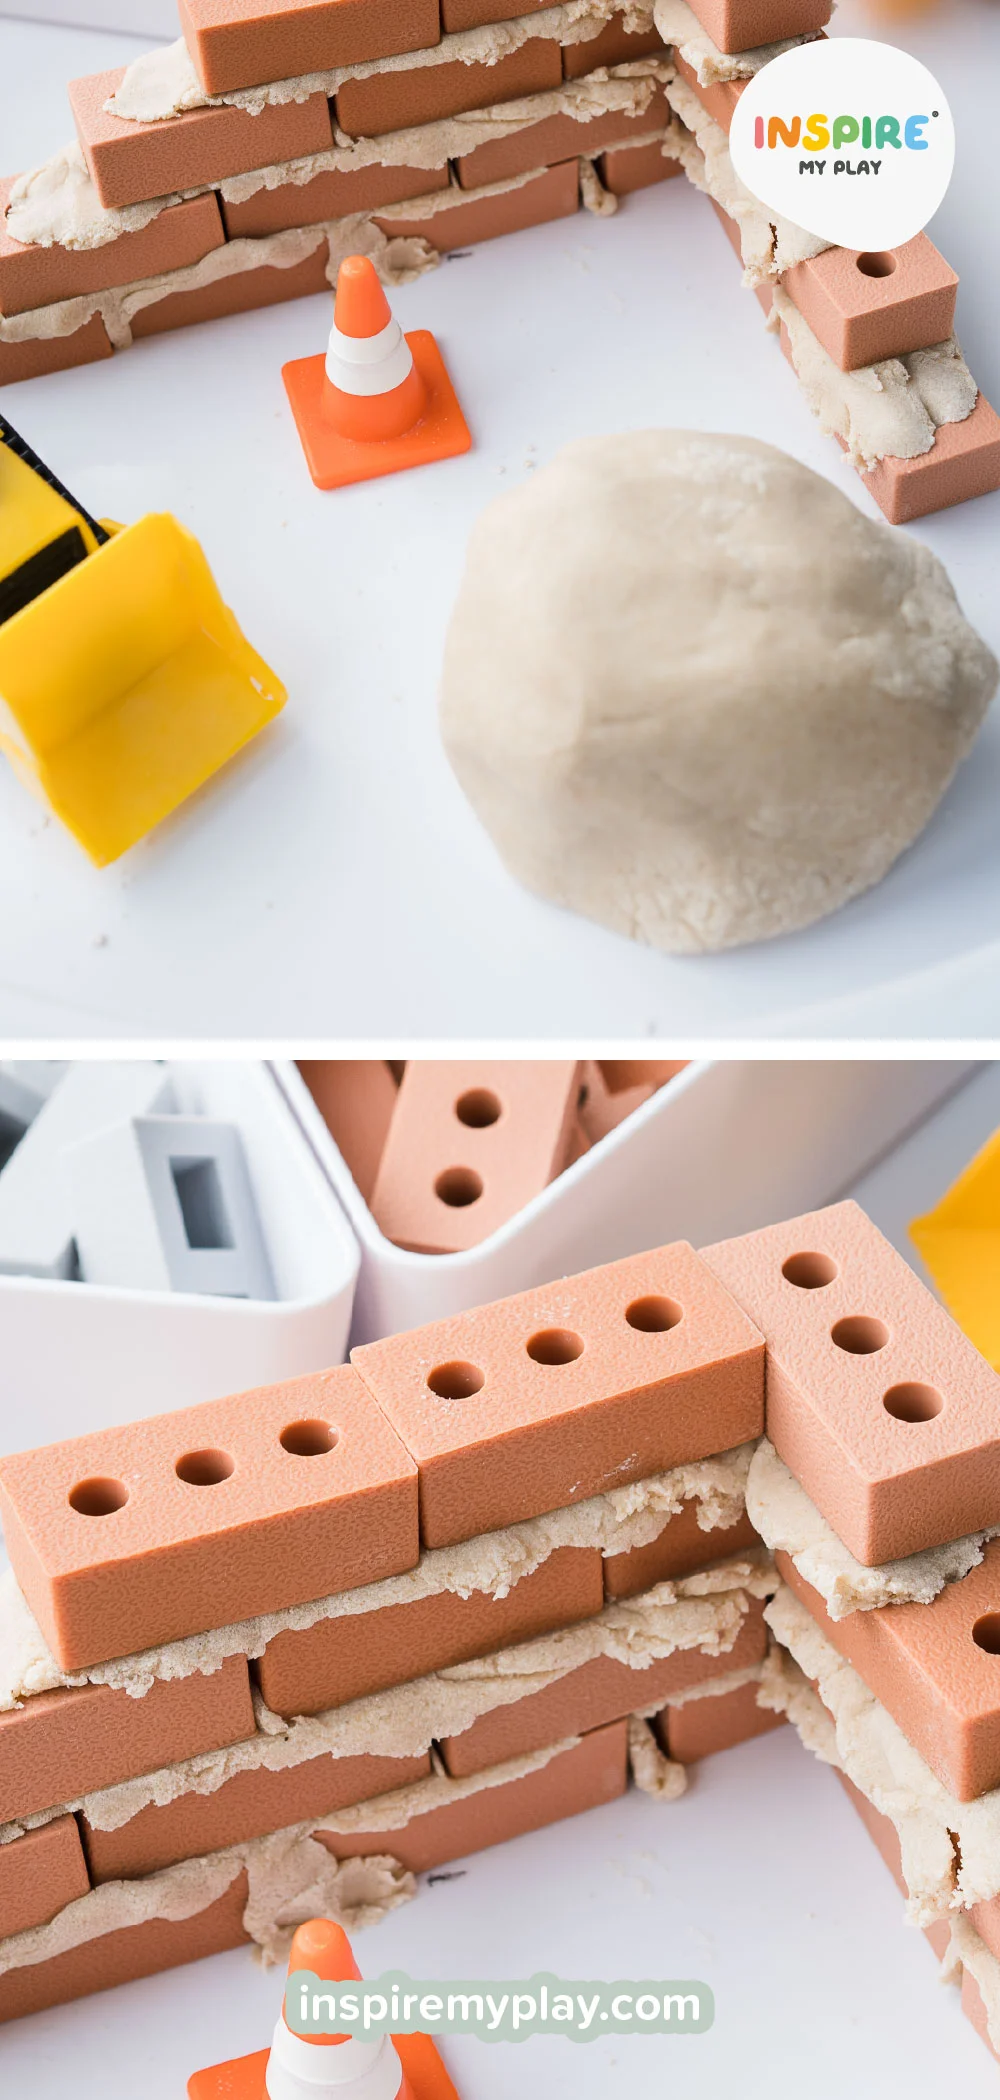
Sand play dough is such a brilliant sensory base for little builders! It’s wonderful texture gives the impression of real building supplies, while still being soft and easy for little hands to mould and shape. The playdough acts a bit like mortar/cement, perfect for pairing with our mini bricks and mini blocks. Press the bricks into the playdough and discover how they stick together, allowing them to build walls, towers, and all sorts of imaginative structures.
Sand playdough is a quick and easy twist on how we make regular no-cook playdough recipe, bringing a fun, beachy texture to playtime! Perfect for building, imprinting, or practicing letters with our silicone Letter Sets, it offers endless opportunities for creativity and learning.
We’d love to see what your little ones create, don’t forget to tag us @inspiremyplay. We love seeing all the fun you get up to!


