Valentine's Printables

Ingredients and instructions to create your very own petal play dough! This recipe creates the sweetest play dough for hours of fun on Valentine's day! Play dough is such a great activity for sibling groups and has many therapeutic benefits, not to mention a great workout for those little hands! If you've never made you own you need to!
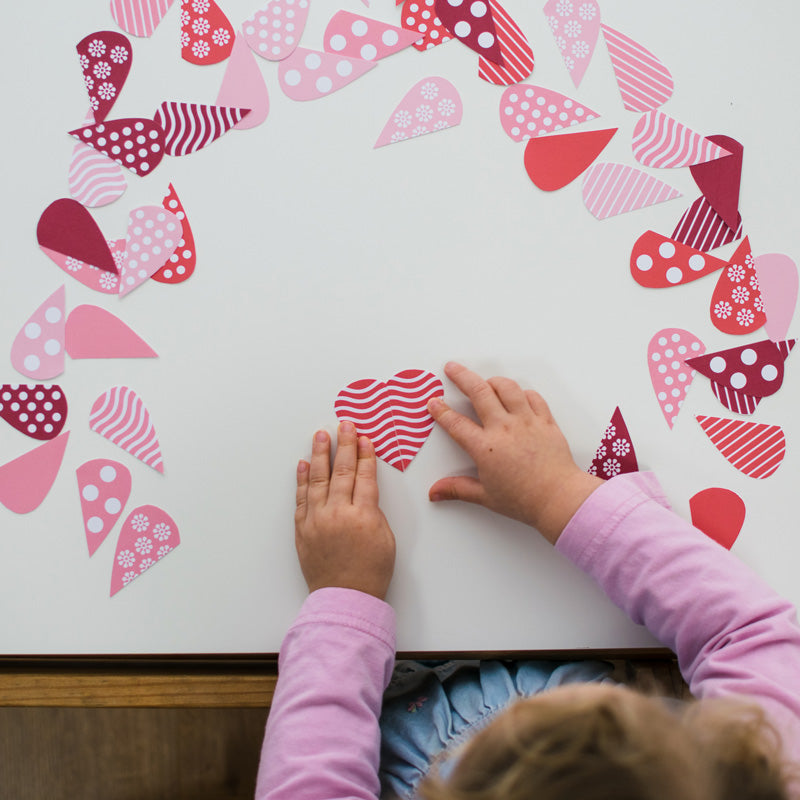
Print these hearts, cut them in half and you have a pattern and colour matching game. You could hide these around the house or garden for added fun!
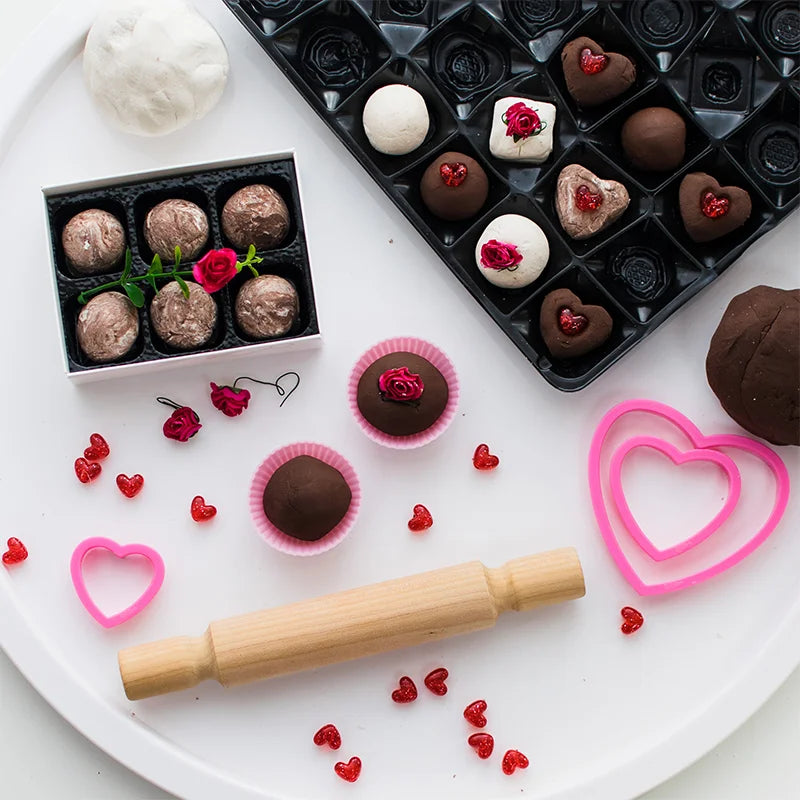
Hold on to your chocolate boxes this Valentine's Day! They are so useful for play! You can use them for chocolate play dough making. Chocolate play dough is one of our favourite variations on regular play dough. Click below to download our recipe.
Easter Printables
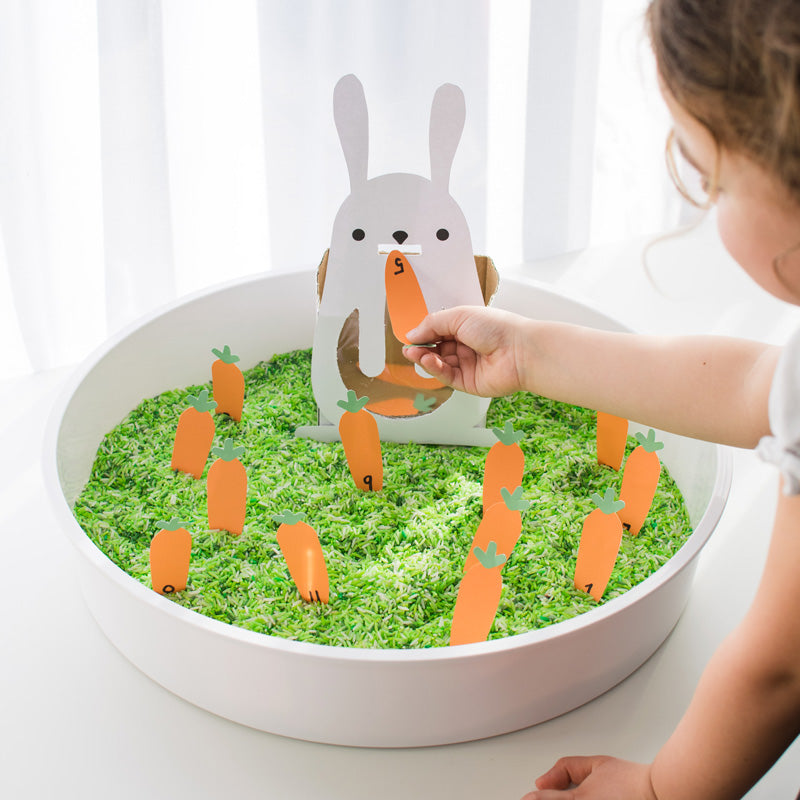
Kids love posting activities! We’ve kept this one totally open ended so that you can decide how best to use it with your child.
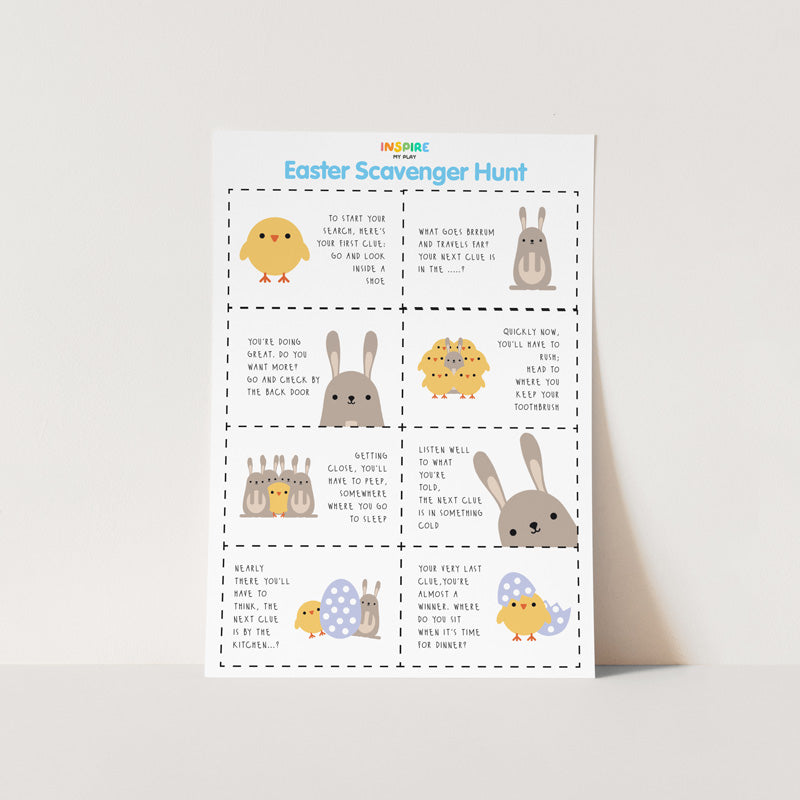
An Easter scavenger hunt to do around your house. Fold up the clues and hide them inside a plastic egg (with a chocolate if you like!). Solve each clue to lead you to the next.
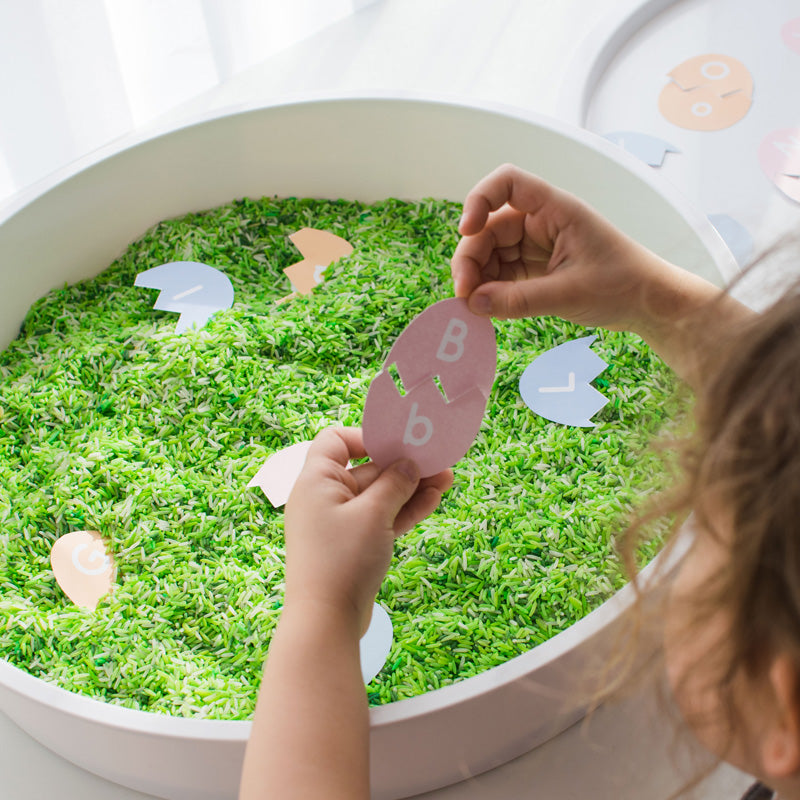
Print these eggs, cut them in half and then hide them around the garden or in a sensory tray. Match the upper case letters to the lowercase letters.
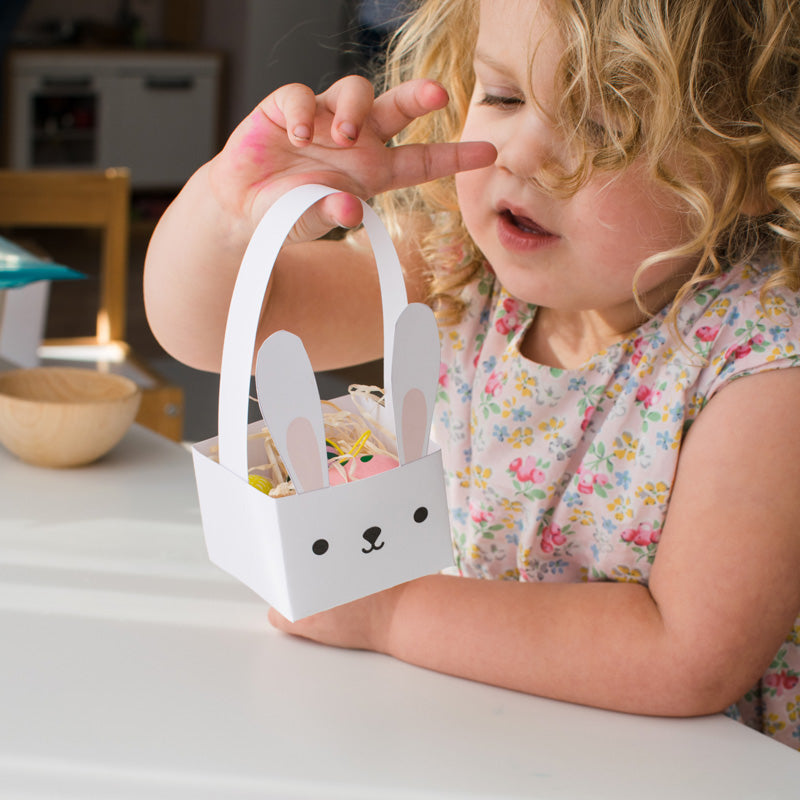
Make your own mini bunny baskets. These are easy to put together and perfect for collecting a few chocolate eggs or flowers from the garden.
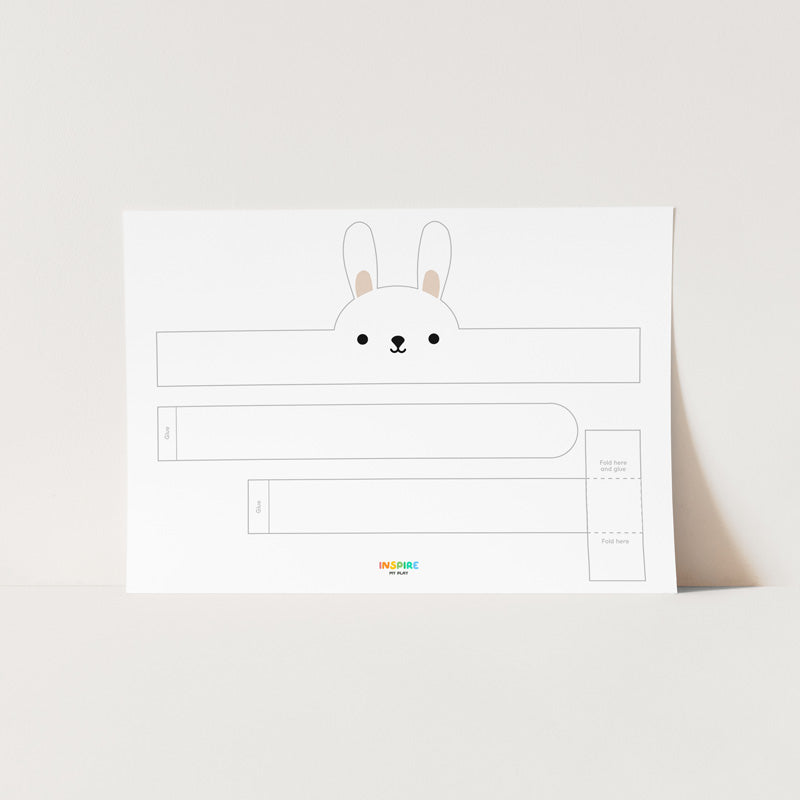
To go with your bunny baskets we also have these cute bunny and chick headbands to wear whilst doing your Easter Egg hunt.
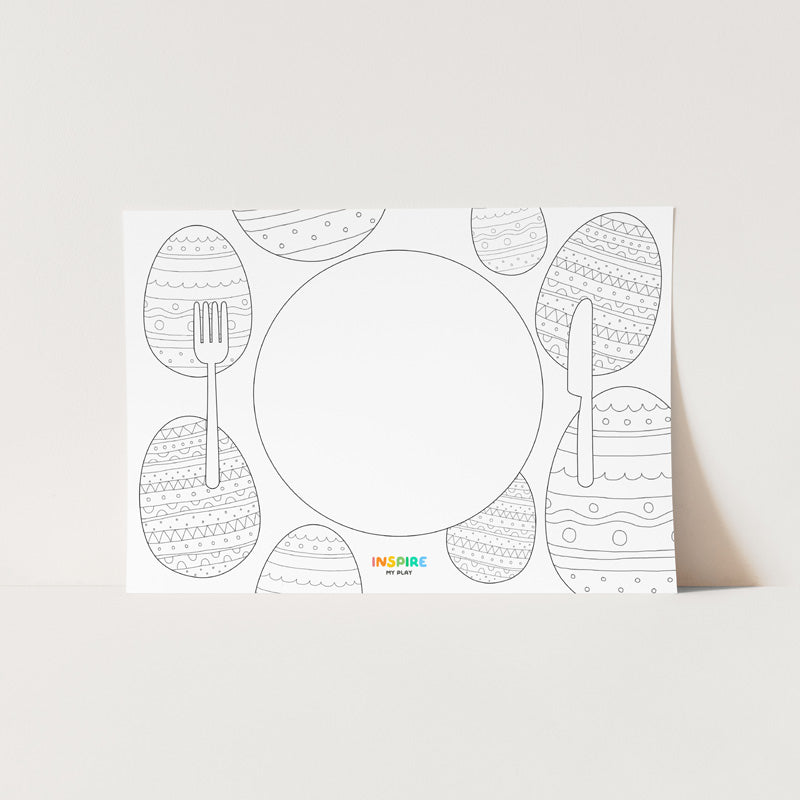
Print these placemats and have them for colouring in whilst sat at the table for Easter lunch!
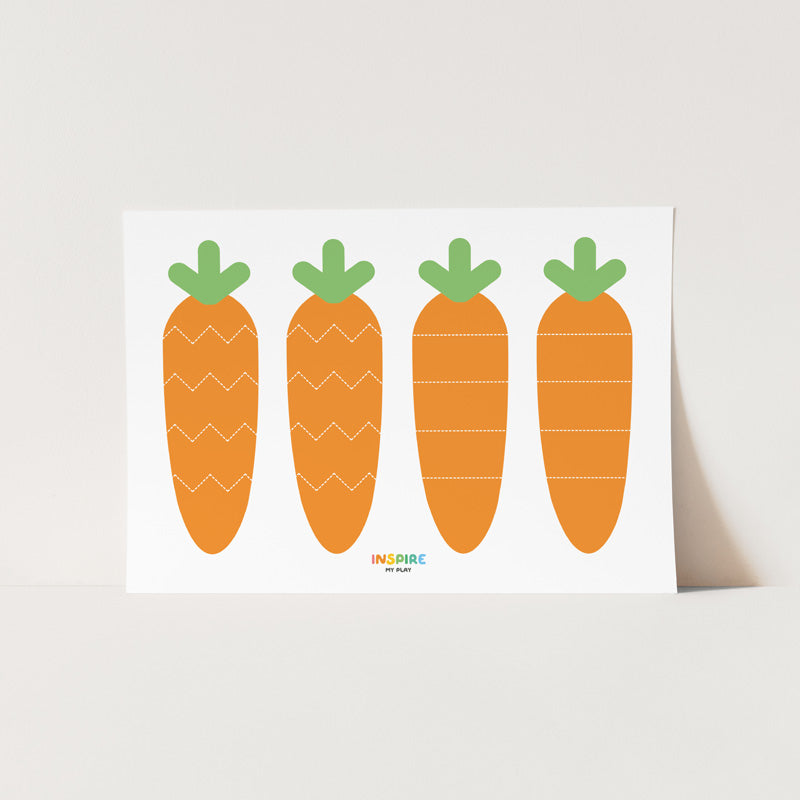
More Easter scissor skills activities to go alongside our scissor skill Easter eggs.
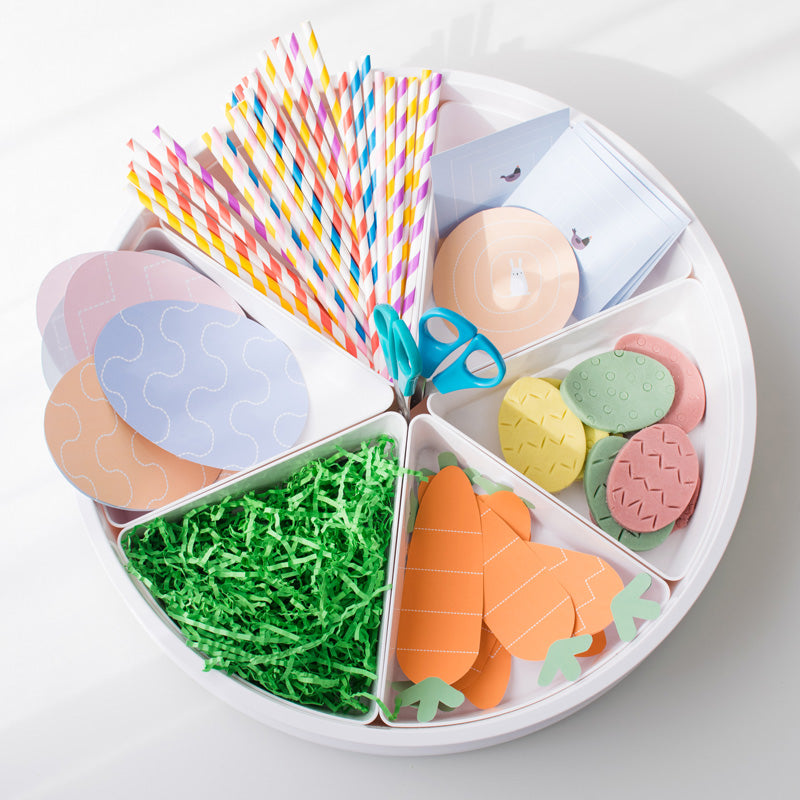
Kids just love cutting things up! These Easter eggs are great for practising scissor skills. If you’re child is having trouble using a pair of scissors draw a smiley face on their thumb. They should always be able to see the smiley face whilst cutting.
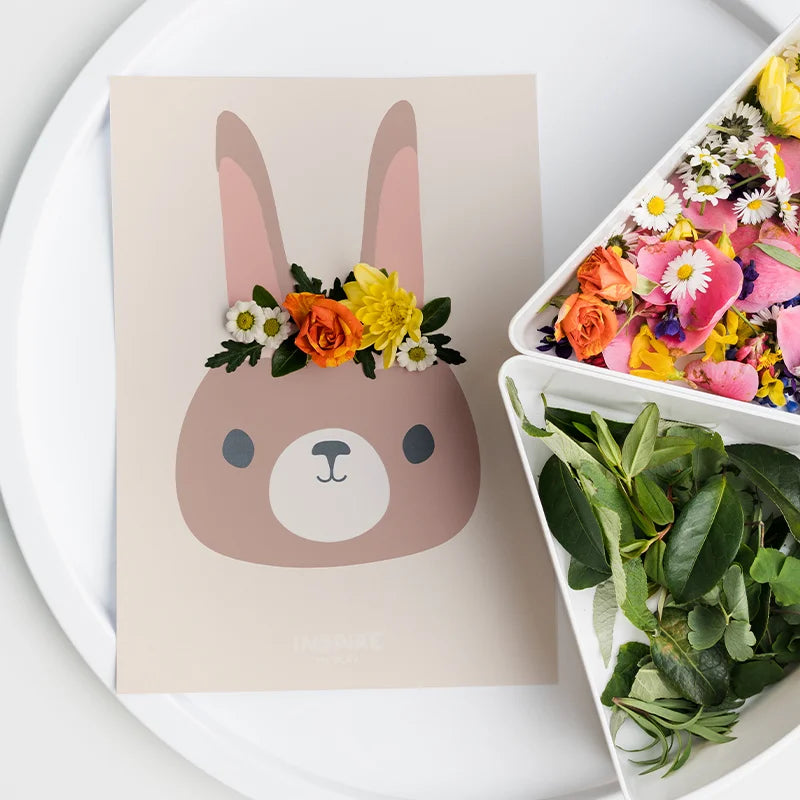
Gather leaves and flowers on a walk and make a nature crown for the bunny. We've included five options where you just need to add the crown yourself.
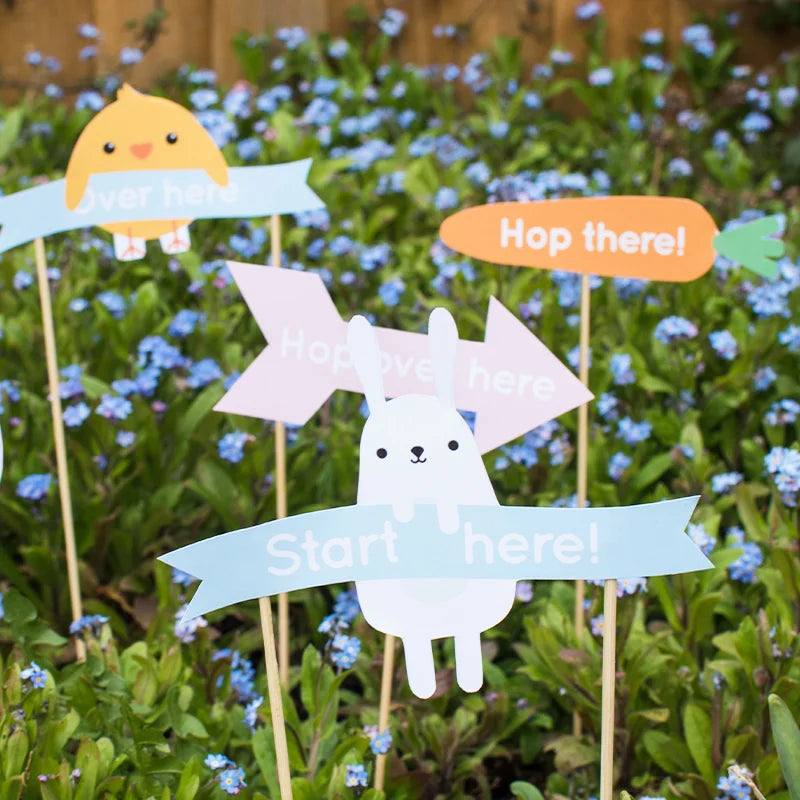
A collection of printable signs to give clues and help direct your little one to find easter eggs
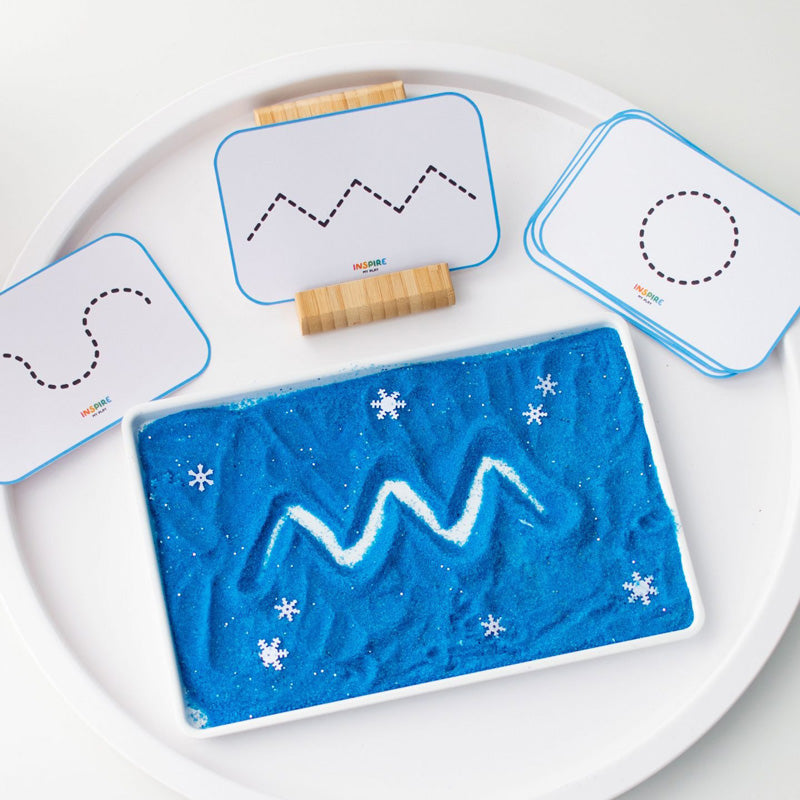
Giving children early experiences of forming pre-writing shapes will help them later on when they are ready to tackle letter and number formation. These flashcards can be used to support children as they practice these shapes and lines.
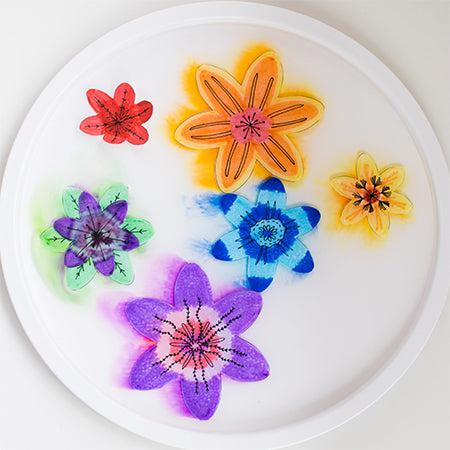
Take advantage of our flower outlines to create blooming blossoms in water. We coloured them in with felt tip pens and folded in the petals. We then placed them in our PlayTRAY lid in water and the petals gently unfolded as they soak up the water.
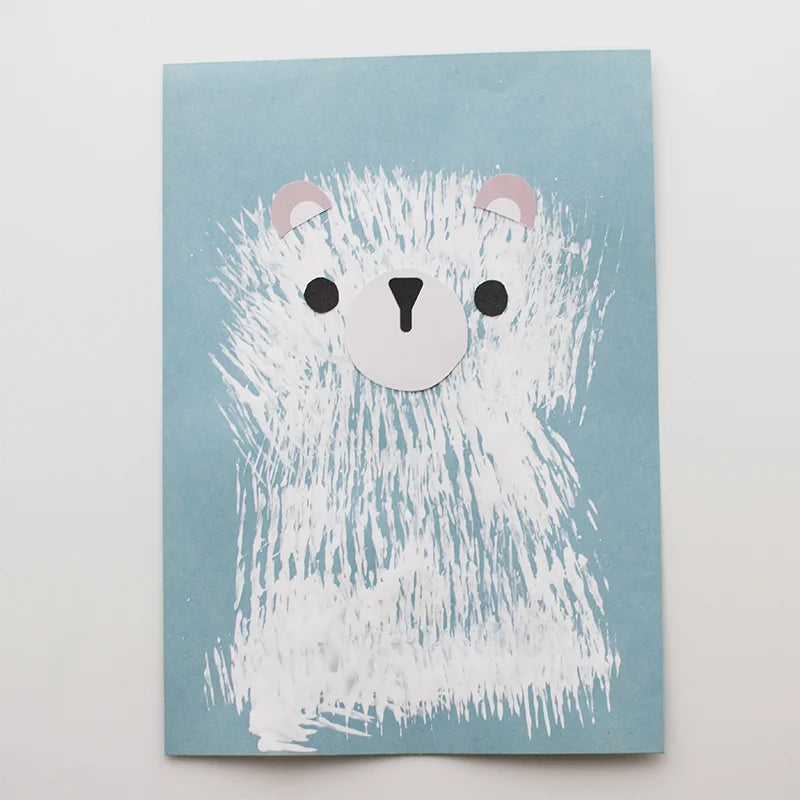
Painting with something other than a paintbrush is good fun and fork painting makes great looking fur! This bear craft is perfect for toddlers/preschoolers. Let the paint dry and then add features with card/paper or other craft materials.
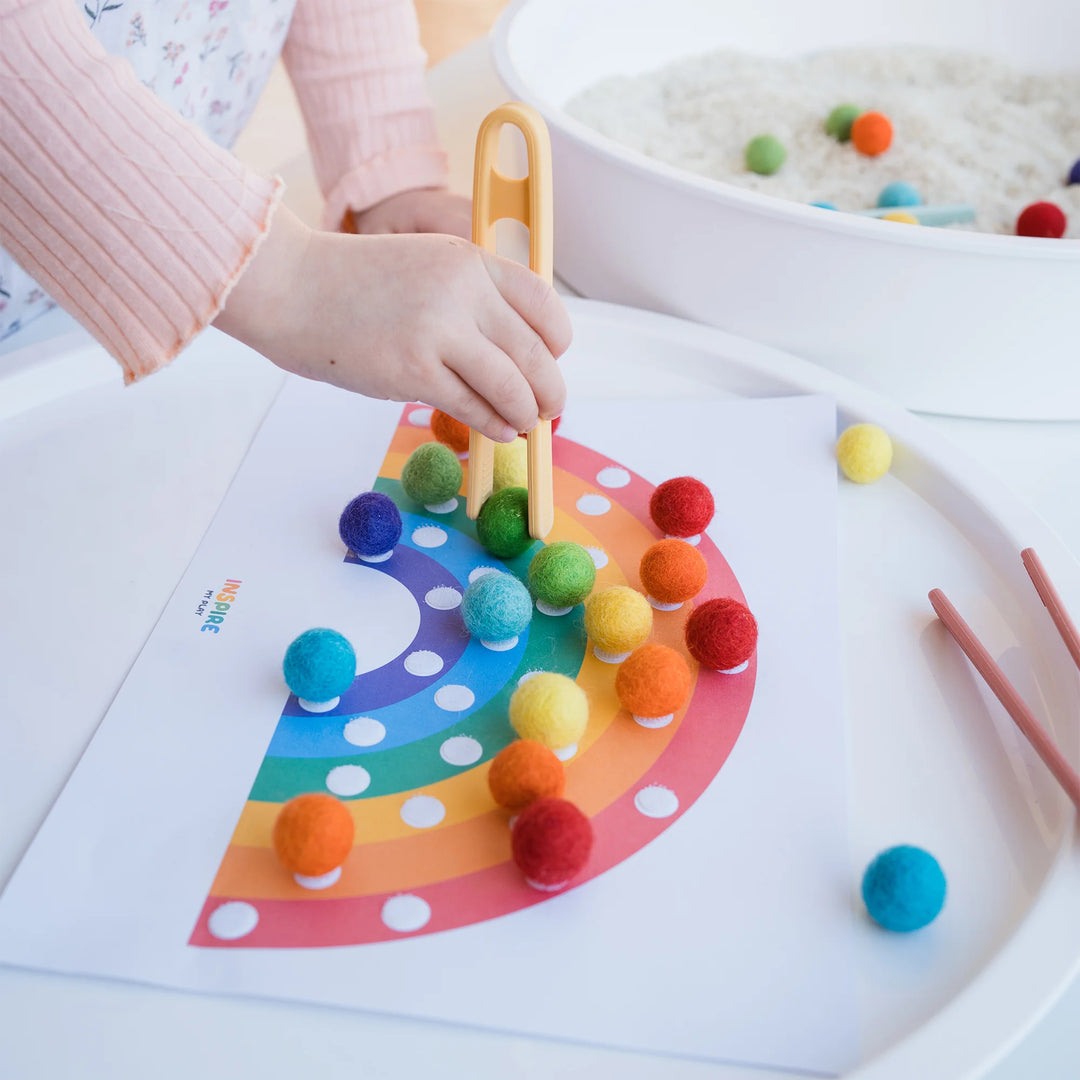
Here's a simple fine motor and colour matching activity. Use tweezers to transfer the pom-poms to the spaces on the rainbow. You could add velcro dots to help the pom-poms stay in place if you like. If you don’t have tweezers, small kitchen tongs could be used also.
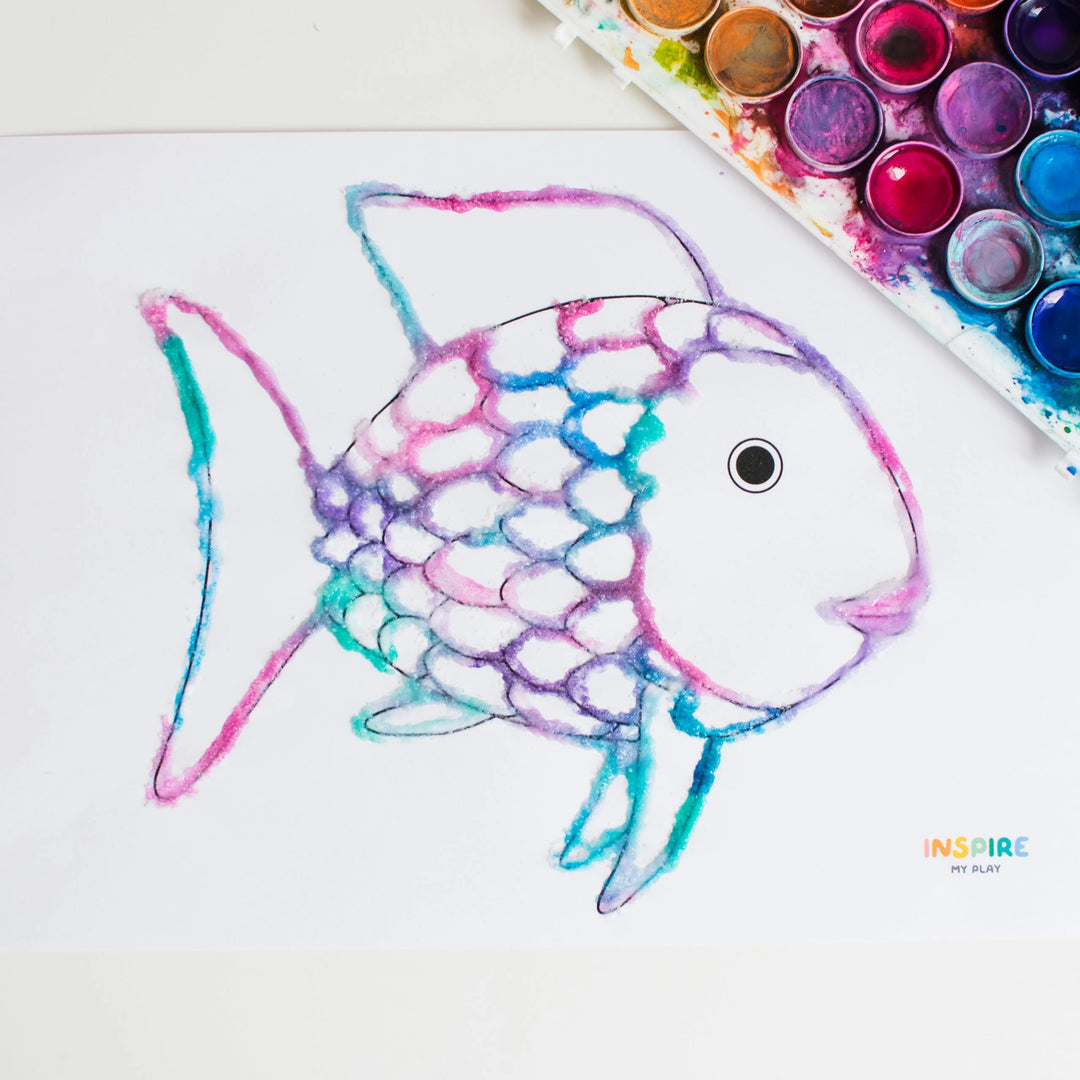
We've re-created a Rainbow Fish for you to use for craft activities. There are various ways to use this- collage it, colour it in or you could try some salt painting like we did. Simply squirt glue over the outline of the Rainbow Fish and cover with table salt. Whilst it is still wet make your watercolours really moist and they gently dab the salt with the colour. The colour will spread through the glue creating a gorgeous effect.
PlayTRAY Printables
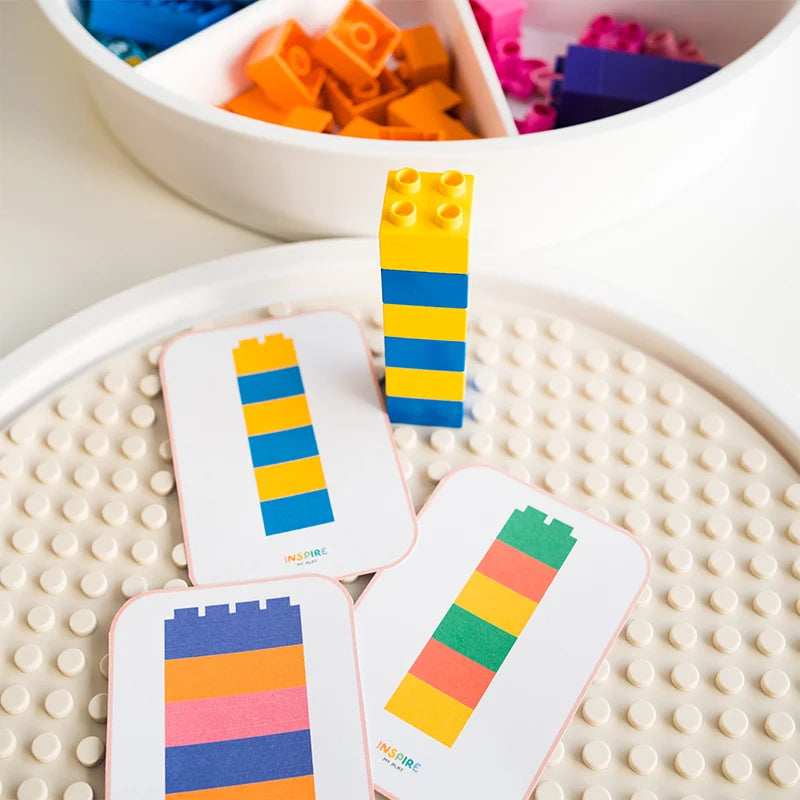
A collection of colourful flash cards of repeating patterns made out of Duplo blocks. Perfect for enhancing your Duplo play.
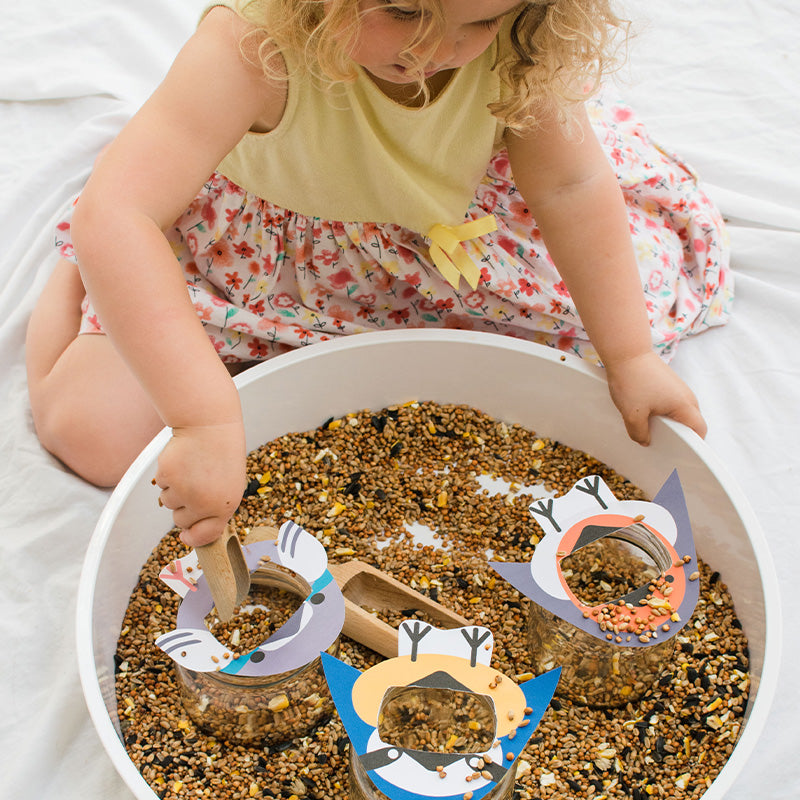
In this activity they can practice their scooping and pouring skills to feed the hungry birds! Cut out the printable birds and attach them to a similar sized container with tape (we used jam-jars). Then place them in a tray with some bird feed that they can use to feed the birds.
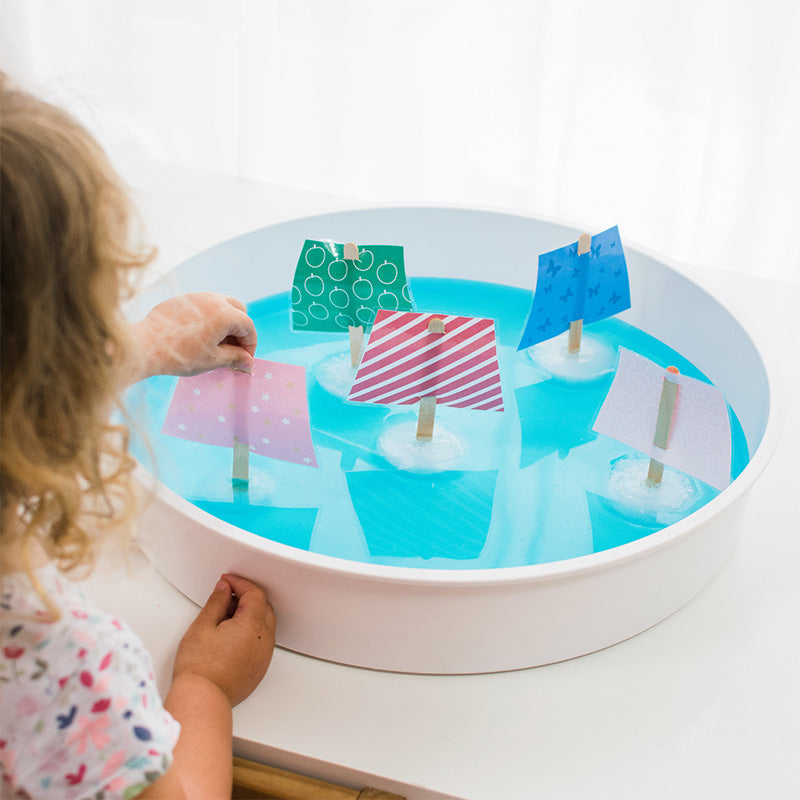
To make ice boats freeze water in a muffin tray, cover in cling-film and create a slit in each one to slide a popsicle stick in. The cling-film holds the popsicle stick in place whilst the water freezes.
Whilst the water is freezing cut out and laminate the sails. Use a craft knife to cut two slits- one at the top and one at the bottom. Also prepare a tray of water.
Once frozen remove the cling-film from the muffin tray, slip on the sails and remove the boats out from the muffin tray. You are now ready to play!
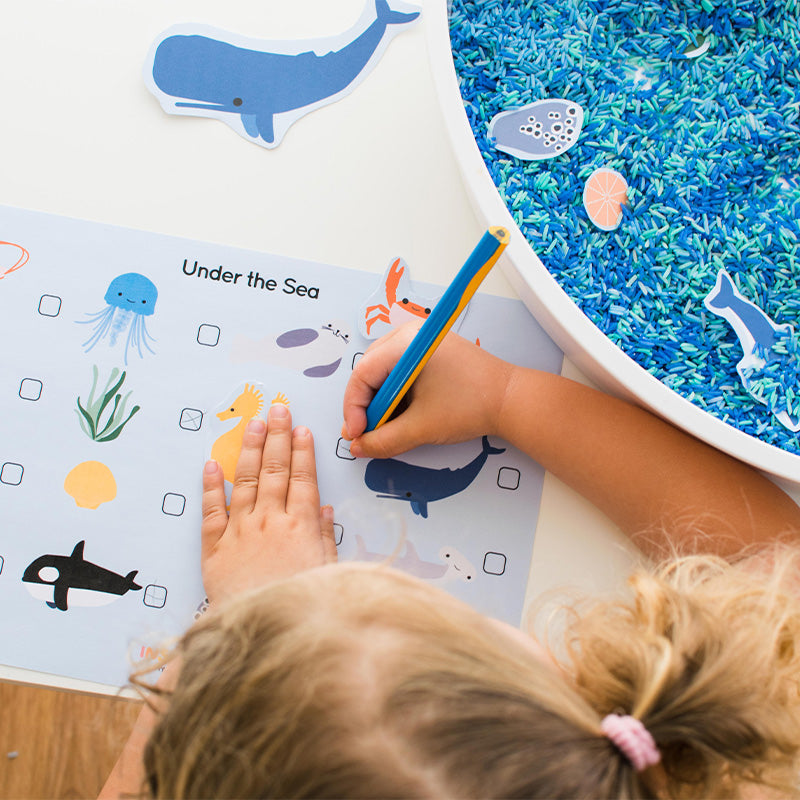
Cut out these animals and hide them in a tray of rice or other sensory material. Use the reference sheet to identify the living things and tick them off when you find them. You could also hide these around the garden or home.
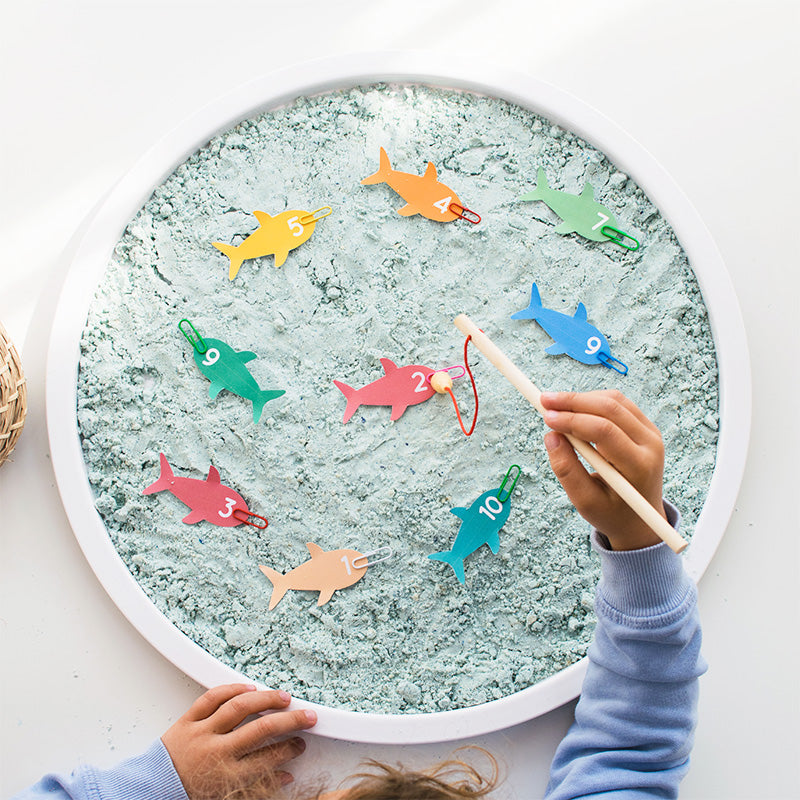
Cut out the fish (there are three versions: numbered, dots and blank). Add paperclips to the ends of the fish. Now make a fishing rod using a piece of dowel, a stick or even a wooden spoon. Tie a piece of string to it and attach a magnet to the end of the string to catch the fish!
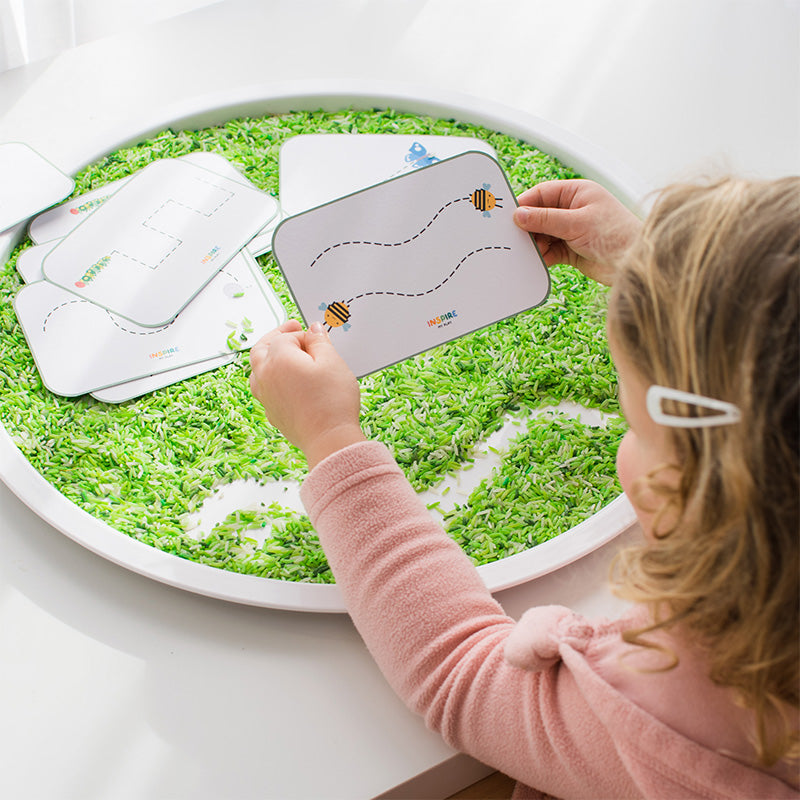
Pre-writing shapes and lines are an important pre-requisite to letter formation and useful to practice in playful, non-pressured ways.
There are many different mediums for mark making other than pen and paper that kids will enjoy. Some ideas include dying a tray of salt with a drop food colouring, using coloured rice or oats, or squirting some hair gel into a Ziploc bag before sealing.
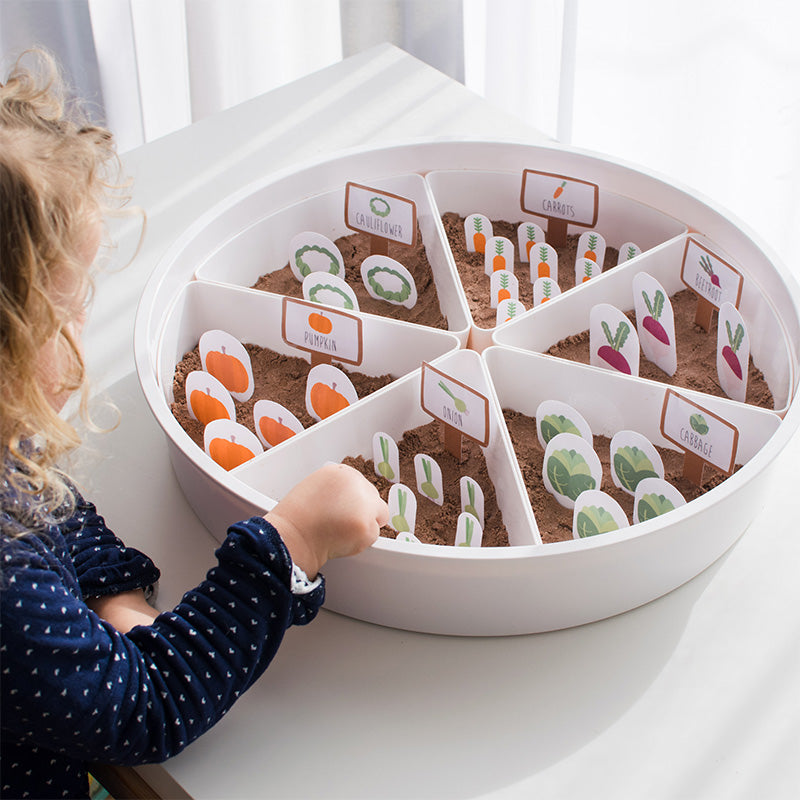
Create your own small world vegetable patch! We made ours in some chocolate cloud dough. Alternatives could be coffee beans or black beans, coco-pops or you could even use real soil! Encourage your child to create their own vegetable patch or set up the vegetable signs and use it as a sorting activity.
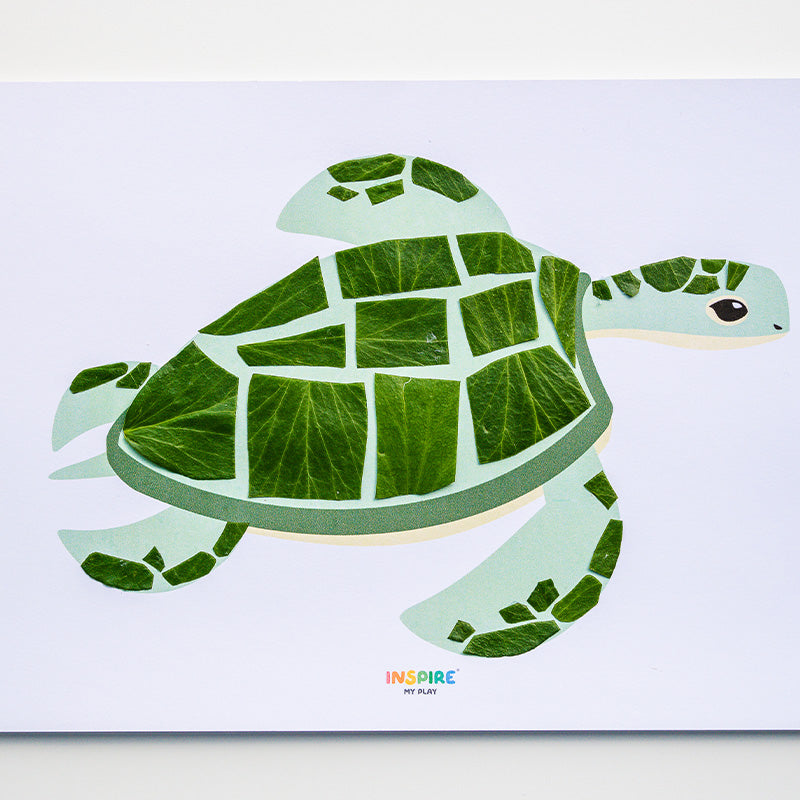
You can use these simple images of a turtle and a flamingo for various animal and ocean-themed creative learning activities. We used fallen petals from the garden to create feathers on the flamingo printable.
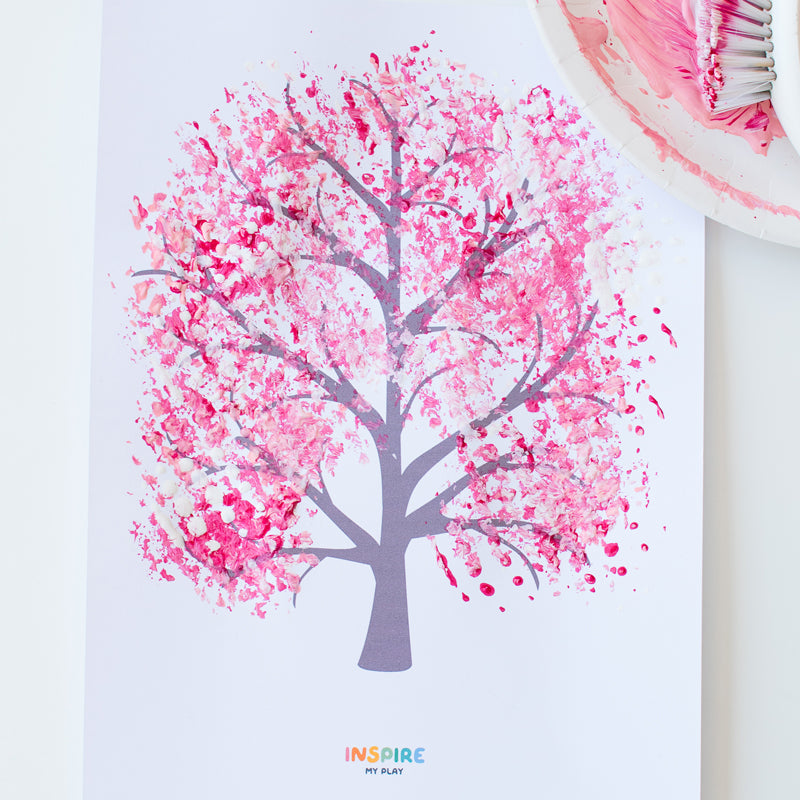
Here’s a simple ‘print and go’ art activity. Create a blossom tree using different shades of pink paint. We used a dish brush to create a blossom effect. A broccoli floret also works well for this or you could use q-tips.
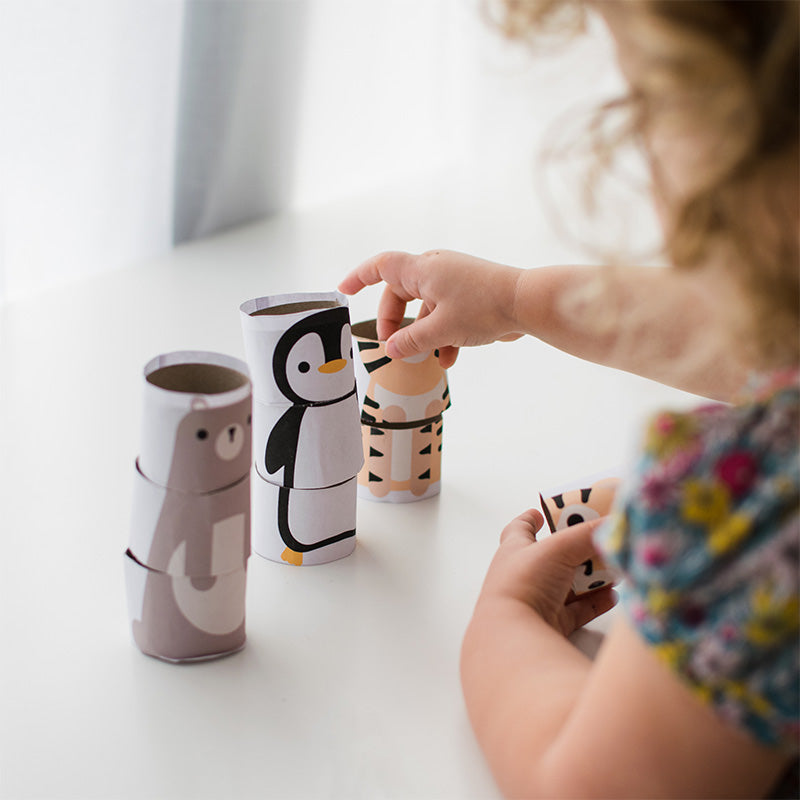
Here’s a fun matching puzzle for little ones. Print these animal pictures and glue them onto a toilet roll. Cut along the lines so that you have three pieces. Mix them all up and challenge your child to re- build the animals.
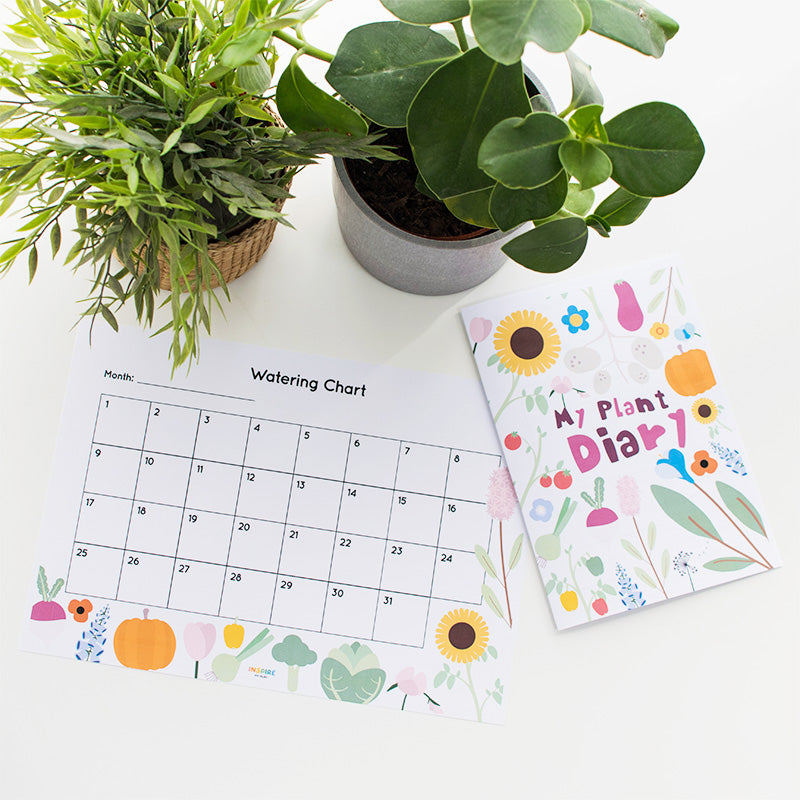
We’ve created this plant observational diary so your little one can record changes as their plant/s grows. If you have older kids this is a great opportunity to encourage some writing too!
You’ll also find a watering chart so you can keep track of when you water your plant. This can be laminated and then you can use a dry-wipe pen to tick it off each day.
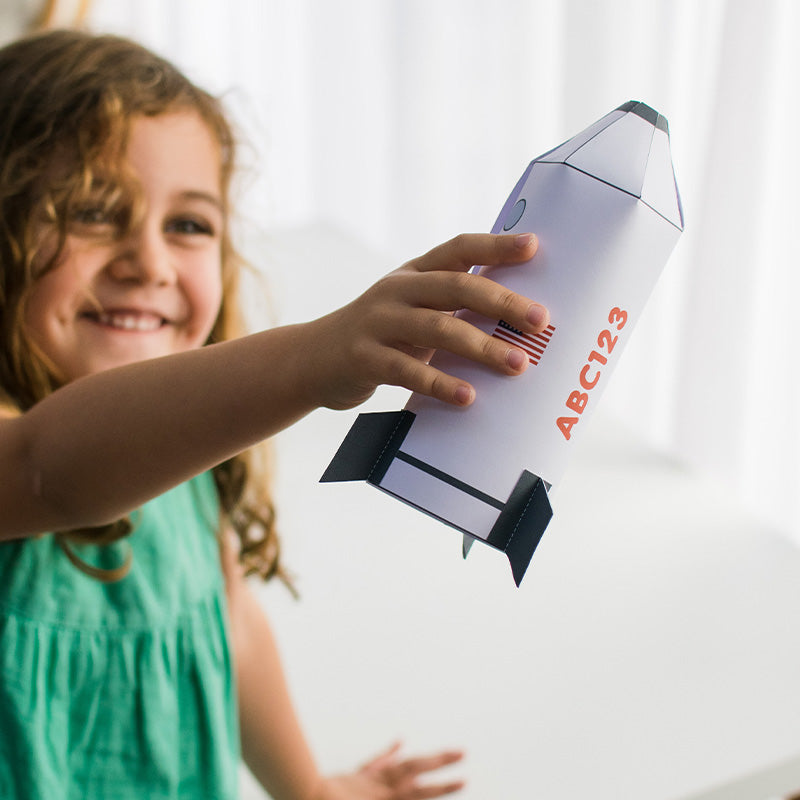
By popular request we've added our space rocket to download again this month! This is one that needs adult support to make, but great to be used for small world play afterwards.
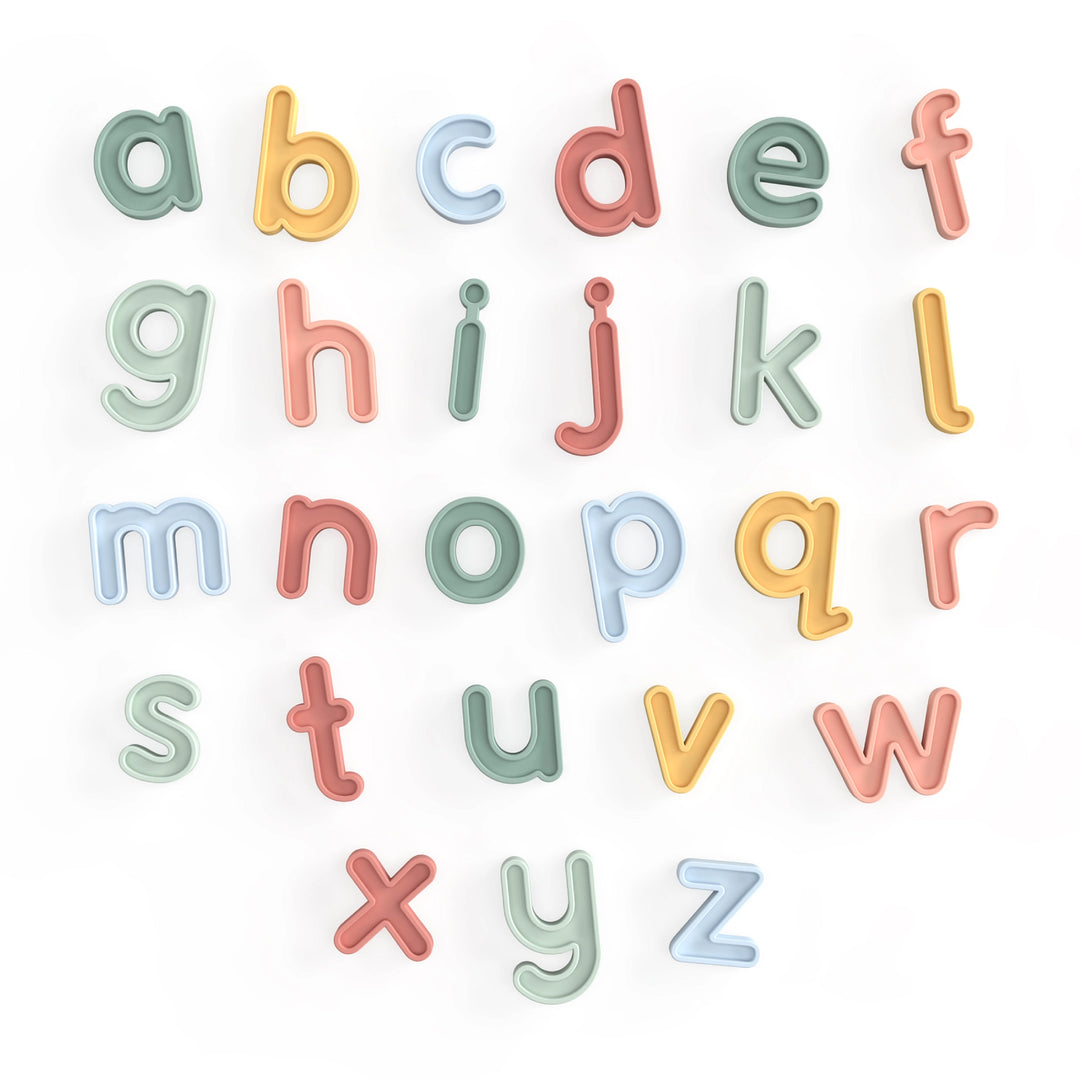
This printable can be used with our silicone alphabet letters for letter matching activities.
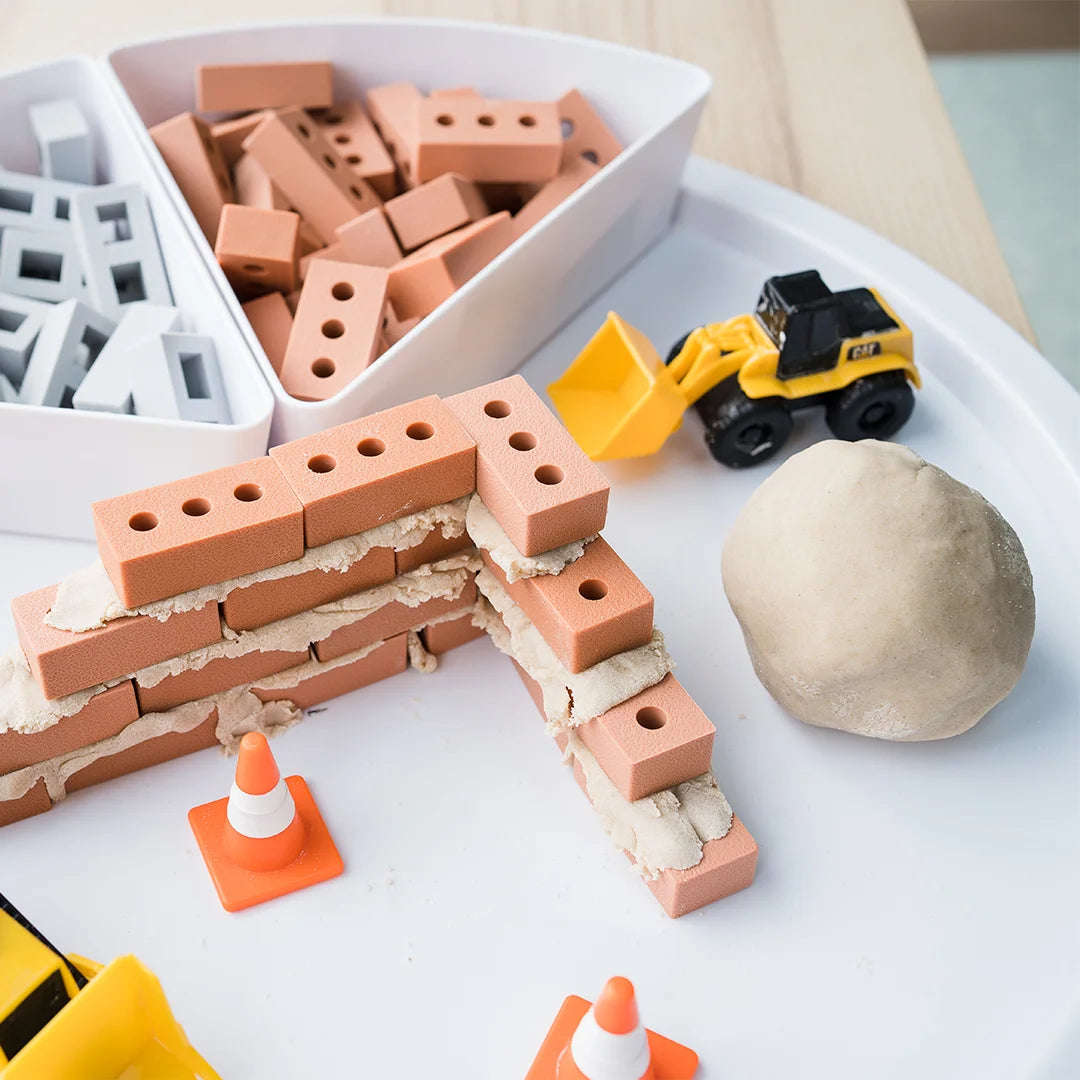
A sand play dough recipe for construction themed small world play. Simply add diggers, mini bricks or blocks and use the play dough as cement
Autumn Printables
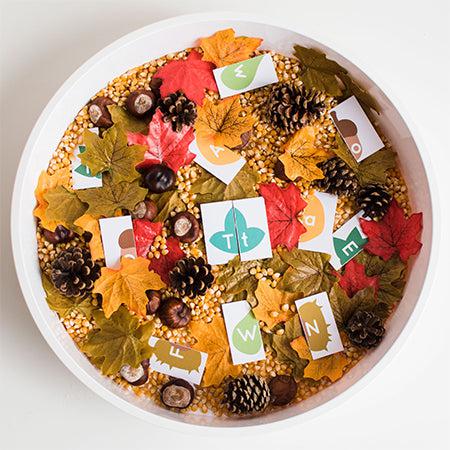
Match these autumn-themed upper and lower case alphabet cards together to complete the picture. Why not hide them in some sensory materials such a popping corn or chickpeas for them to find and match?
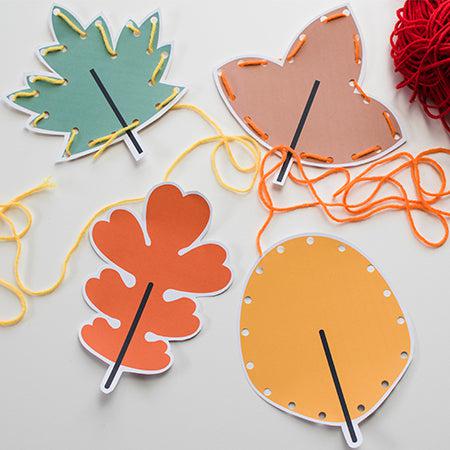
Use a hole punch around the edge of these printable autumn leaves to create holes. Take some wool/yarn and thread it through the holes. This is a simple activity to help develop fine motor skills.
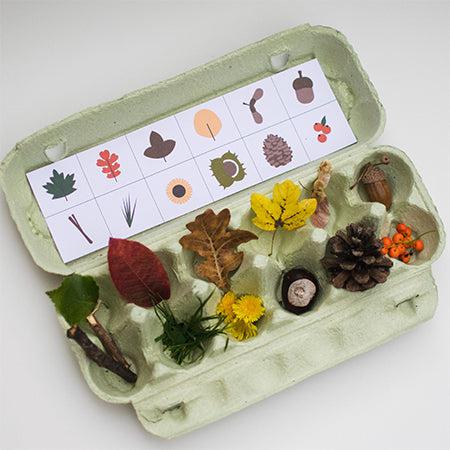
Go on an autumn egg box scavenger hunt! Print and stick the autumn printable into the lid of your eggbox. Match objects they collect to the pictures and place in the correct place in the eggbox.
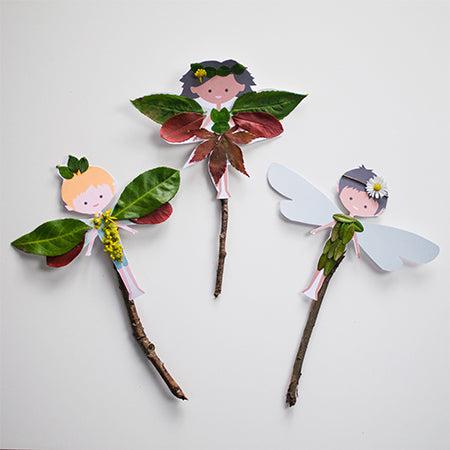
These cute little fairies are available in colour or b&w to decorate how you like. We turned ours into Autumn Fairies using leaves and other natural resources collected on a walk.
To give this a go, spread some PVA glue onto the fairy and decorate. Leave it to dry before cutting out and mounting onto a stick with a piece of tape. You could also try this with petals.
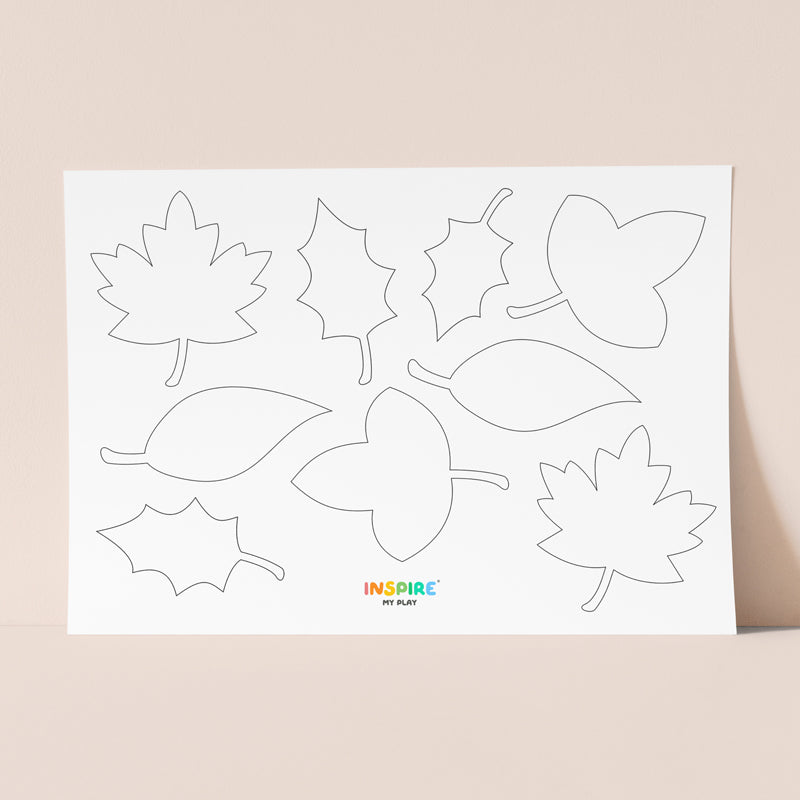
Simple leaf outlines to enjoy some seasonal crafts. We used ours to create black glue art.
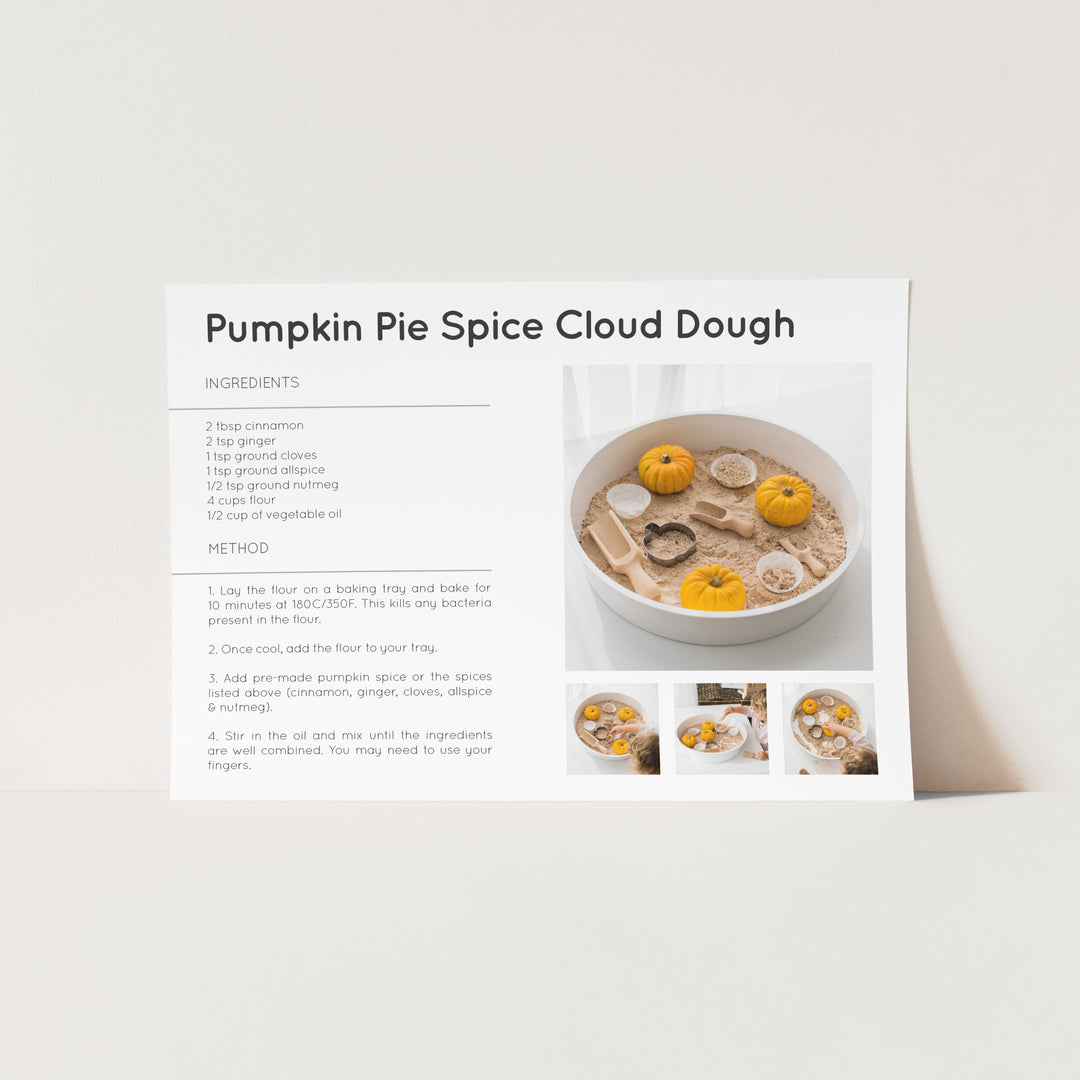
Here is the recipe for Pumpkin Pie Spice Cloud Dough! This smells amazing thanks to all the lovely spices we add to our regular cloud dough recipe! Pumpkin pie spice seems quite hard to get hold of in the UK so we made our own. I don't think getting the ratios exact are so important. Cloud dough is powdery but thanks to the oil you can also mould it. Mine love it, usually for some cooking/baking pretend play. It's guaranteed to keep them all busy and it keeps really will in the PlayTRAY for another day. If you think your little one might like a cheeky taste, you can bake the flour in the oven first for 10 mins at 350F/180C to kill any bugs that there may be.

Giving children early experiences of forming pre-writing shapes will help them later on when they are ready to tackle letter and number formation. These flashcards can be used to support children as they practice these shapes and lines.

Take advantage of our flower outlines to create blooming blossoms in water. We coloured them in with felt tip pens and folded in the petals. We then placed them in our PlayTRAY lid in water and the petals gently unfolded as they soak up the water.
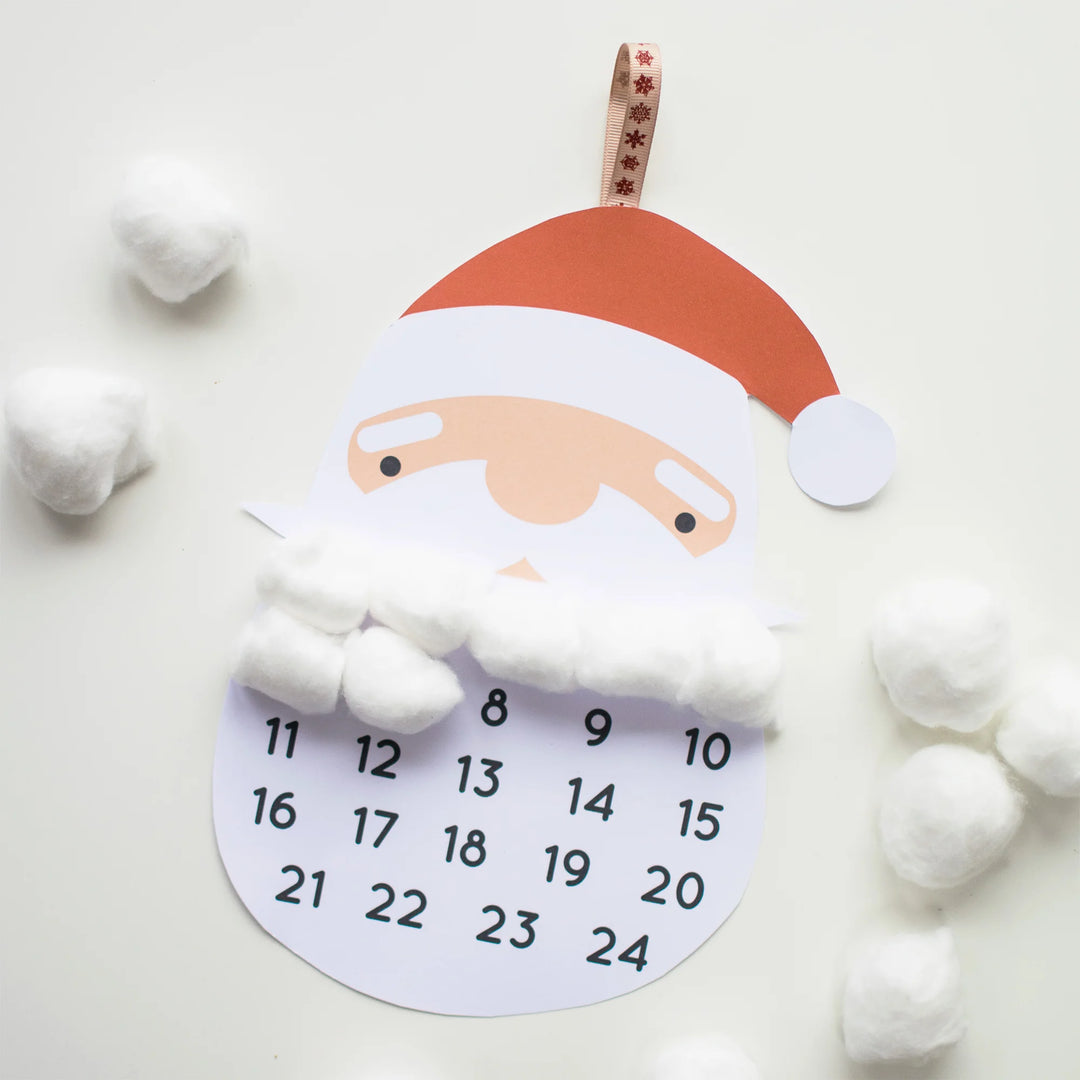
This is a fun way to countdown to Christmas with your little ones! Add one more ball of cotton wool each day until completing his beard on the 24th December.
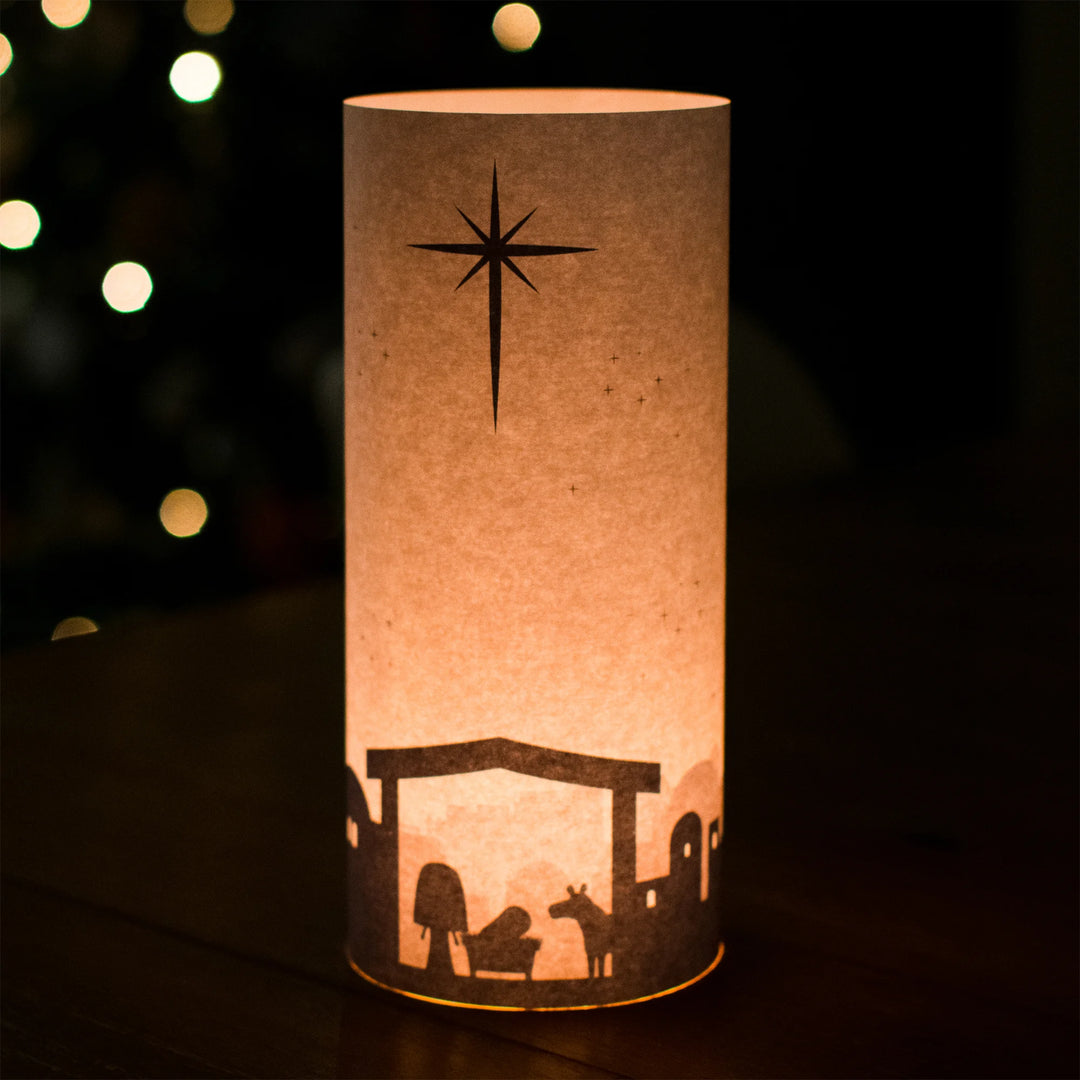
This Nativity Luminary makes a heart-warming feature for the dining table! There isn’t much required with this printable. Simply curl the paper back around on itself and glue the two edges together to make a cylinder shape. Place over and around a battery-operated tea-light to give a warm glow and backlight the scene.
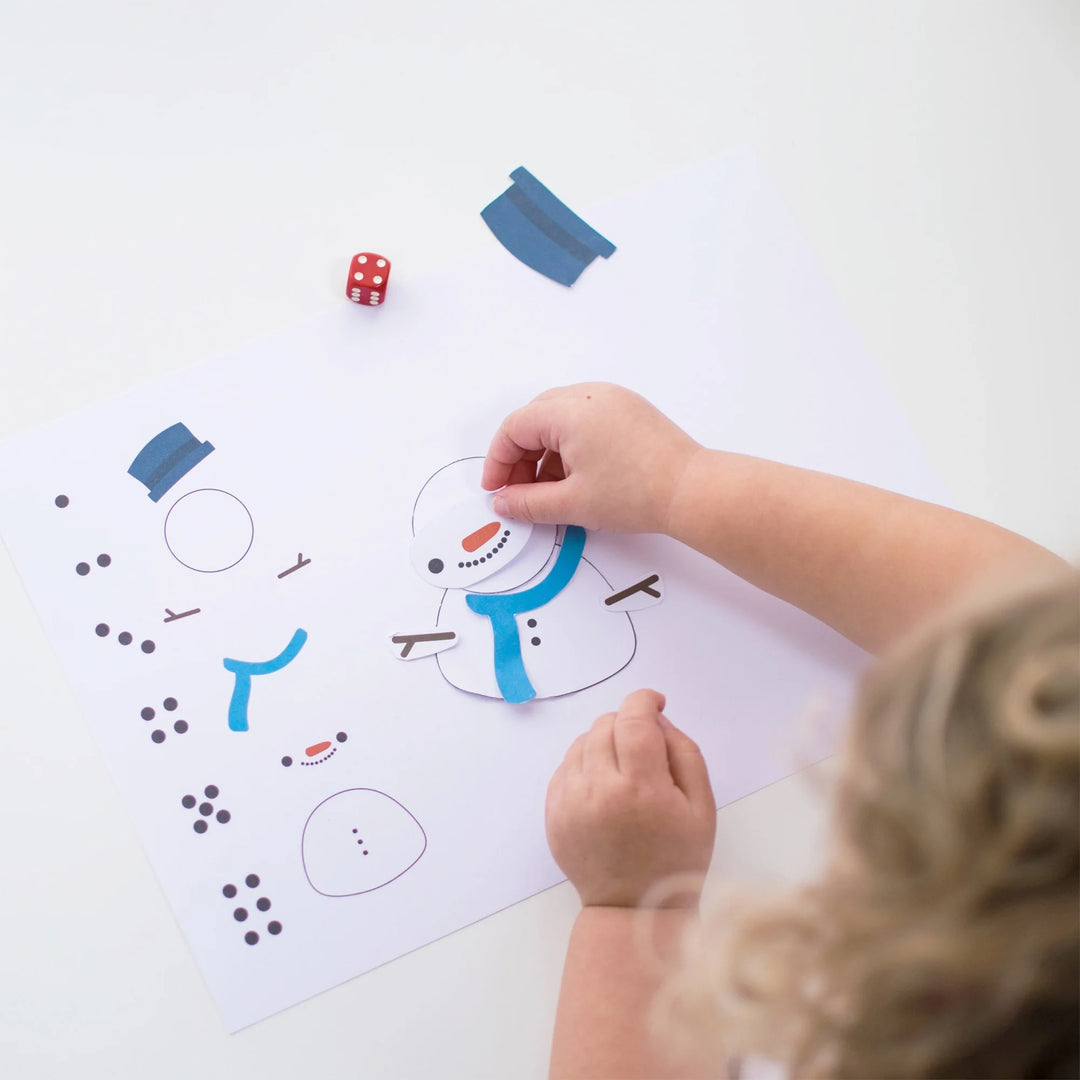
Do you want to build a snowman!? This is a simple game you can play either individually or with a sibling. Cut out the large snowman pieces. Roll the dice and choose the corresponding piece of the snowman. If you roll a piece you already have play moves to the next player.
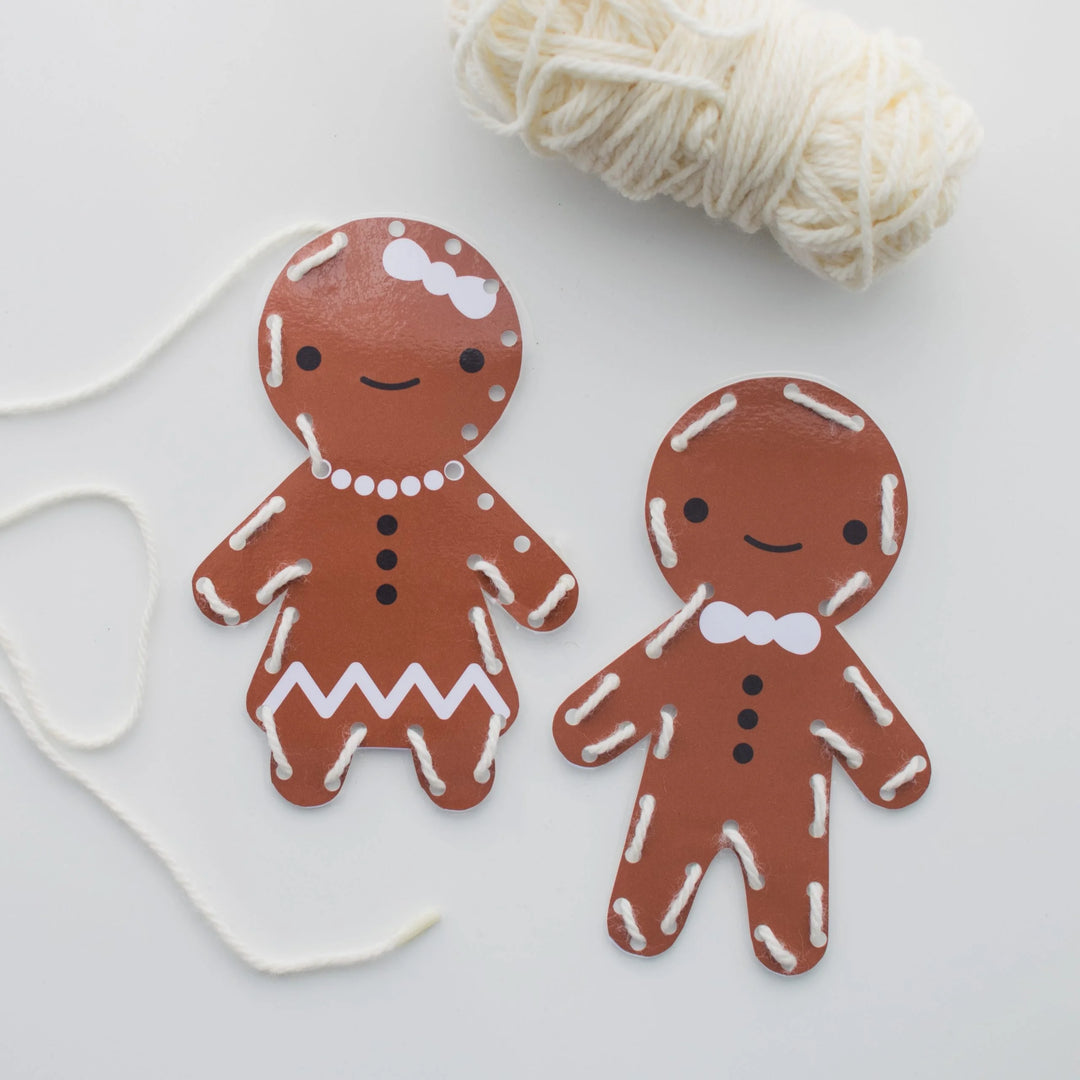
Lacing is such a great activity to develop fine motor skills! To prepare your gingerbread lacing cards we suggest laminating the gingerbread figures or printing on card. Hole punch around the gingerbread figures and tie or sellotape the wool on the reverse. To help with the threading put a small piece of sellotape around the end of the wool. This will ensure the wool threads don’t separate and it’s easy to get through the holes.
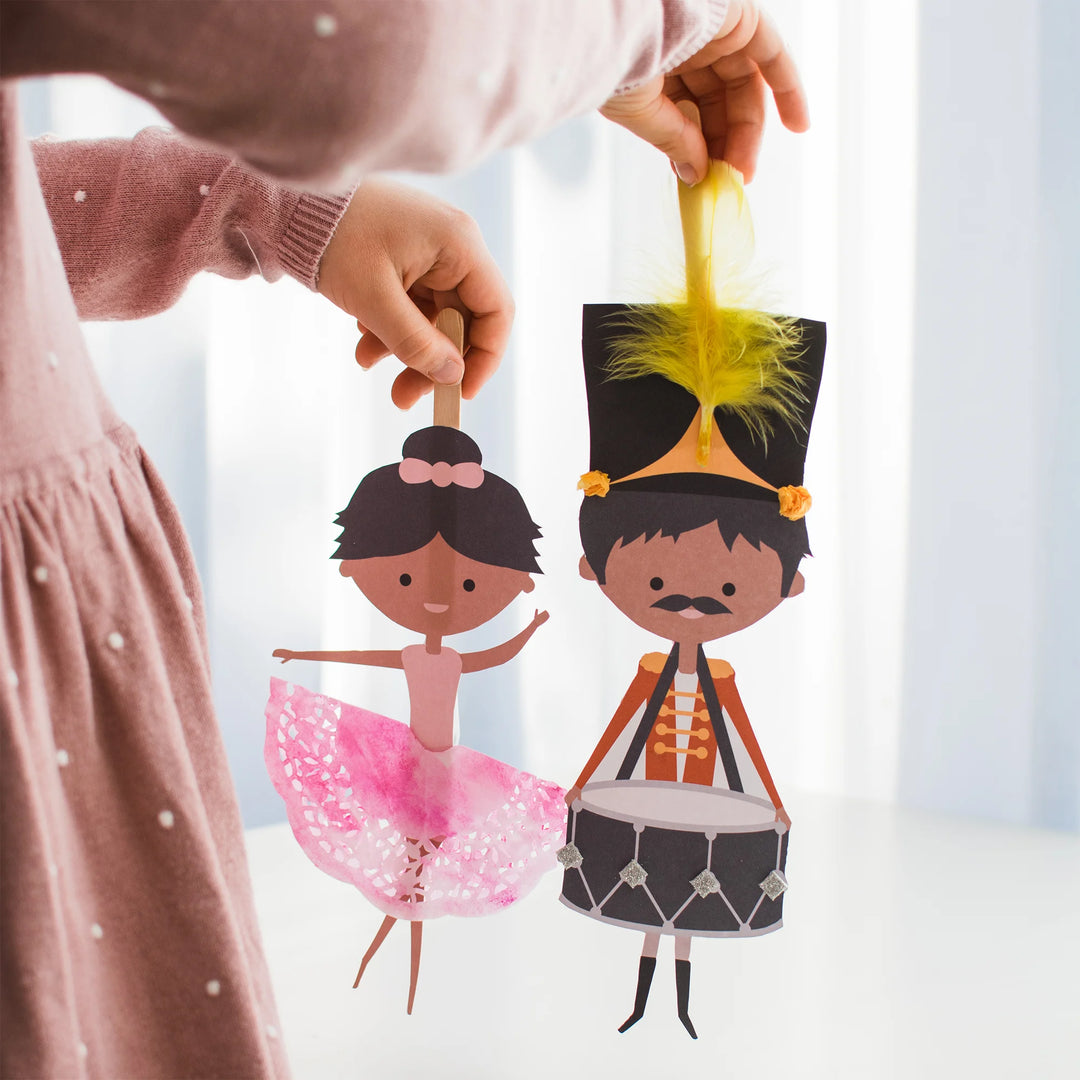
A Christmas classic. The Nutcracker Ballet is a regular watch at Christmas time so here is our very own nutcracker ballerina, in various colour leotards, for you to decorate.
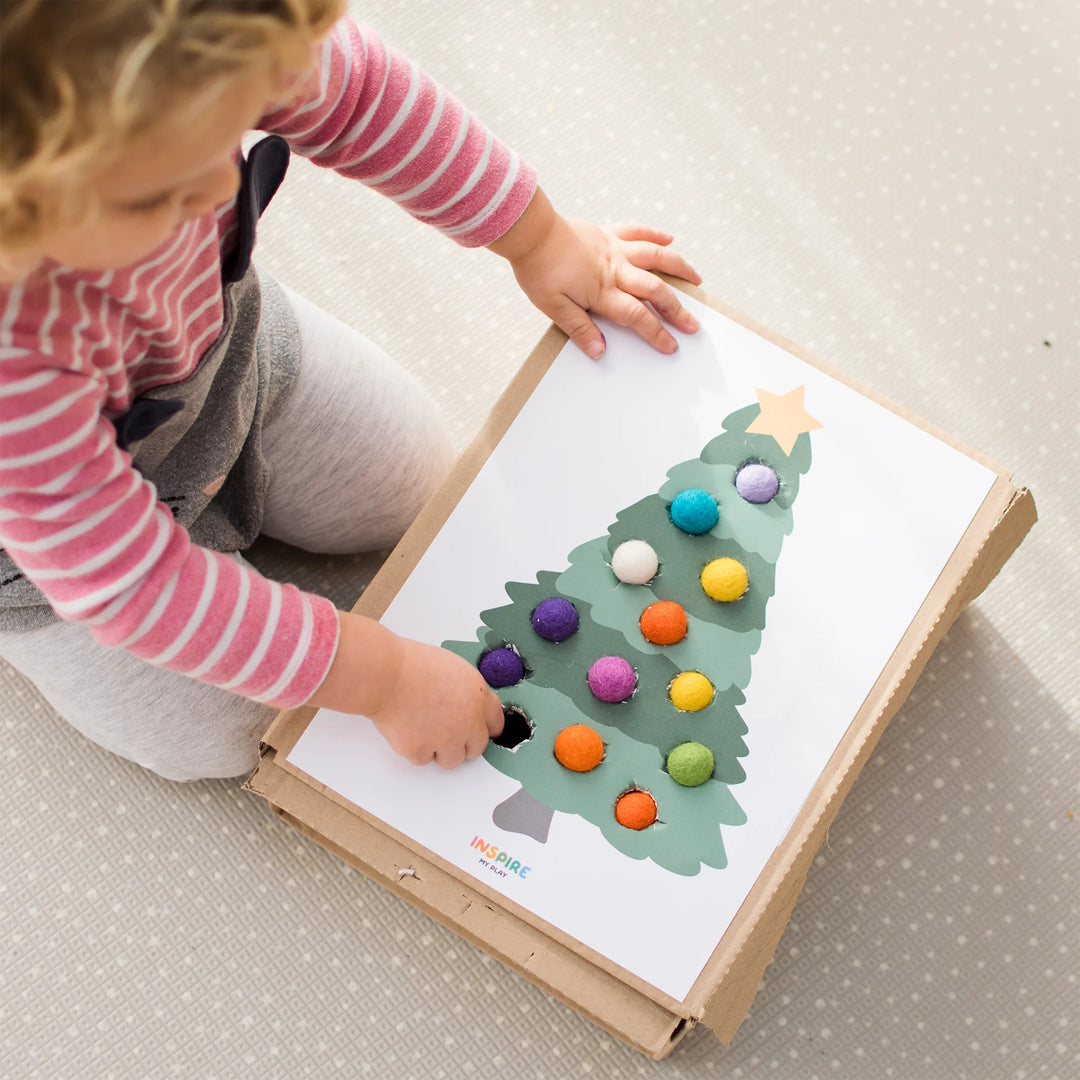
Create a Christmas tree pom-pom push! Glue the printable to the top of a cardboard box. Use a craft knife to cut around the holes. Provide a bowl of pom-poms or felt balls to push through the holes. This activity is always a favourite with toddlers and preschoolers!
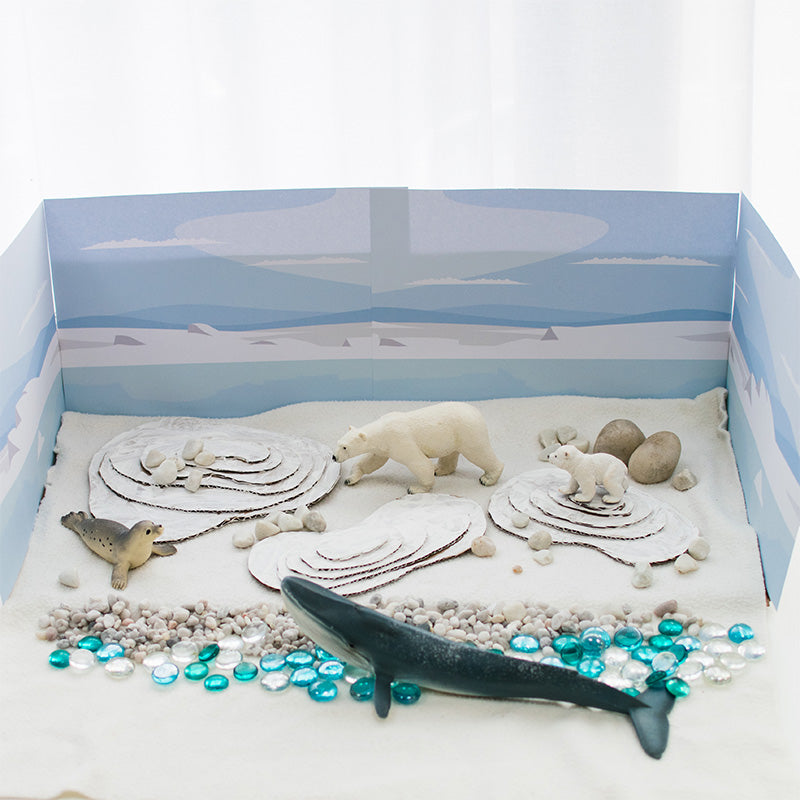
Try an arctic backdrop for enhancing your small world set ups. We made this particular scene using a cardboard box. To make the icebergs, cut out circles of cardboard that get increasingly smaller. Glue them together and invite the kids to paint them white.
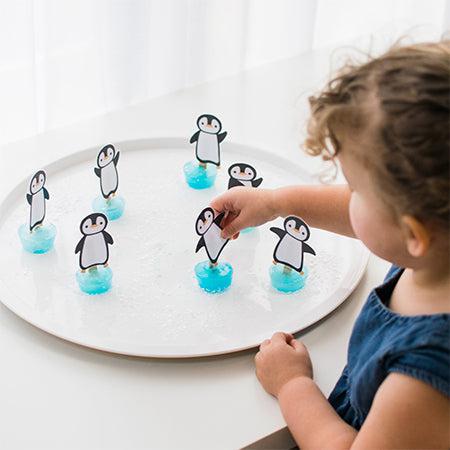
This is such a fun activity for kids! If you don't have the PlayTRAY, any smooth surface will work to skate your penguins. To make the skating penguins snap some lolly/ popsicle sticks in half, stick them to the base of a mini muffin tin with a bit of blue-tack and fill up the holes with water. You might want to add a tiny bit of food colouring too if you like.
Put them in the freezer overnight. Once they are frozen and you are ready to play, pop them out of the tin. You should now be able to peel the blue tack from the bottom so that they glide smoothly across your tray. Then stick the penguins to the lolly/ popsicle stick with a piece of tape.
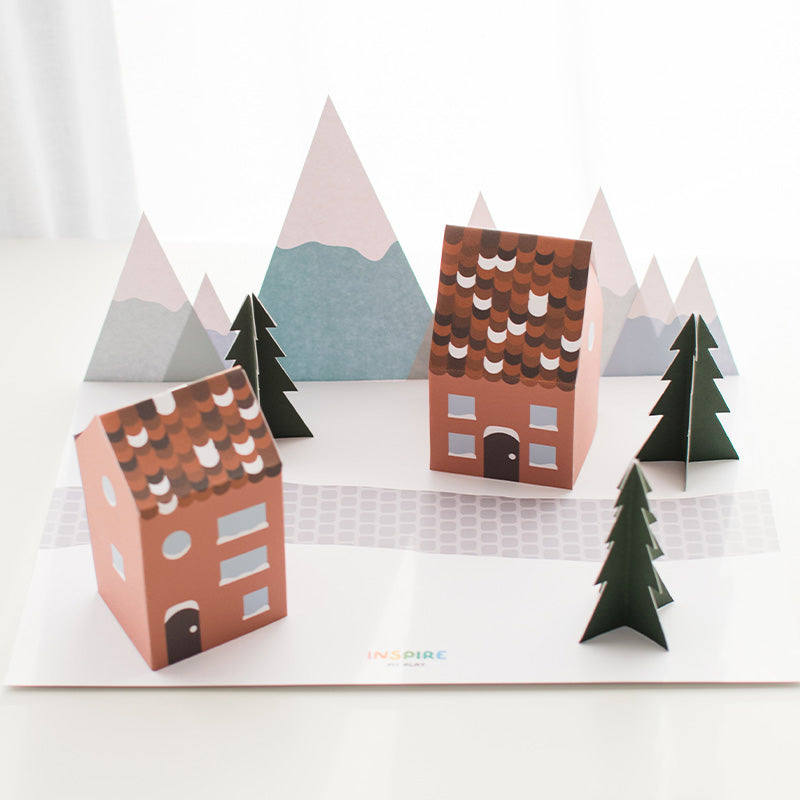
These printables make the cutest little winter town scene for your little one to enjoy some small world play! The houses are fairly simple to make; just fold the roof at the half way point and glue the tabs together on the side. To make the mountains, fold the tab at the bottom and glue it onto the base (second printable). The 3-D trees are made by putting four of the cut-out trees together. Simply fold them in half using a ruler so that the green is facing inwards. Add glue to the back and stick each quarter together.
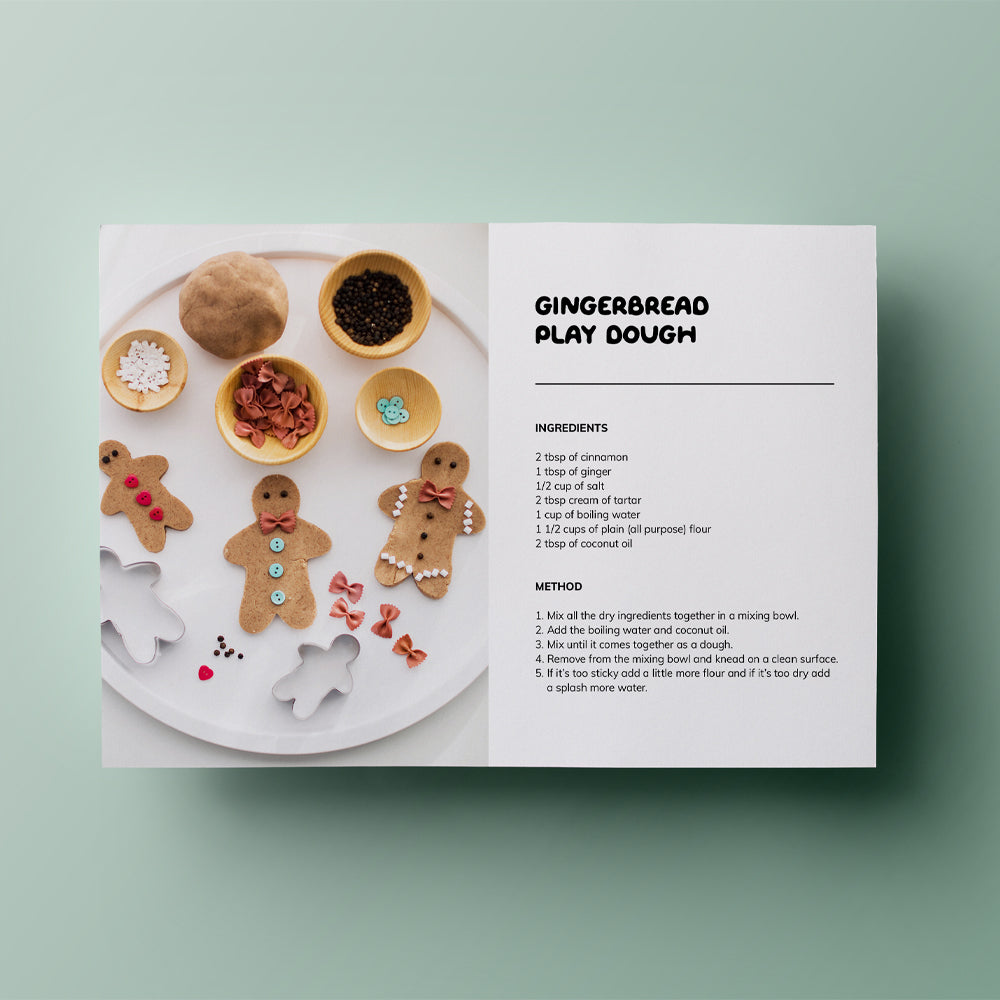
This has got to be one of our all-time favourite play doughs - so here is a recipe card with the ingredients and instructions.
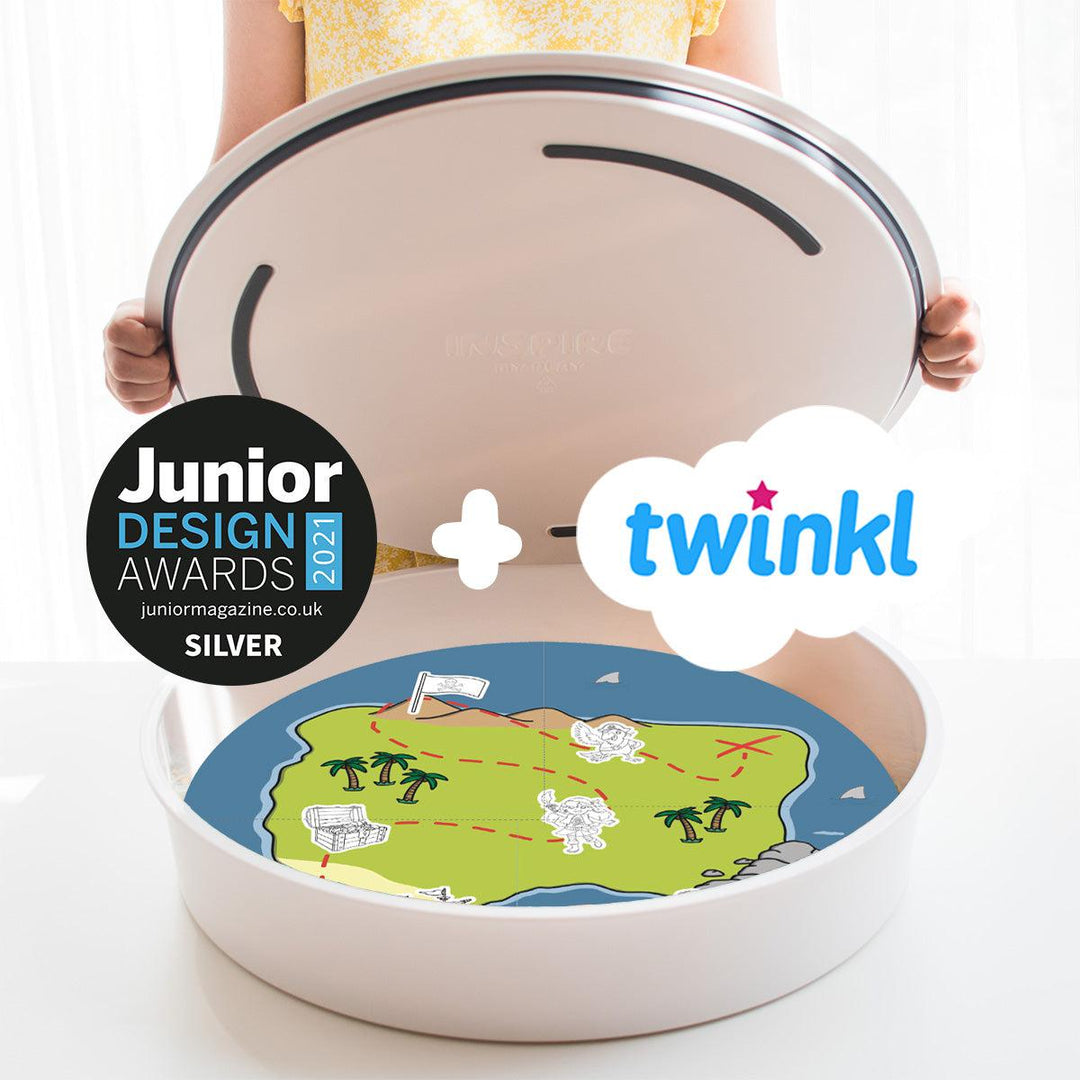
FREE PlayTRAY Inserts on Twinkl
We've teamed up with Twinkl to create fun and engaging inserts for the PlayTRAY. There are plenty to choose from including small world inserts, colour wheels, mark making inserts and more, and they are FREE.
