Ice Decorations - A Perfect Winter Play Activity

Laura @inspiremyplay
Founder of @inspiremyplay, Early Years teacher for 11 years and mummy to three gorgeous girls. I'm passionate about about the benefits of play in early childhood.
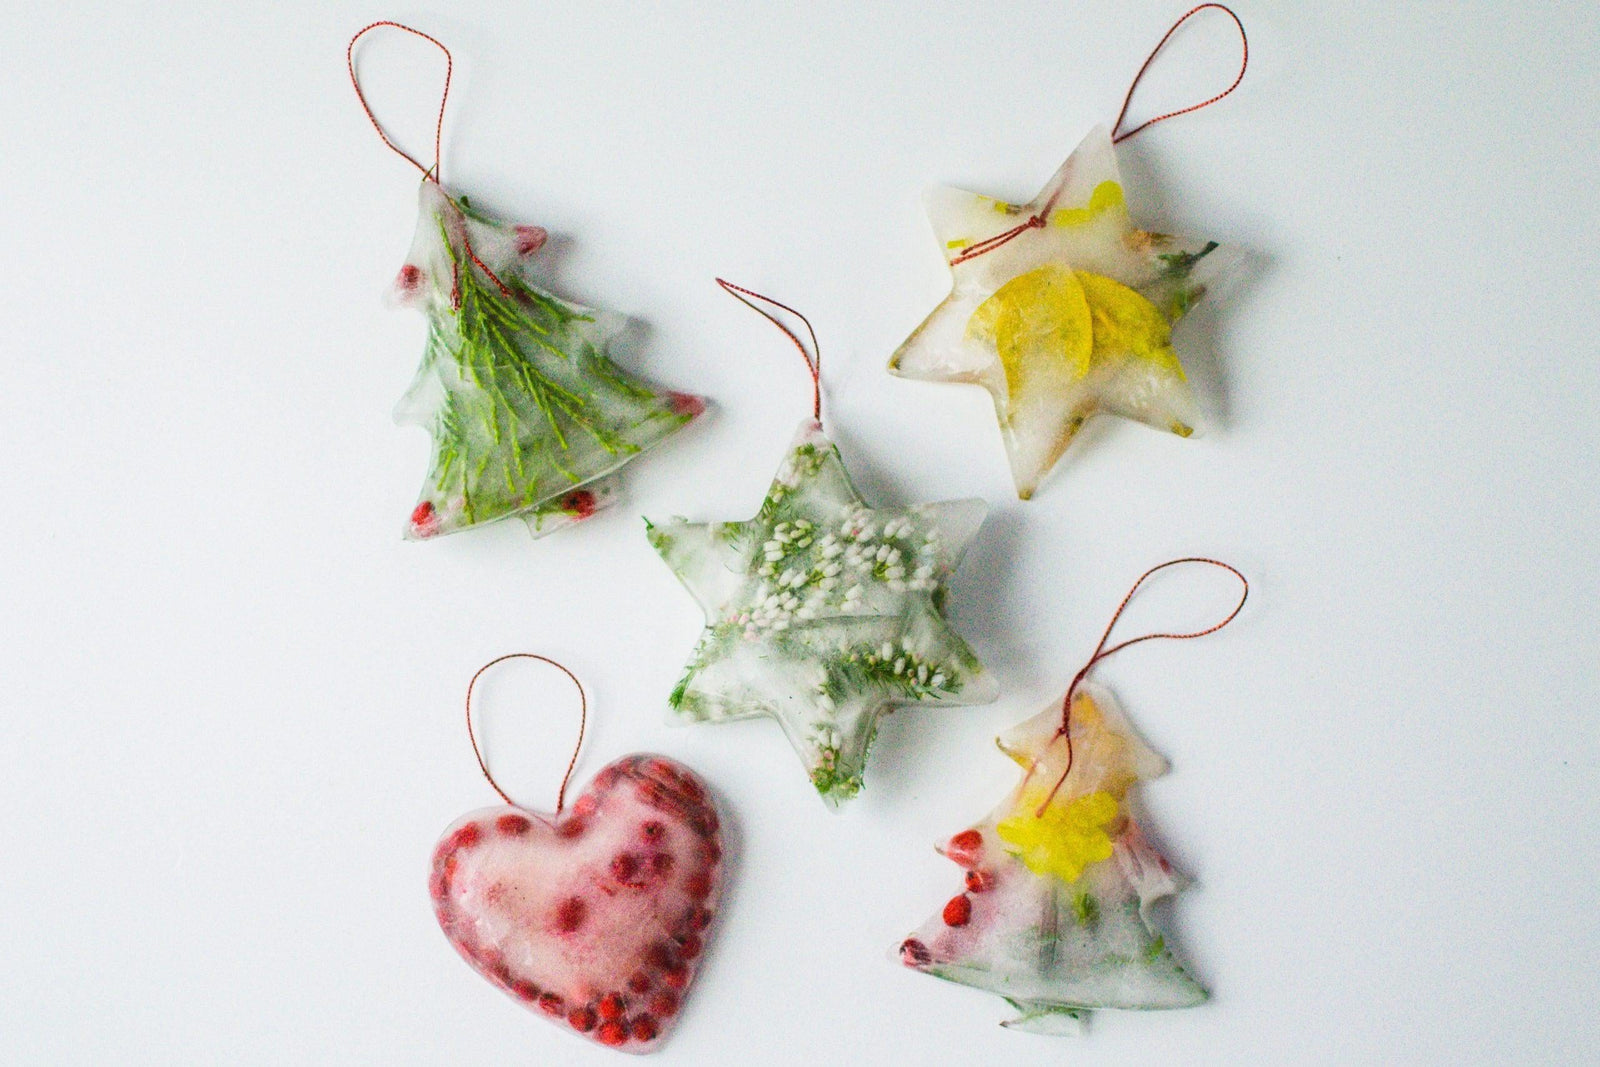
These Christmas ice decorations are a lovely seasonal activity to do with kids. Use them the PlayTRAY for some icy sensory play or hang them up in the garden and watch them slowly melt. We used natural materials for ours but you could freeze anything or simply turn the water another colour using food colouring!


I love making the run up to Christmas extra special for the girls with some fun seasonal activities. When I came across these decorations that you can fill yourself I instantly thought they would be fab for freezing things in!
I bought mine in Flying Tiger but I've found a number of similar options on Amazon if you don't have one close by. Alternatively you could use a silicone mold or a muffin tin for this activity.
What You Will Need
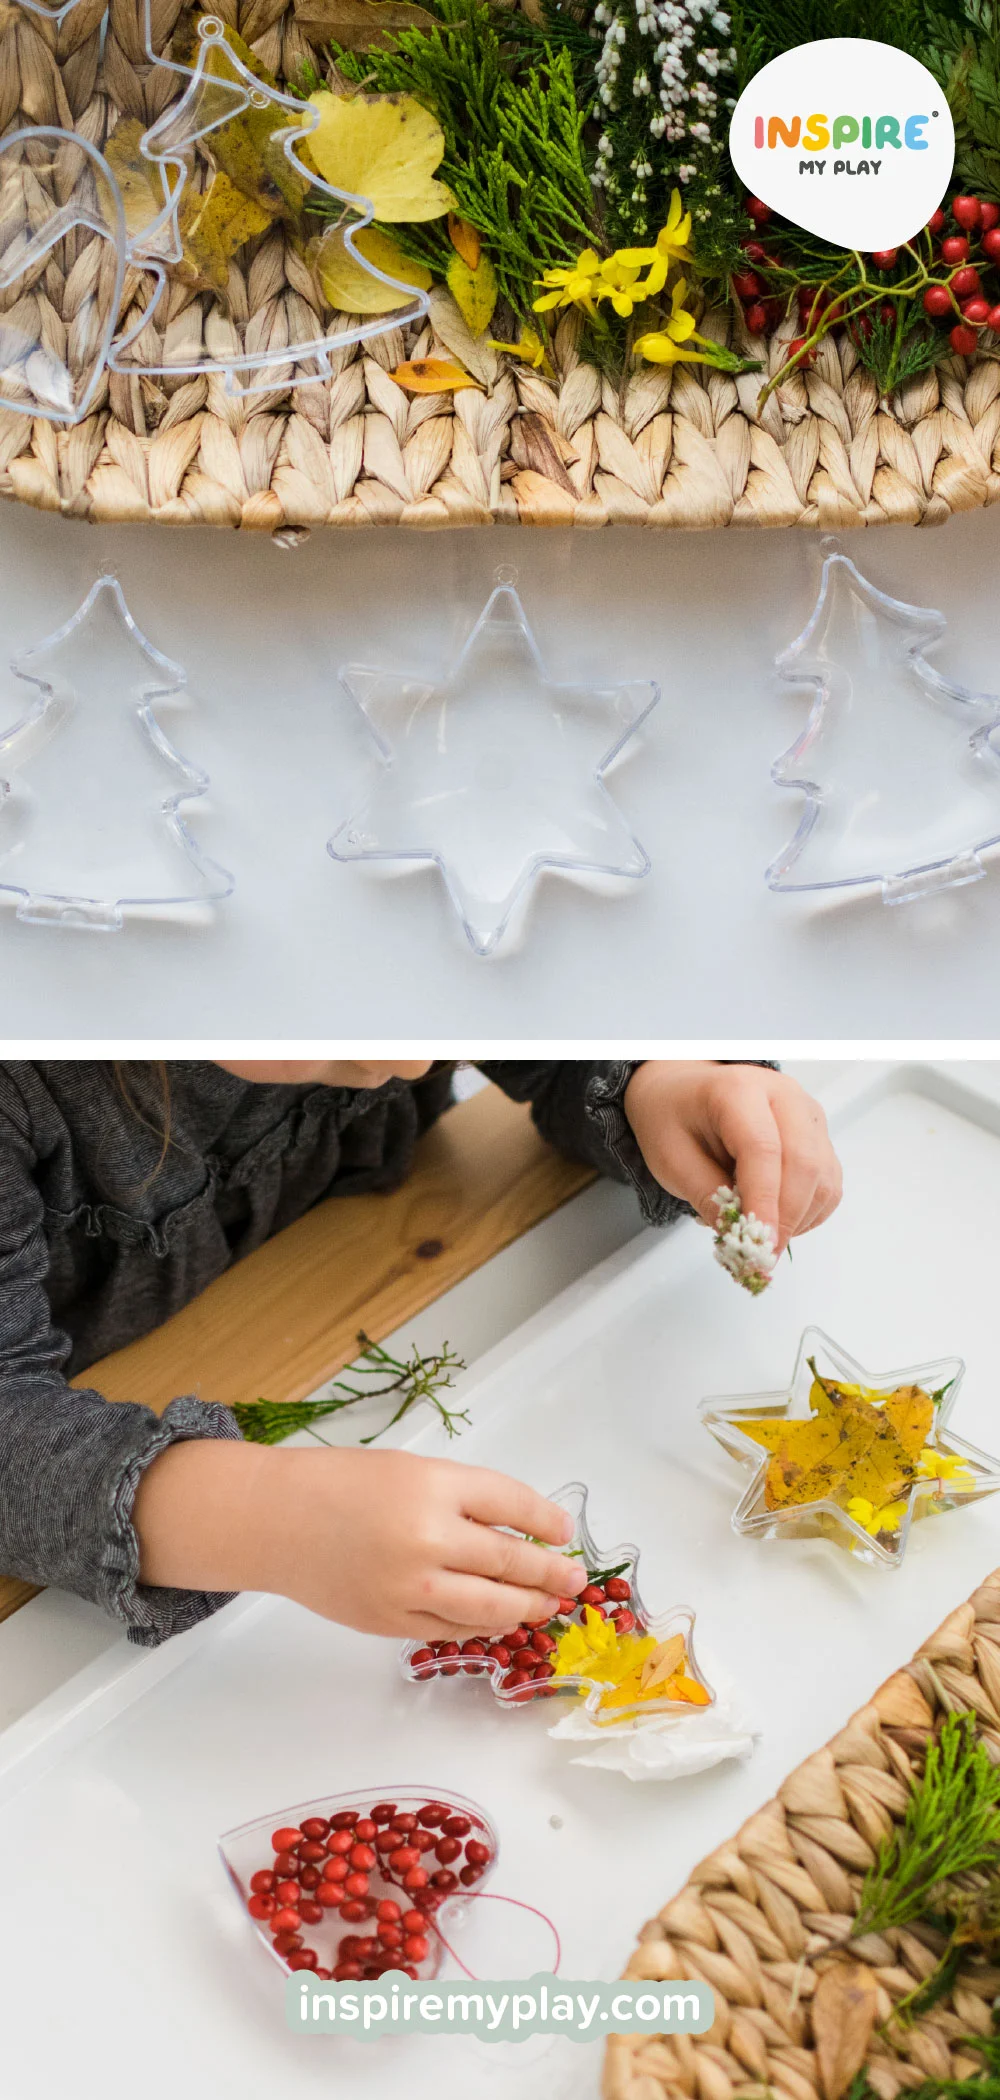
- 'Fillable' plastic decorations or a silicone mould
- Water
- Natural objects to fill them with.
- Thread, string or ribbon to hang the decorations up.
How to make Ice Decorations
- Open up the decorations and place one half on the PlayTRAY lid. If they don't sit flat level them out with some rolled up kitchen towel underneath.
- Fill the decorations with water, being careful that the water level is high enough to take the whole shape. This step could be left until just before freezing them if that's easier with little ones.
- Fill your decorations with the nature bits and bobs you have collected on your walk or from the garden. We picked berries (be careful to wash hands afterwards), bits of fern, fallen leaves and even found a few wild flowers that were still about!
- Place the decorations carefully into the freezer or if the temperature is cold enough you could leave them outside overnight to freeze. This is especially exciting for children and a great way of learning about liquids & solids and freezing & melting.
Top Tip: We found it best to add generous amounts of our nature treasures to each one so that when you turn them out of the mould you'll see lots of the bits close to the surface.
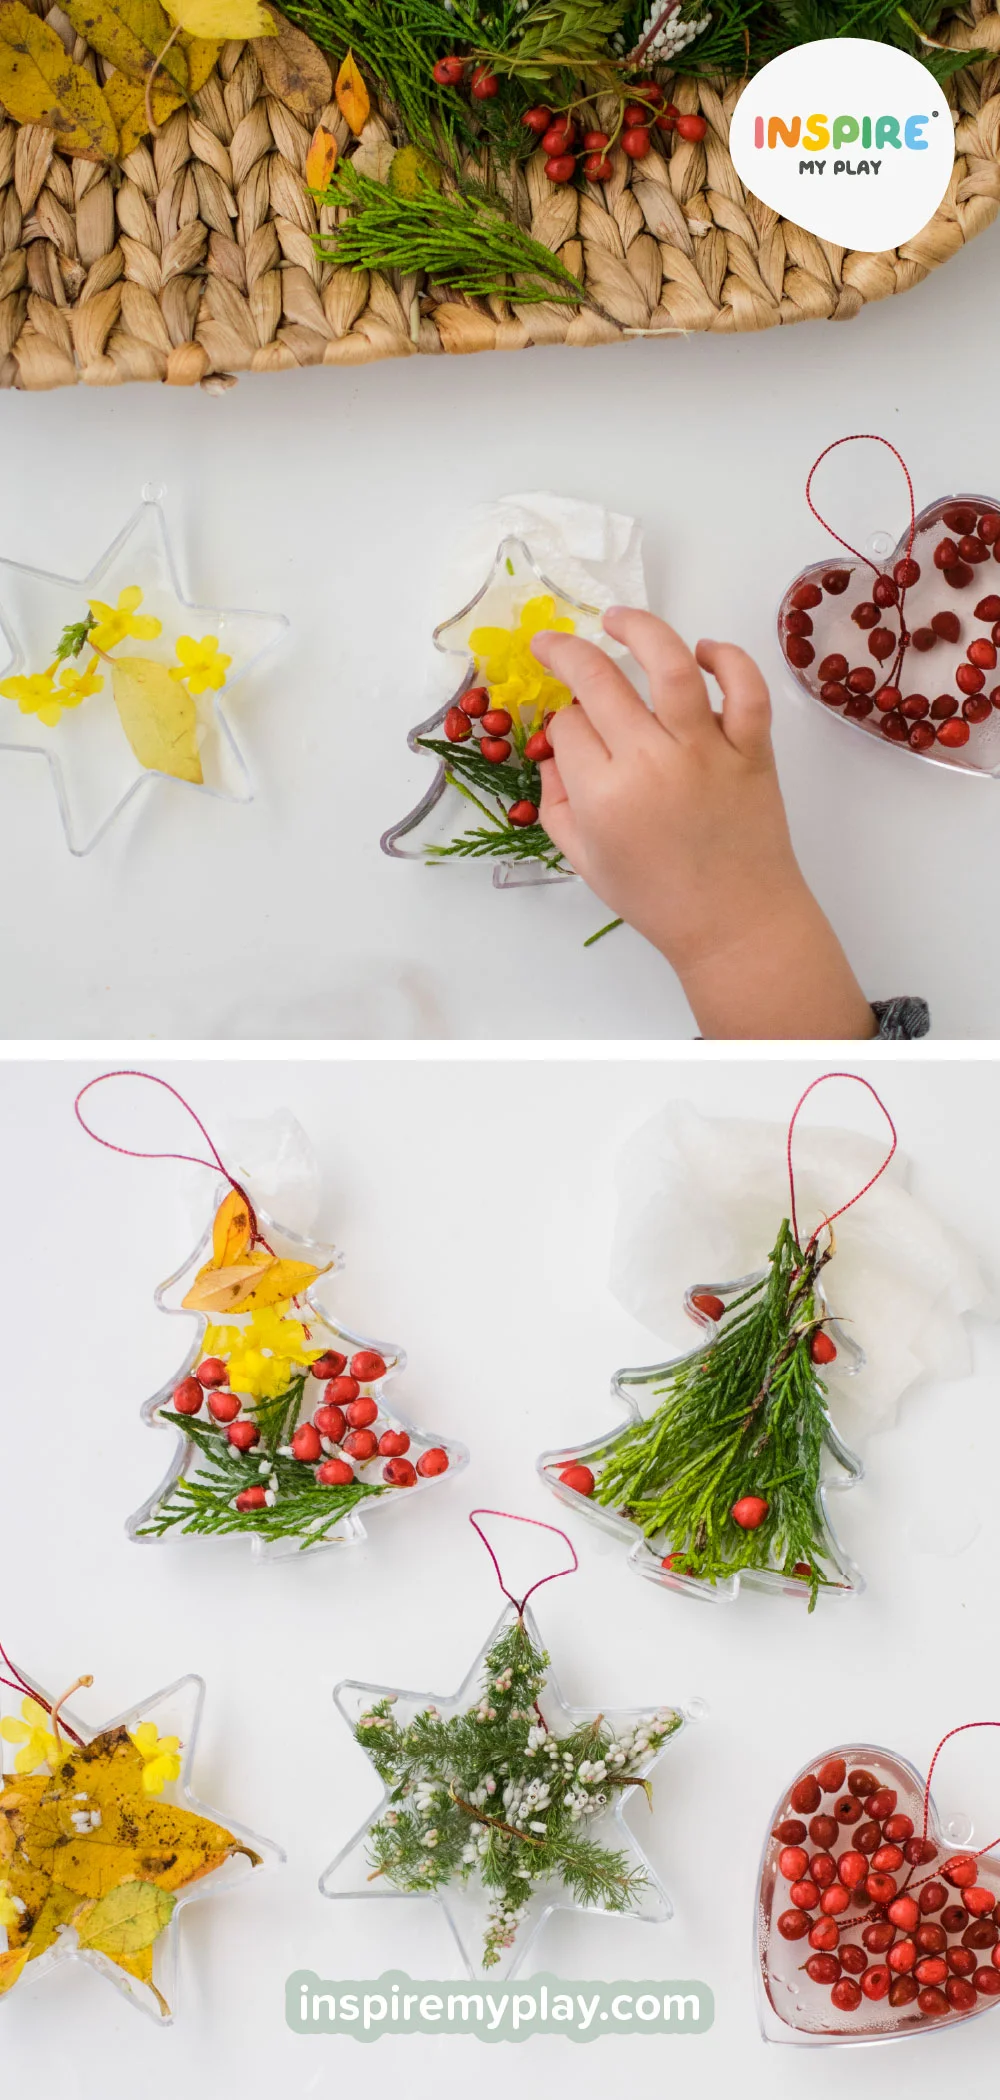
If you intend to hang up your decorations you'll need to add a loop of string to the top. To do this make the loop first and then carefully position it into the water. Ideally you want the loop to sit fairly near the surface so that when you turn the decoration out the string is hidden behind some of the foliage. As you can see from ours it worked better for some than others!
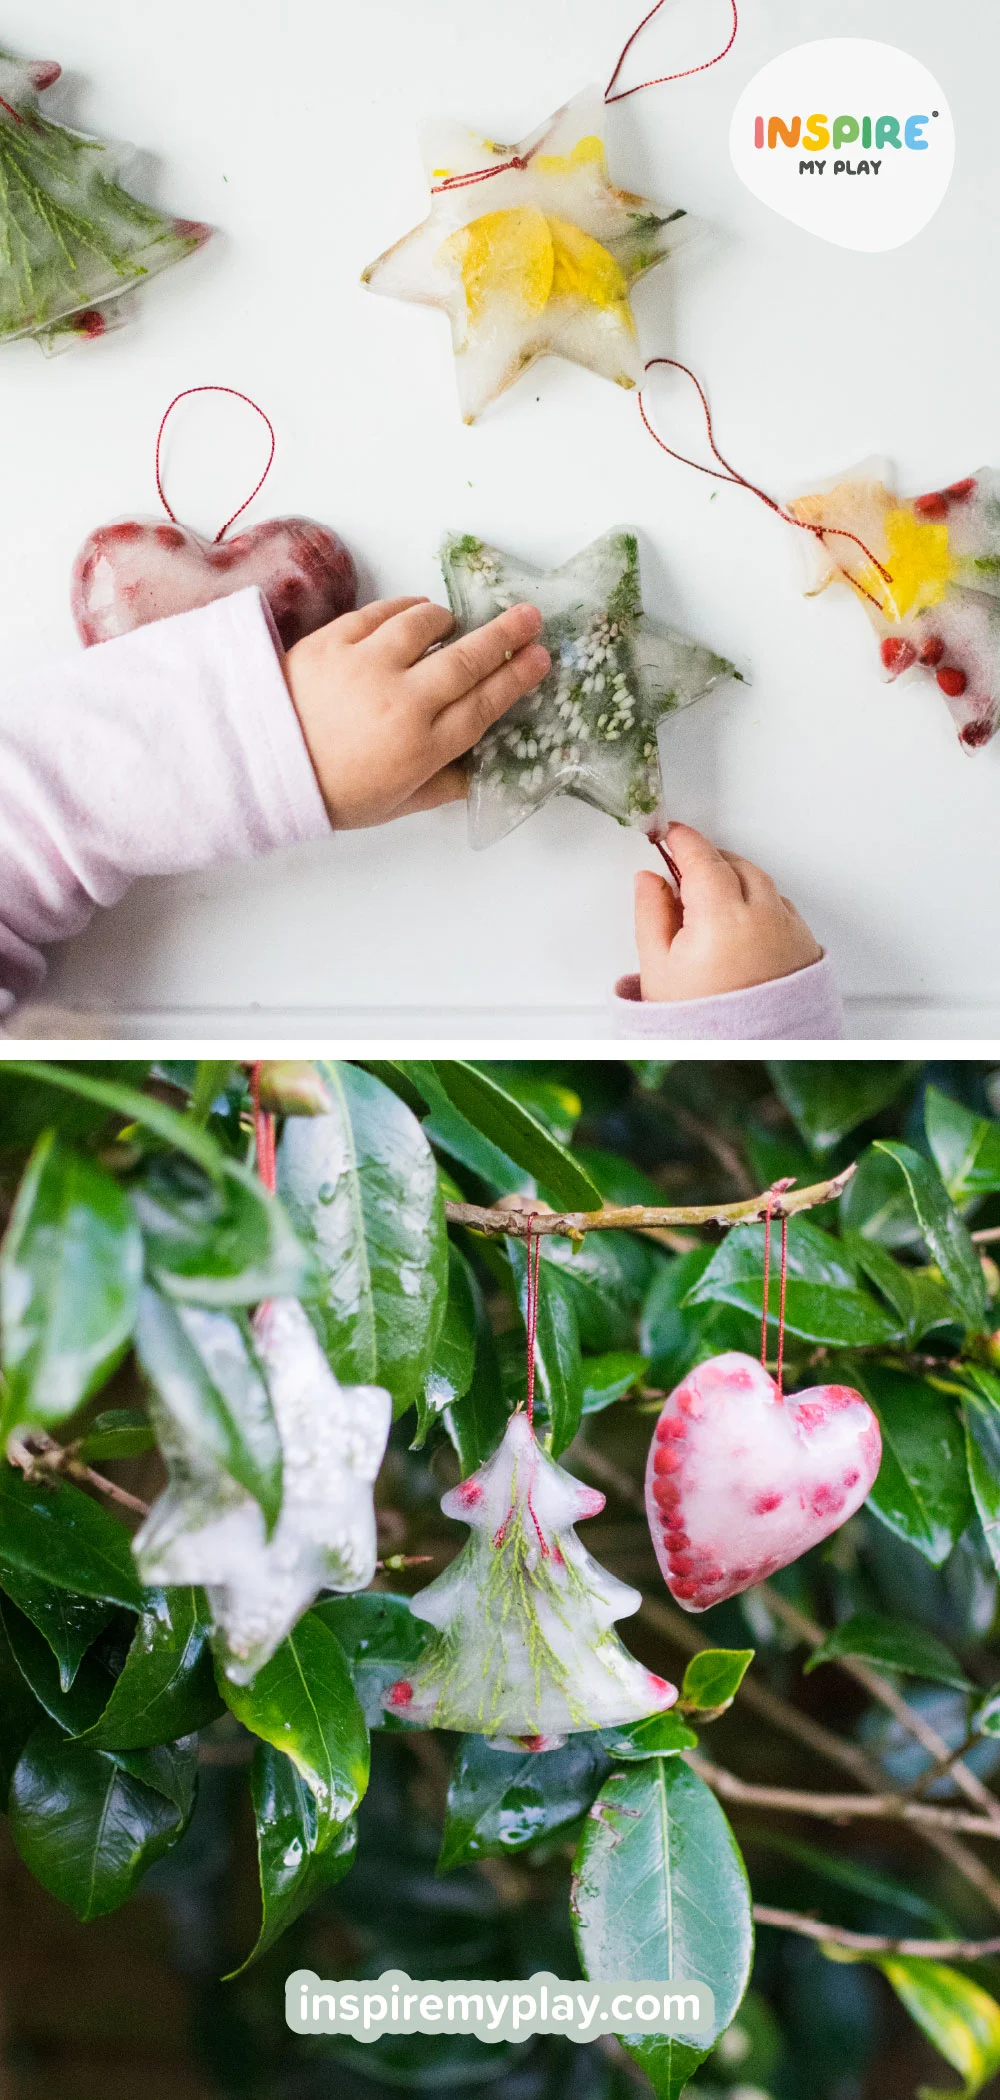
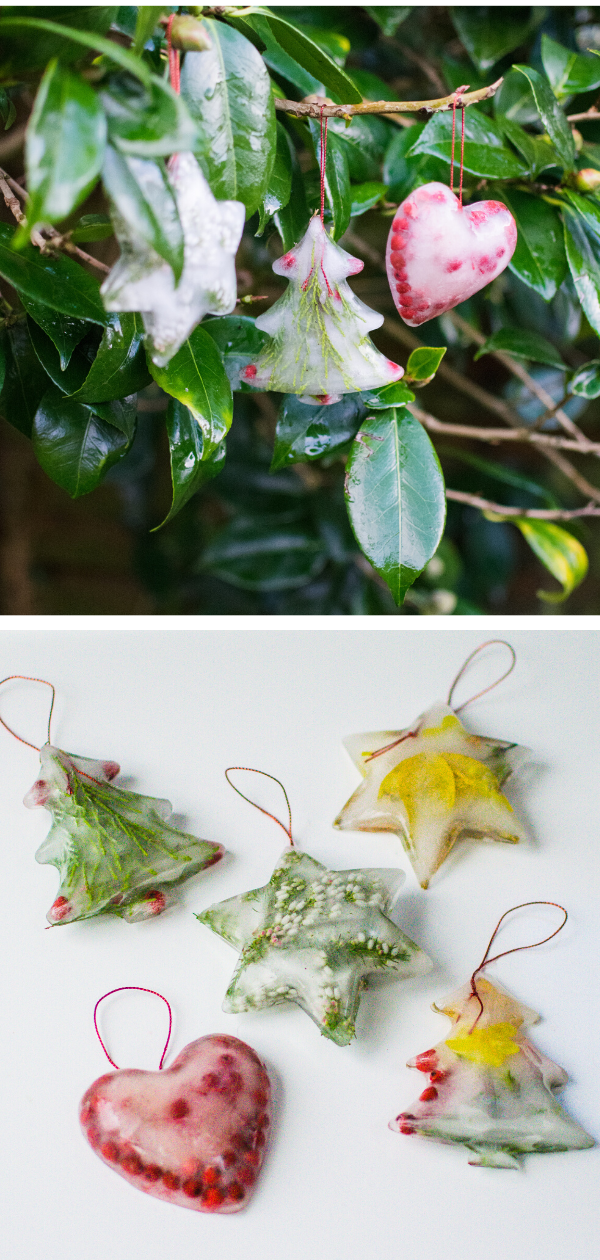
We were so pleased with how our ice decorations turned out. The girls enjoyed exploring them on the tray for a few minutes before we hung them on a tree outside and watched as they slowly melted away. They really looked beautiful with all of the natural treasures frozen inside.
The girls are really keen to do this again but I think we'll wait until we have a cold snap. That way we can observe the changes overnight and enjoy our decorations for a little bit longer before they melt away!
We’d love to see what your little ones create, don’t forget to tag us @inspiremyplay. We love seeing all the fun you get up to!


