Feeling the Cold: Winter Themed Sensory and Creative Play Ideas for Toddlers and Young Children


Laura @inspiremyplay
Founder of @inspiremyplay, Early Years teacher for 11 years and mummy to three gorgeous girls. I'm passionate about about the benefits of play in early childhood.
Winter is the perfect excuse to lean into cosy, creative play at home, and we’ve gathered some of our favourite winter-themed sensory and small world ideas to inspire you! Whether you’re looking to explore chilly textures, experiment with ice, or bring a little seasonal magic to your PlayTRAY, these activities are simple to set up and packed with play-based learning opportunities. From frozen bubbles to snowy small worlds, there’s something here for every little explorer — perfect for toddlers, preschoolers, and early years settings.

1. Frozen Bubbles

This is such a magical experience to do with little ones! If you get a cold morning then it is well worth bracing the weather to blow bubbles and watch them freeze together! This works well when it’s about -2, -3C so as we have cold snap this week why not save this activity to try!
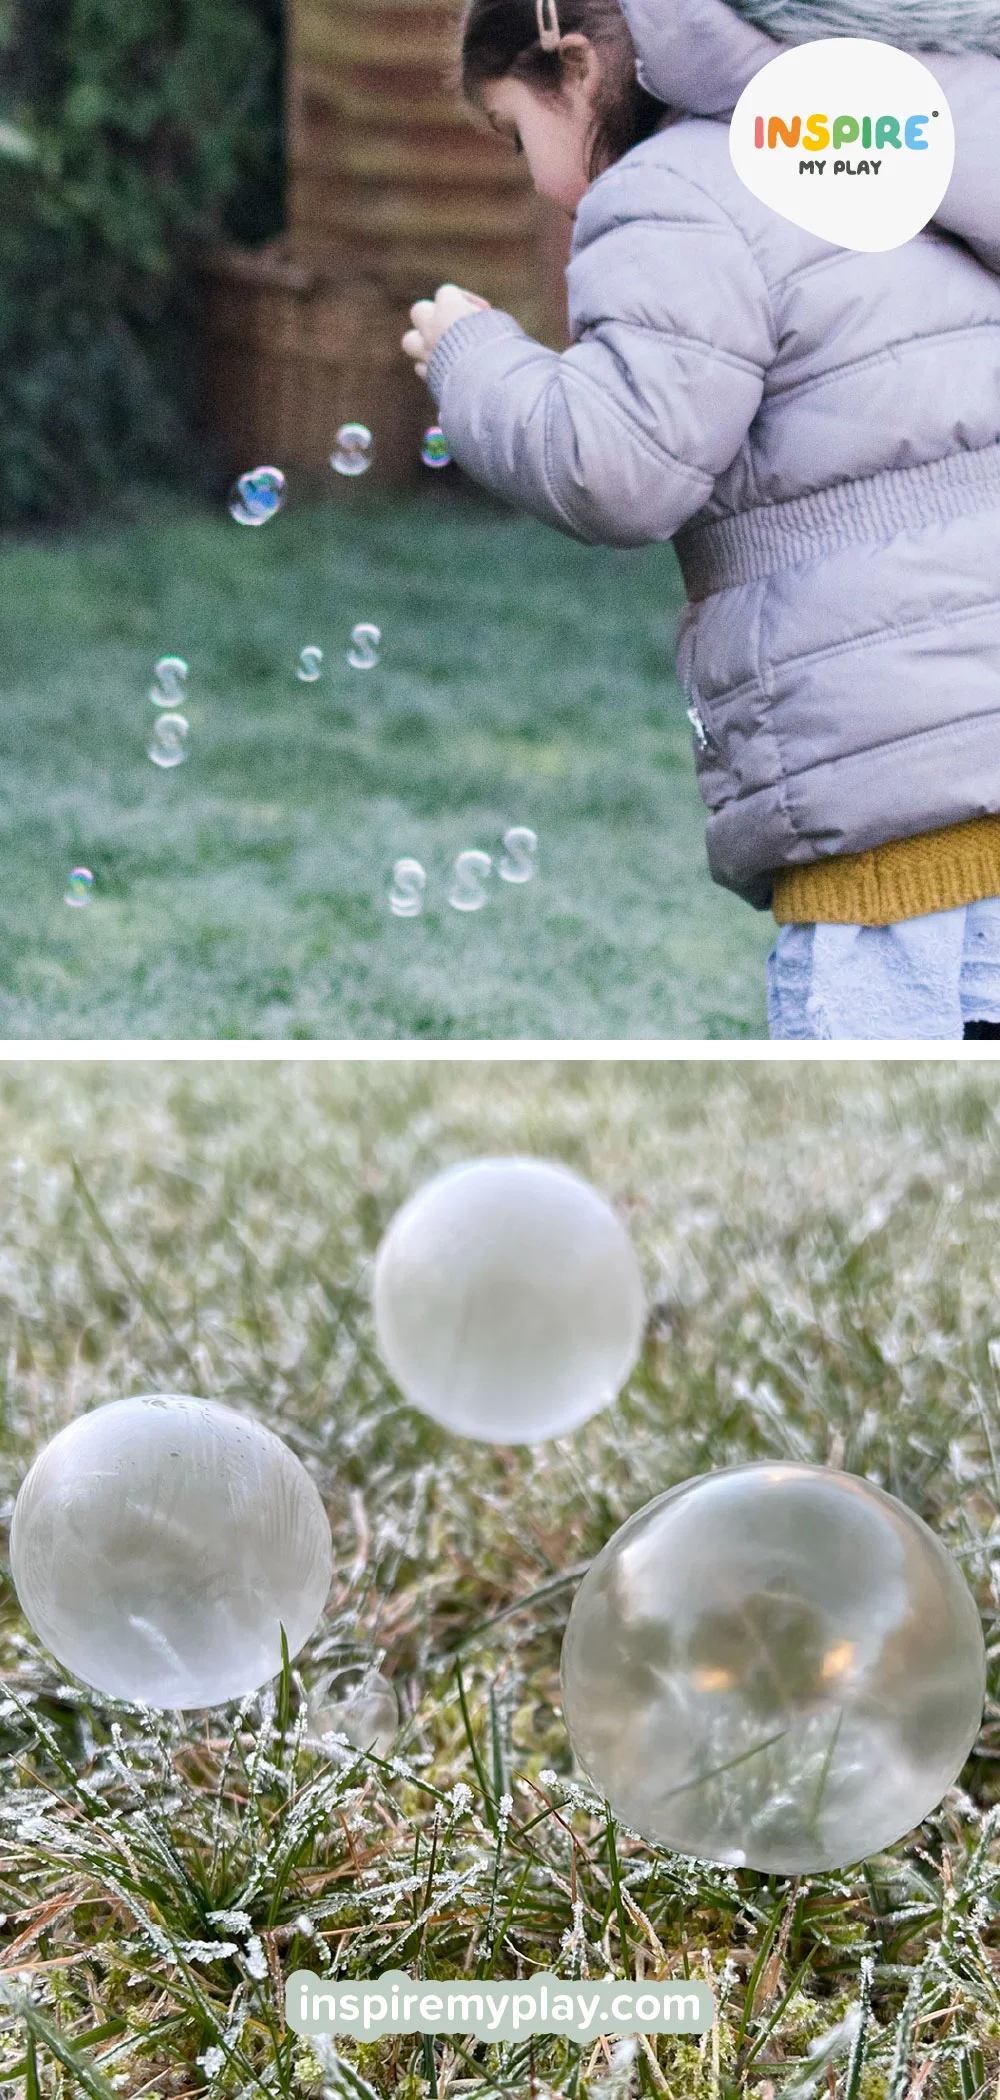
Check out our blog post to find out how to do it.
2. Frozen Pom Poms
There really is something magical about freezing treasures for kids to break free again! Simply freeze pom poms in water, then let children use warm water and sensory tools to excavate. It’s a fun mix of sensory play and science exploration.

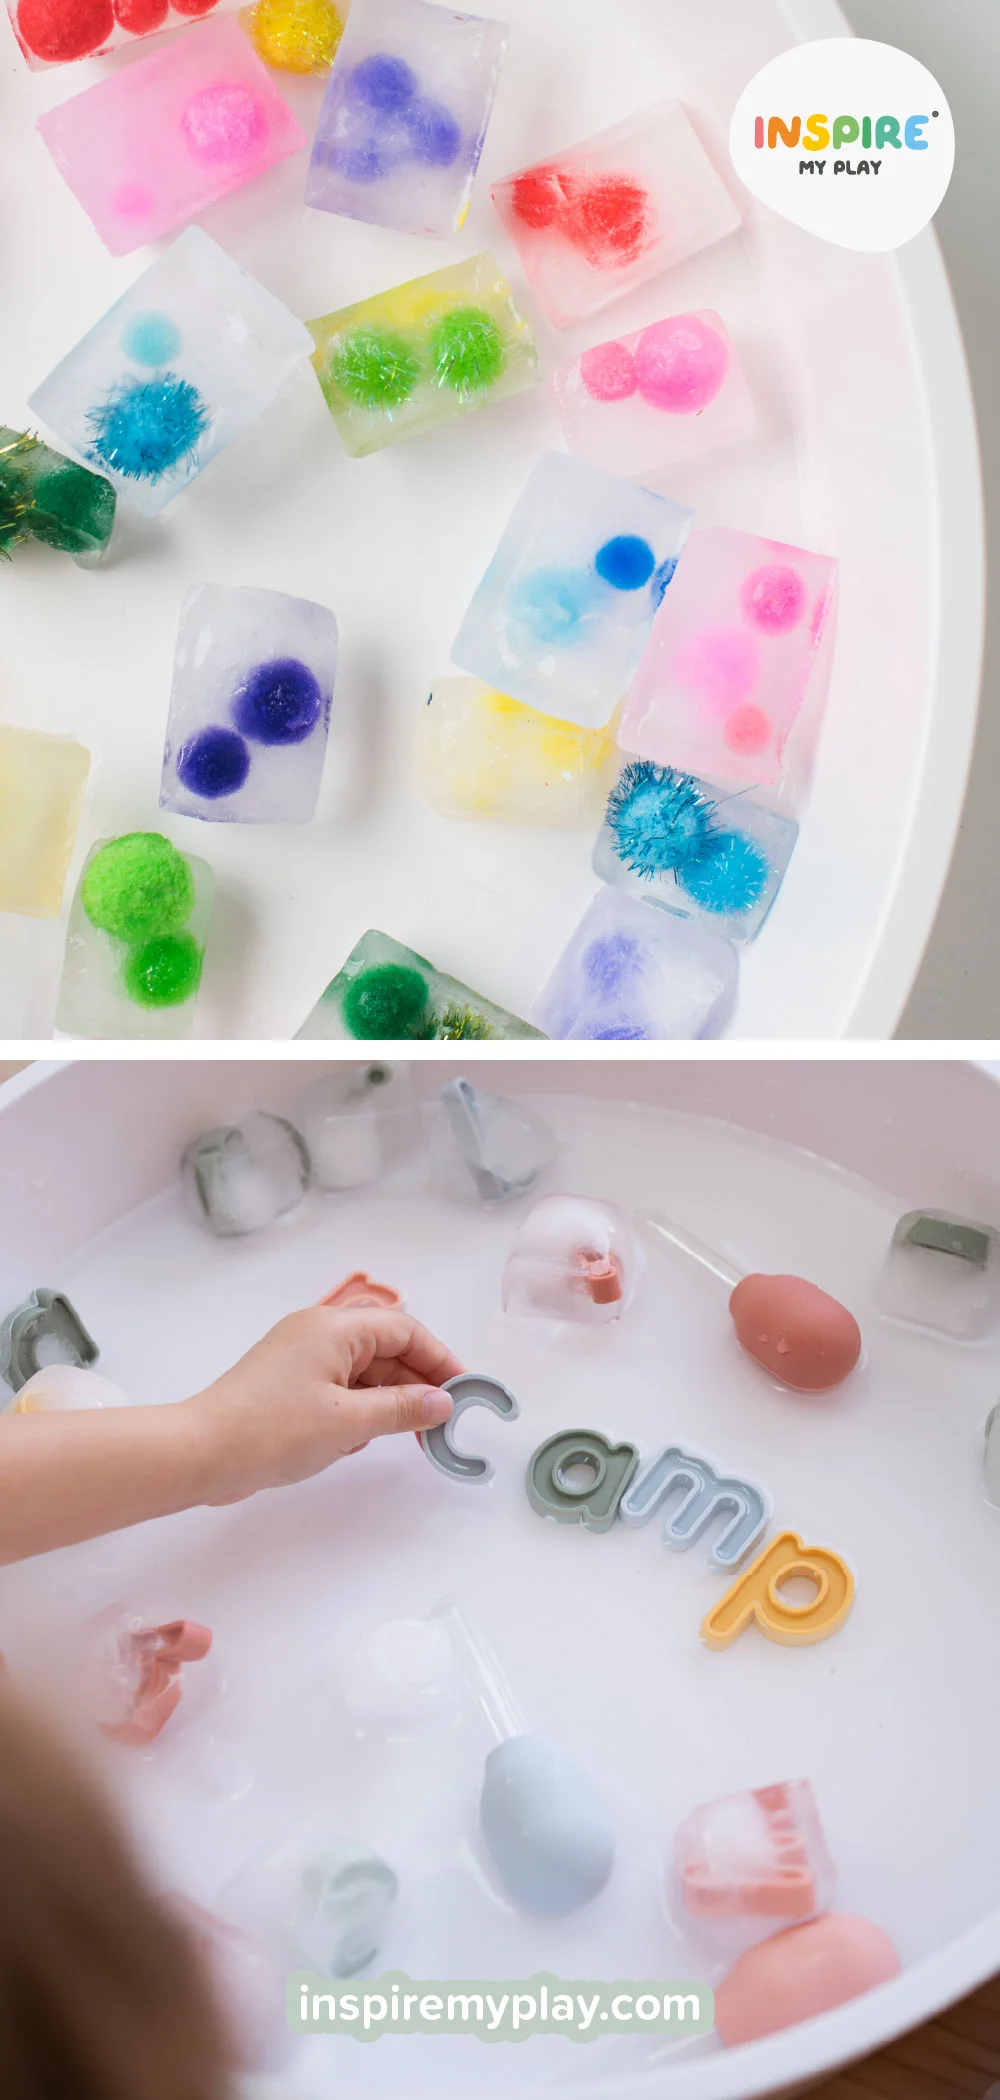
For older children, try freezing our alphabet letters too—this turns the activity into a playful literacy challenge as they hunt for letters and build simple words. This activity supports fine motor skills, colour sorting, early maths, and hands-on exploration of freezing and melting.
Age guide: 3+. Pom-poms are a potential choking hazard, so supervise carefully
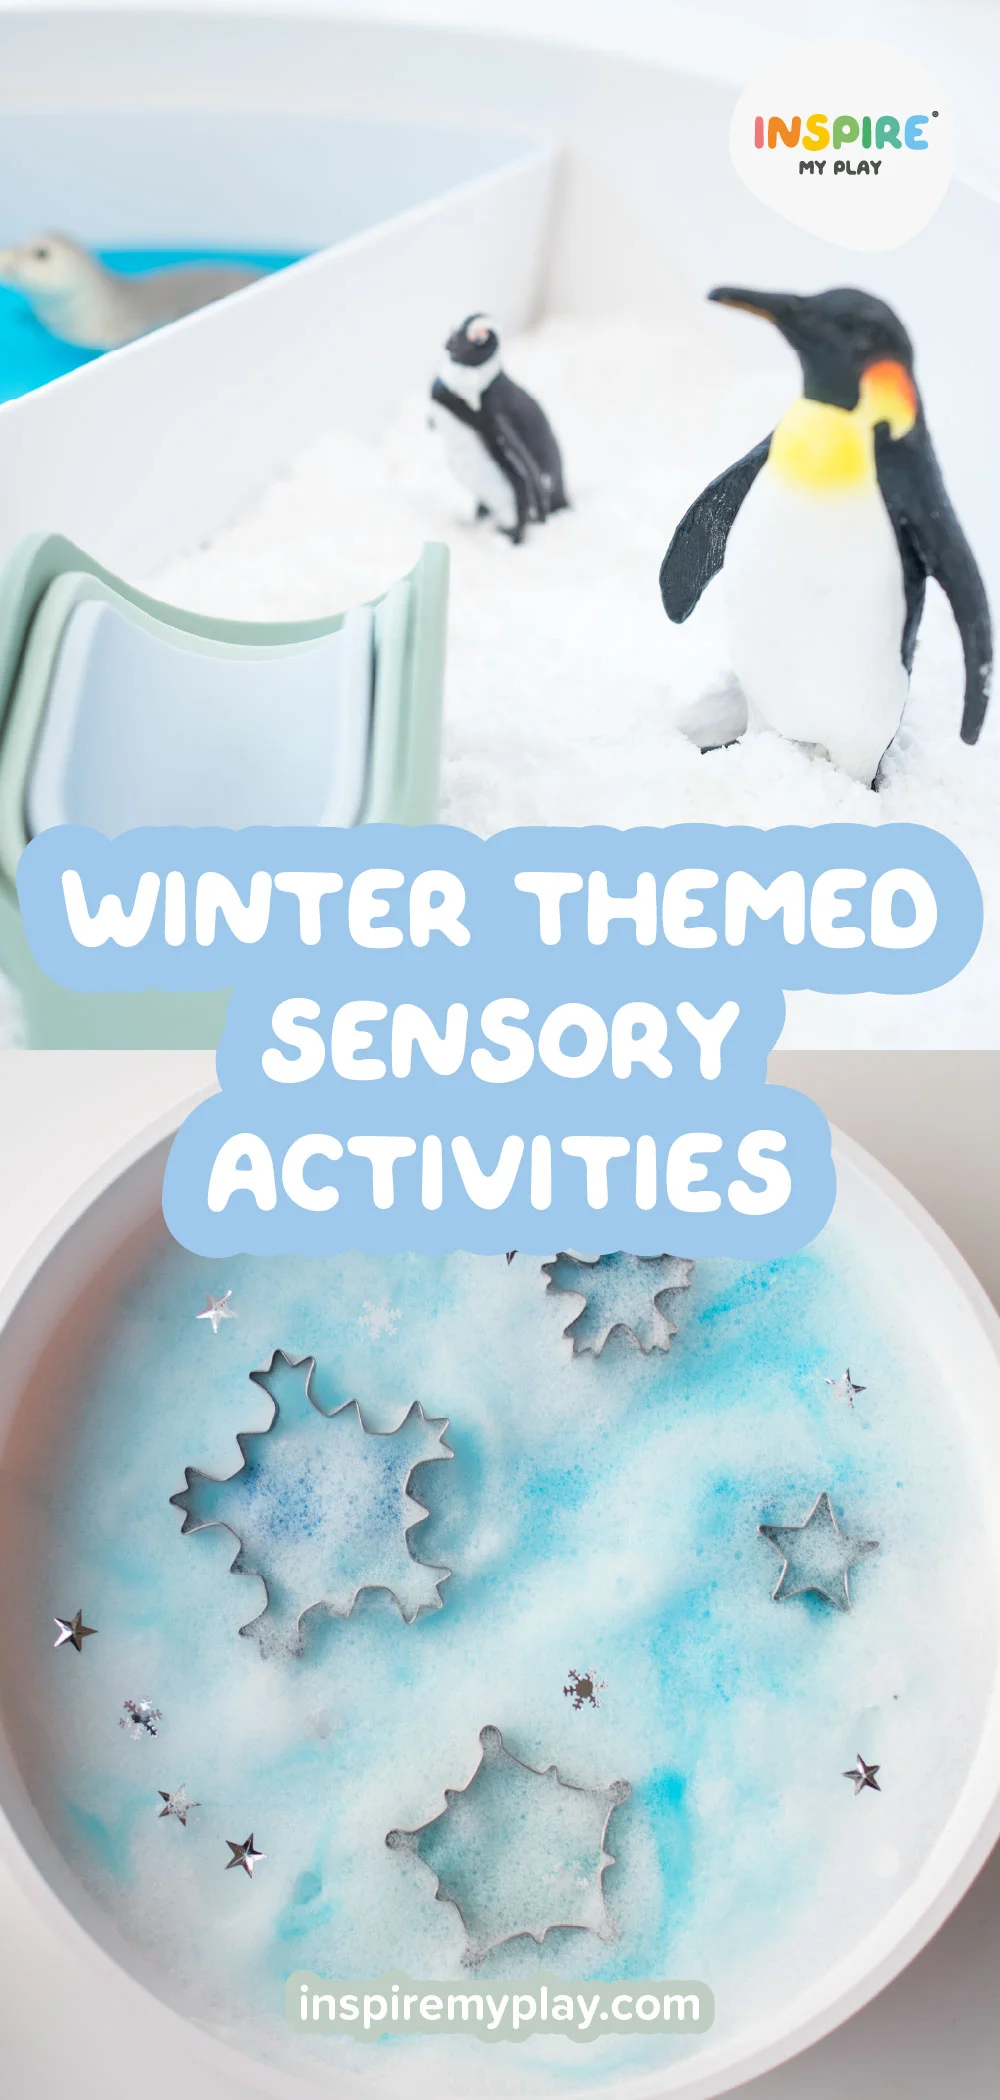
3. Snowflake Bubble Foam
To make bubble foam simply mix roughly half a cup of bubble bath and 1 cup of water together in a blender or using a hand mixer. Spoon out the foam into the PlayTRAY. If there’s any watery liquid left in the bottom give that a whisk too.
Add in some snowflake cutters, a drop of blue food colouring, and a sprinkle of stars. Try mixing and swirling them through the foam to create magical winter patterns.
Top Tip: When the foam starts to disappear, simply re-whisk it — it fluffs right back up! We even left ours in the PlayTRAY for a couple of days and were able to whisk it again later. It was just as good as new!


4. Winter Chickpea Sensory Play
It’s no secret that dried chickpeas are one of our favourite sensory play materials! They are so satisfying to scoop and pour (for grown-ups too!) with our scoops and bowls and are a bit easier to contain than rice and other grains. They also last forever to reuse over and over. You don’t have to colour them but it makes a fun change and it’s so easy to do!
To colour dried chickpeas all you need is a bag or jar, a squirt of ready-mix tempera paint and a lined tray to lay them on to dry. The chickpeas dry super quick, but if you’re in a hurry you can put them in the oven on a low heat to dry out for 5 minutes.
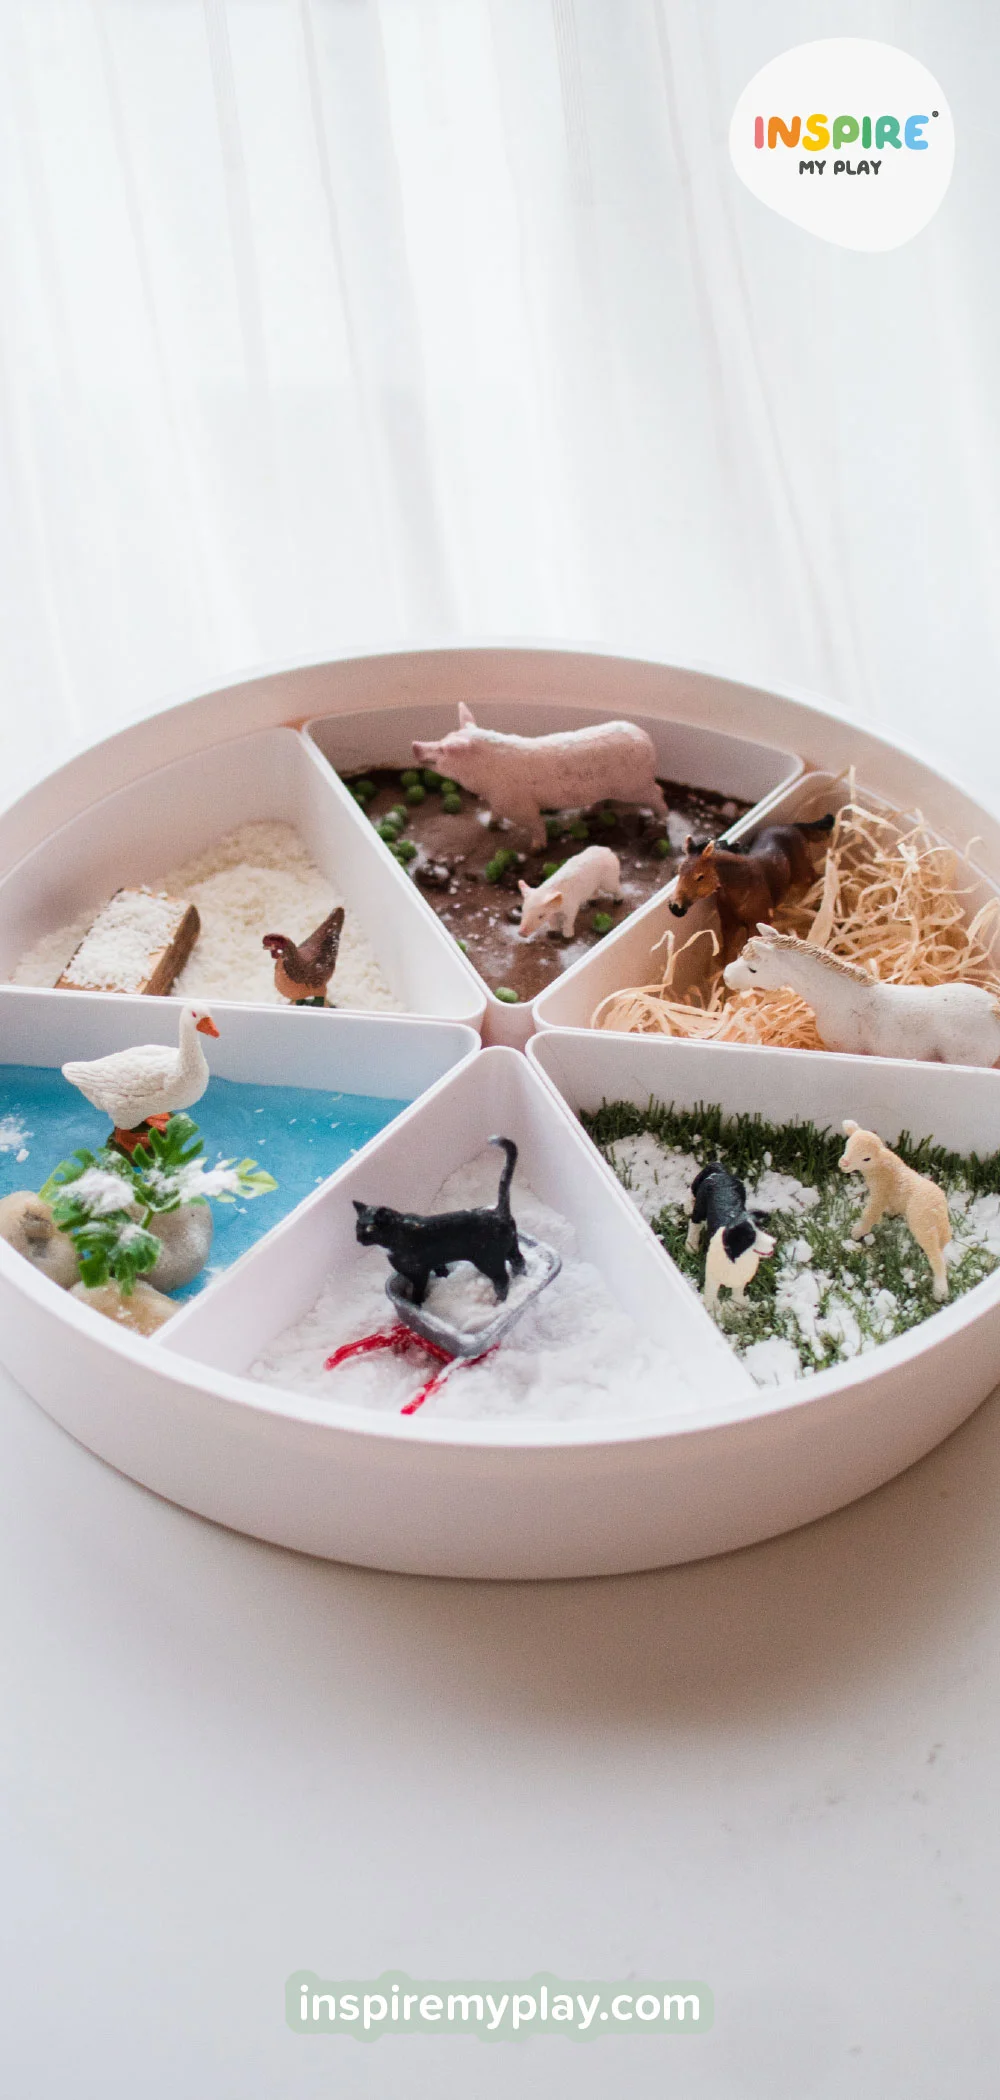
5. Shaving Foam Arctic Small World


Whenever the freezer needs clearing of frost I can’t help but want to set up a small world with it! A quick squirt of shaving foam in the bottom of our playTRAY with a tiny bit of blue food colouring swirled in made the sea and then the frost/ice was laid on top. It inevitably gets a bit messy, but actually shaving foam is pretty easy to clean up.
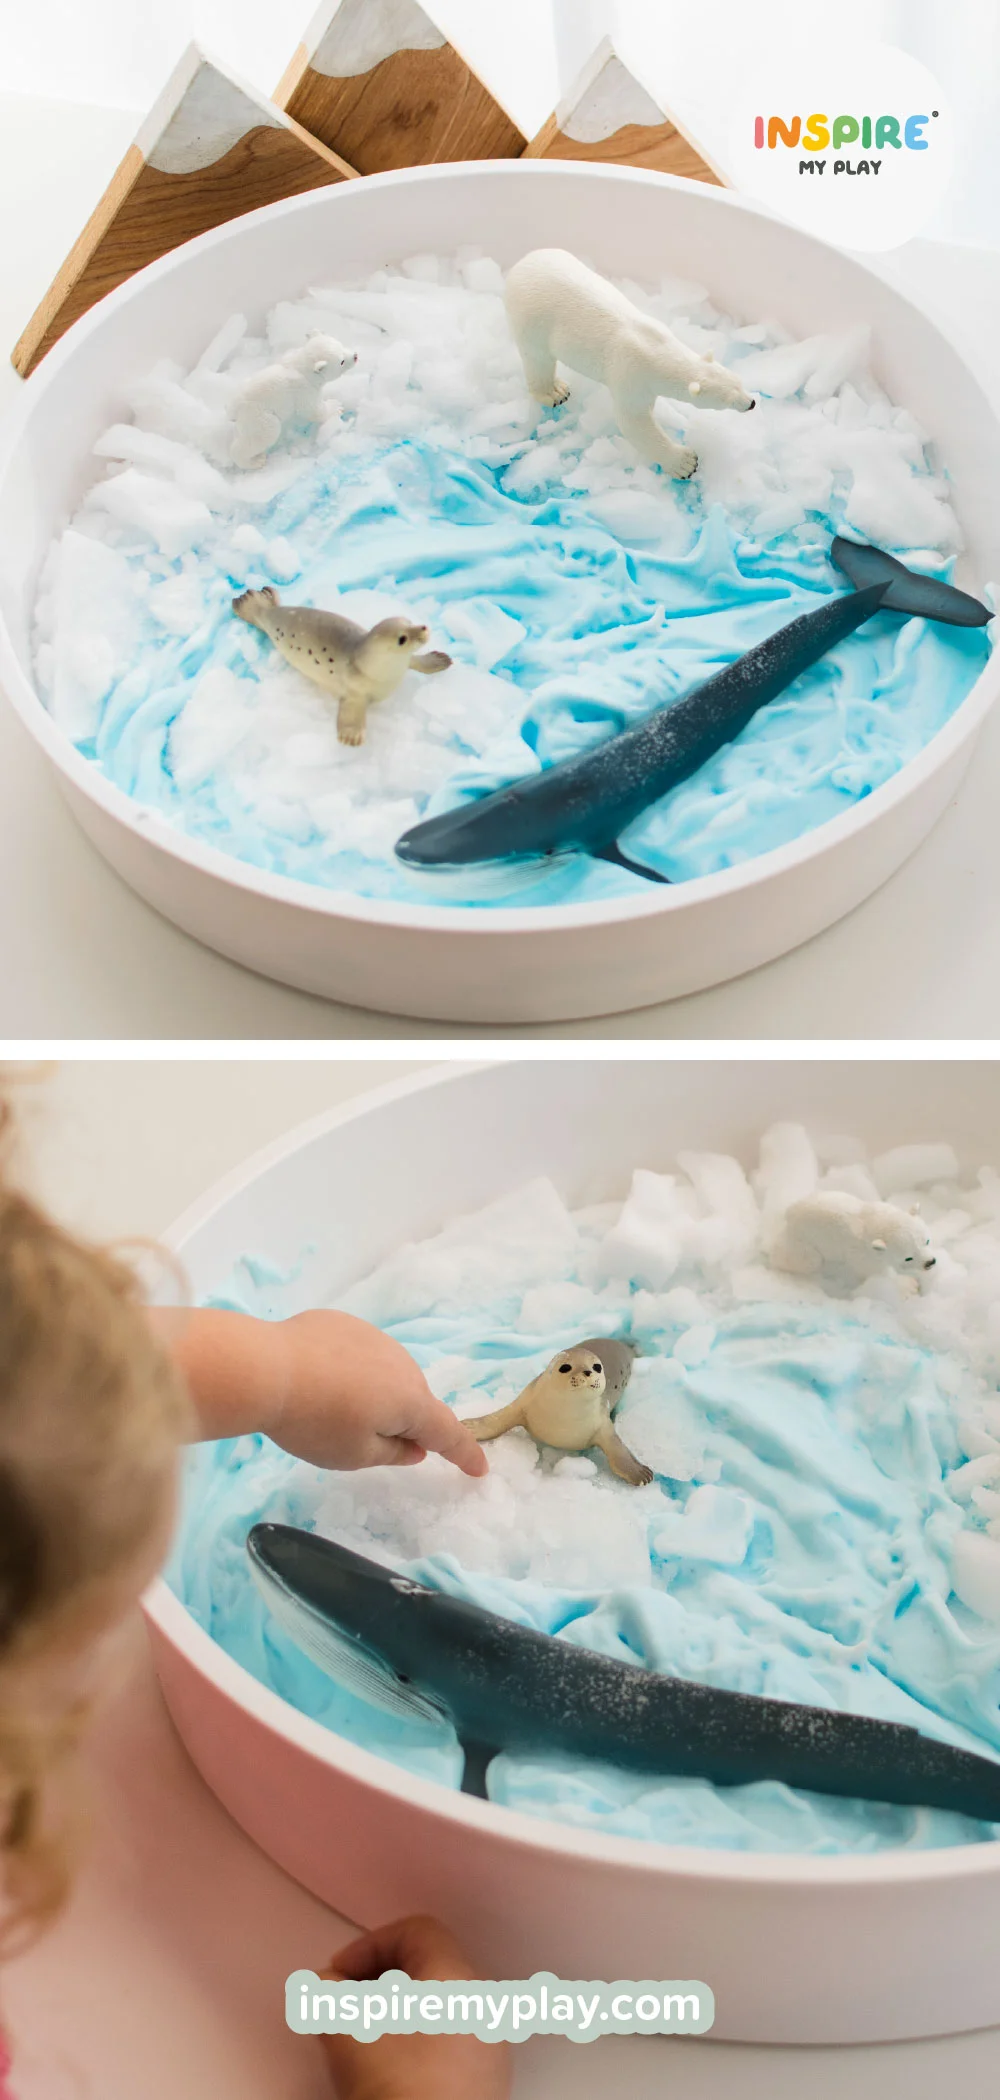
A bowl of water nearby to wash hands is useful and children often enjoy the opportunity to do some washing up! The mountains are a quick DIY using plywood and acrylic paint. The majority of our animal figures are from Schleich, which I highly recommend.
6. Winter Farm Small World
Small worlds are such a wonderful way to engage children in imaginative, hands-on play. I’ve written another blog post about the best sensory play tools & small world resources for the PlayTRAY. My kids especially love a small world farm, so for the Christmas season we created a wintery version — complete with snow, ice, and frozen mud!
Three Ways To Create Pretend Snow:
- Icing sugar and desiccated coconut make brilliant, low-prep pretend snow.
- Another option we love is mixing equal parts shaving foam and baking soda (bicarbonate of soda) for a soft, mouldable snow texture.
- You can also swap the shaving foam for white hair conditioner — it works just as well and smells amazing!
To add some icy fun, we froze sections of the PlayTRAY (yes — the PlayTRAY is freezer-safe!). The kids loved exploring the slippery, frosty surfaces as they played.
How To Make Frozen Mud:
You can use chocolate pudding mix or make your own by combining:
- 1 cup flour
- ¼ cup cocoa
- 1 cup water
1 cup flour ¼ cup cocoa 1 cup water Mix everything together and pop it into the freezer for a few hours.
As it thawed throughout the day, it created the most wonderfully messy muddy patch for the animals to stomp around in — perfect for adding a little wheelbarrow or other small accessories to extend the play.
7. Ice Skating Penguins
If you’re looking for a wintery play idea that’s as magical as it is simple to set up, you’ll love this Penguin Ice Rink Sensory Play Activity. Little penguins take centre stage as they glide, twirl and wobble across their very own frozen rink.
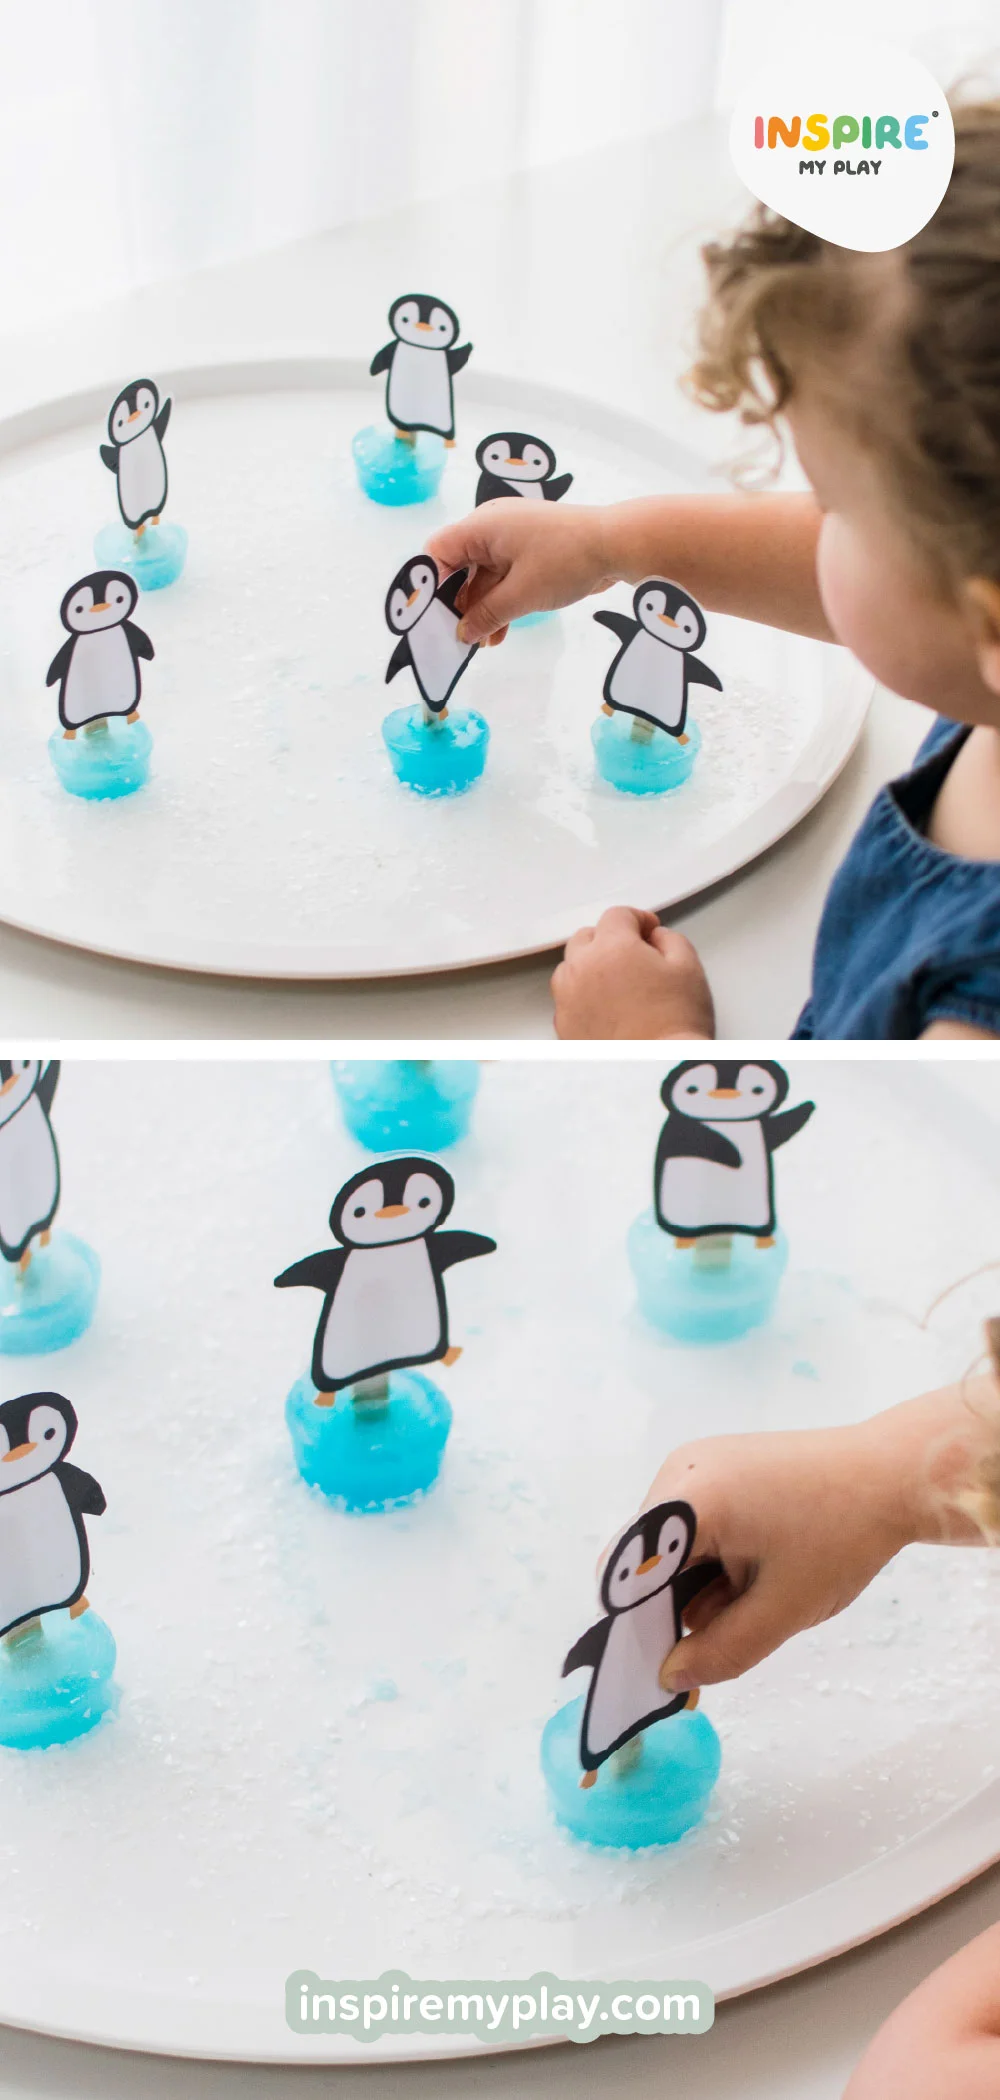
With just a PlayTRAY, some icy “skates,” and printable penguins, this activity turns a chilly theme into hours of imaginative fun. It’s the perfect mix of sensory exploration, storytelling, and giggles! To learn exactly how to set it up, be sure to read our full blog post.
8. DIY Artificial Snow
We have tried a lot of different ways of making artificial snow and this is by far our favourite! It’s so simple to make combining roughly equal amounts of bicarbonate of soda (baking soda) and shaving foam. It has a great texture and is cool to touch initially, just like snow!

How To Make It:
- Add 4 cups bicarb to your PlayTRAY
- Add 4 cups shaving foam
- Mix with your hands until it forms snowy clumps
- Adjust: add foam if dry, bicarb if sticky
In the U.K. it is pretty hard to get large bags of bicarbonate of soda in the supermarket but you can pick up KG bags of the stuff cheaply on Amazon (it’s also great for fizzy experiments so worth having a stash in the cupboard).
9. Frozen Play Dough and Wooden People
I painted these little Elsa and Anna peg dolls for the girls to use in their small world play, and they’ve been such a lovely addition to our setup. I’m definitely not a peg-painting expert, but with the right colours it was surprisingly easy to create something that resembles their favourite characters!
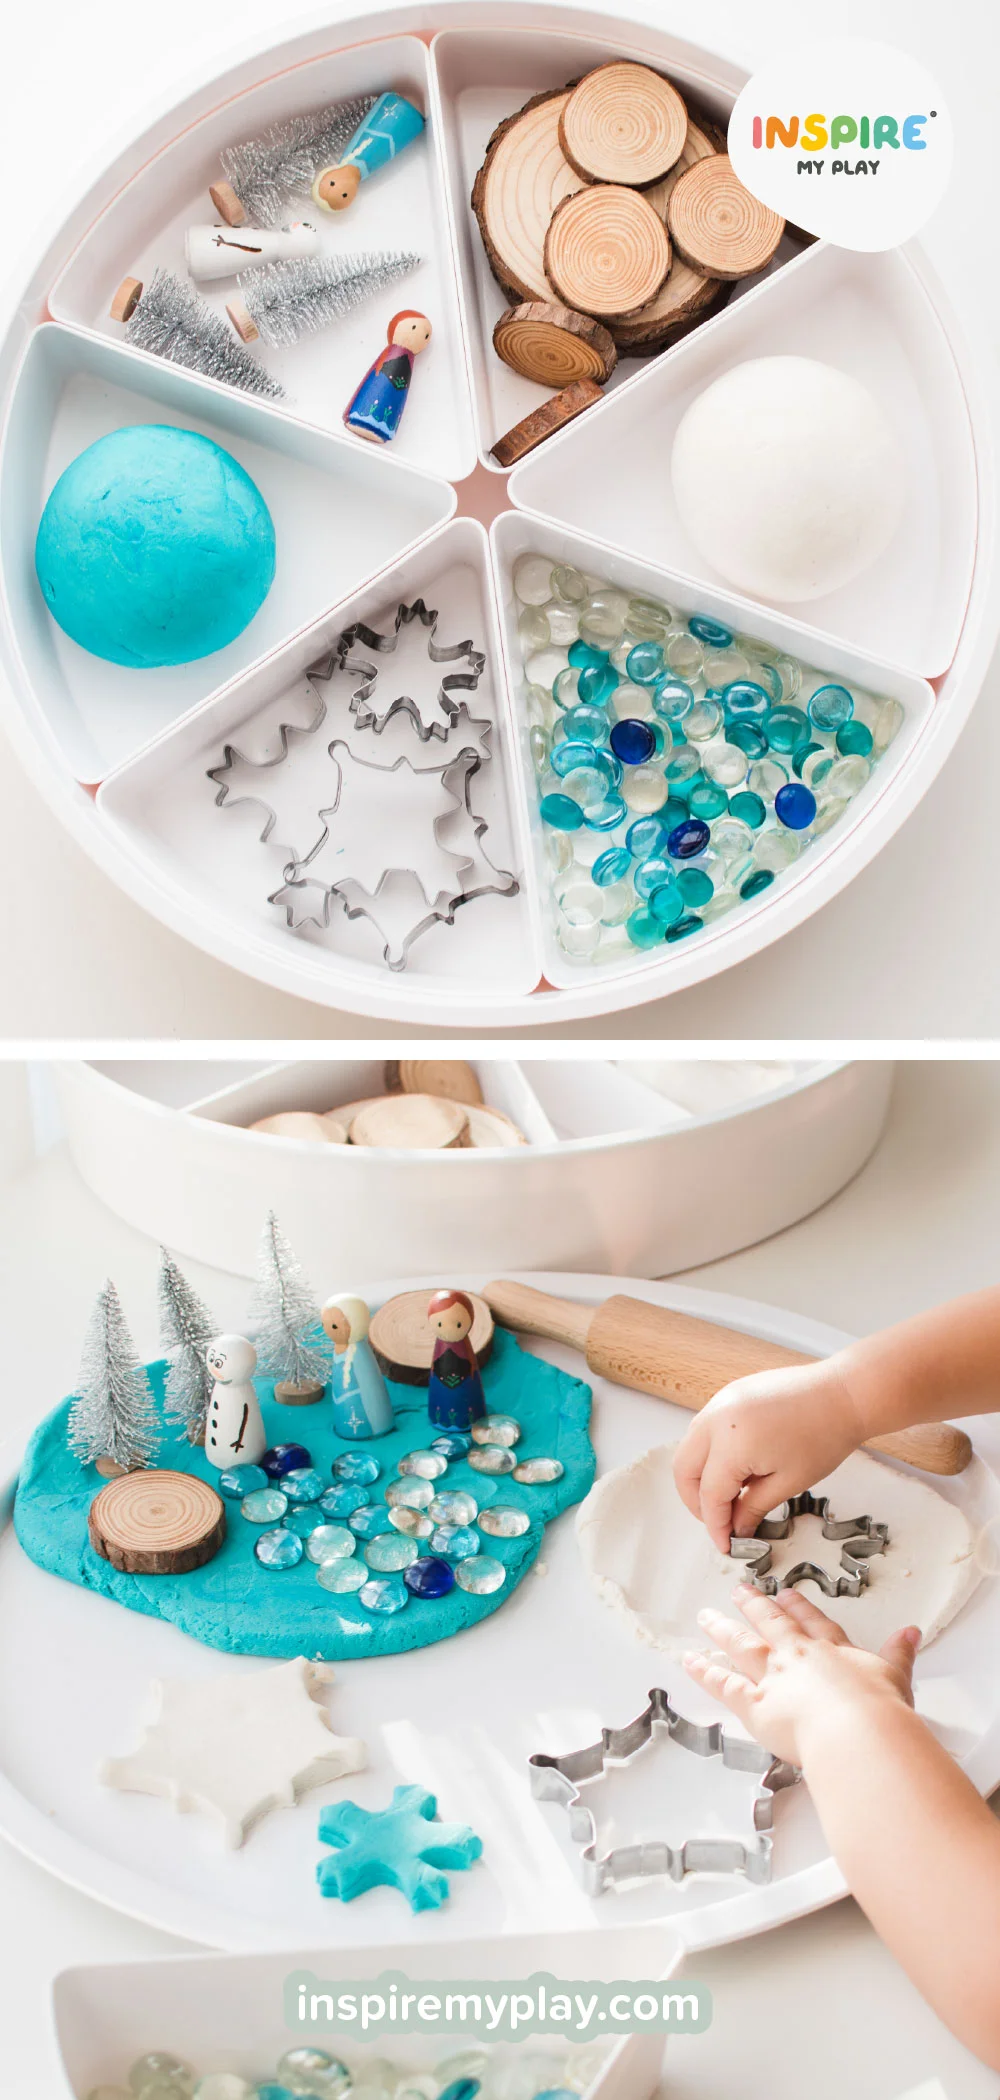
They’ve sparked so much imaginative play already, and I think they’d make a gorgeous little DIY gift too. If you’d like to make your own, you can check out the full step-by-step on the blog.
10. Ocean Rescue
“Free the frozen creatures” is always a PlayTRAY favourite, and this ocean-themed rescue might just be one of our most-loved versions yet! Simply pop some little penguins and ocean animals into a tray or cake tin, add water and a splash of food colouring, and freeze them until solid.
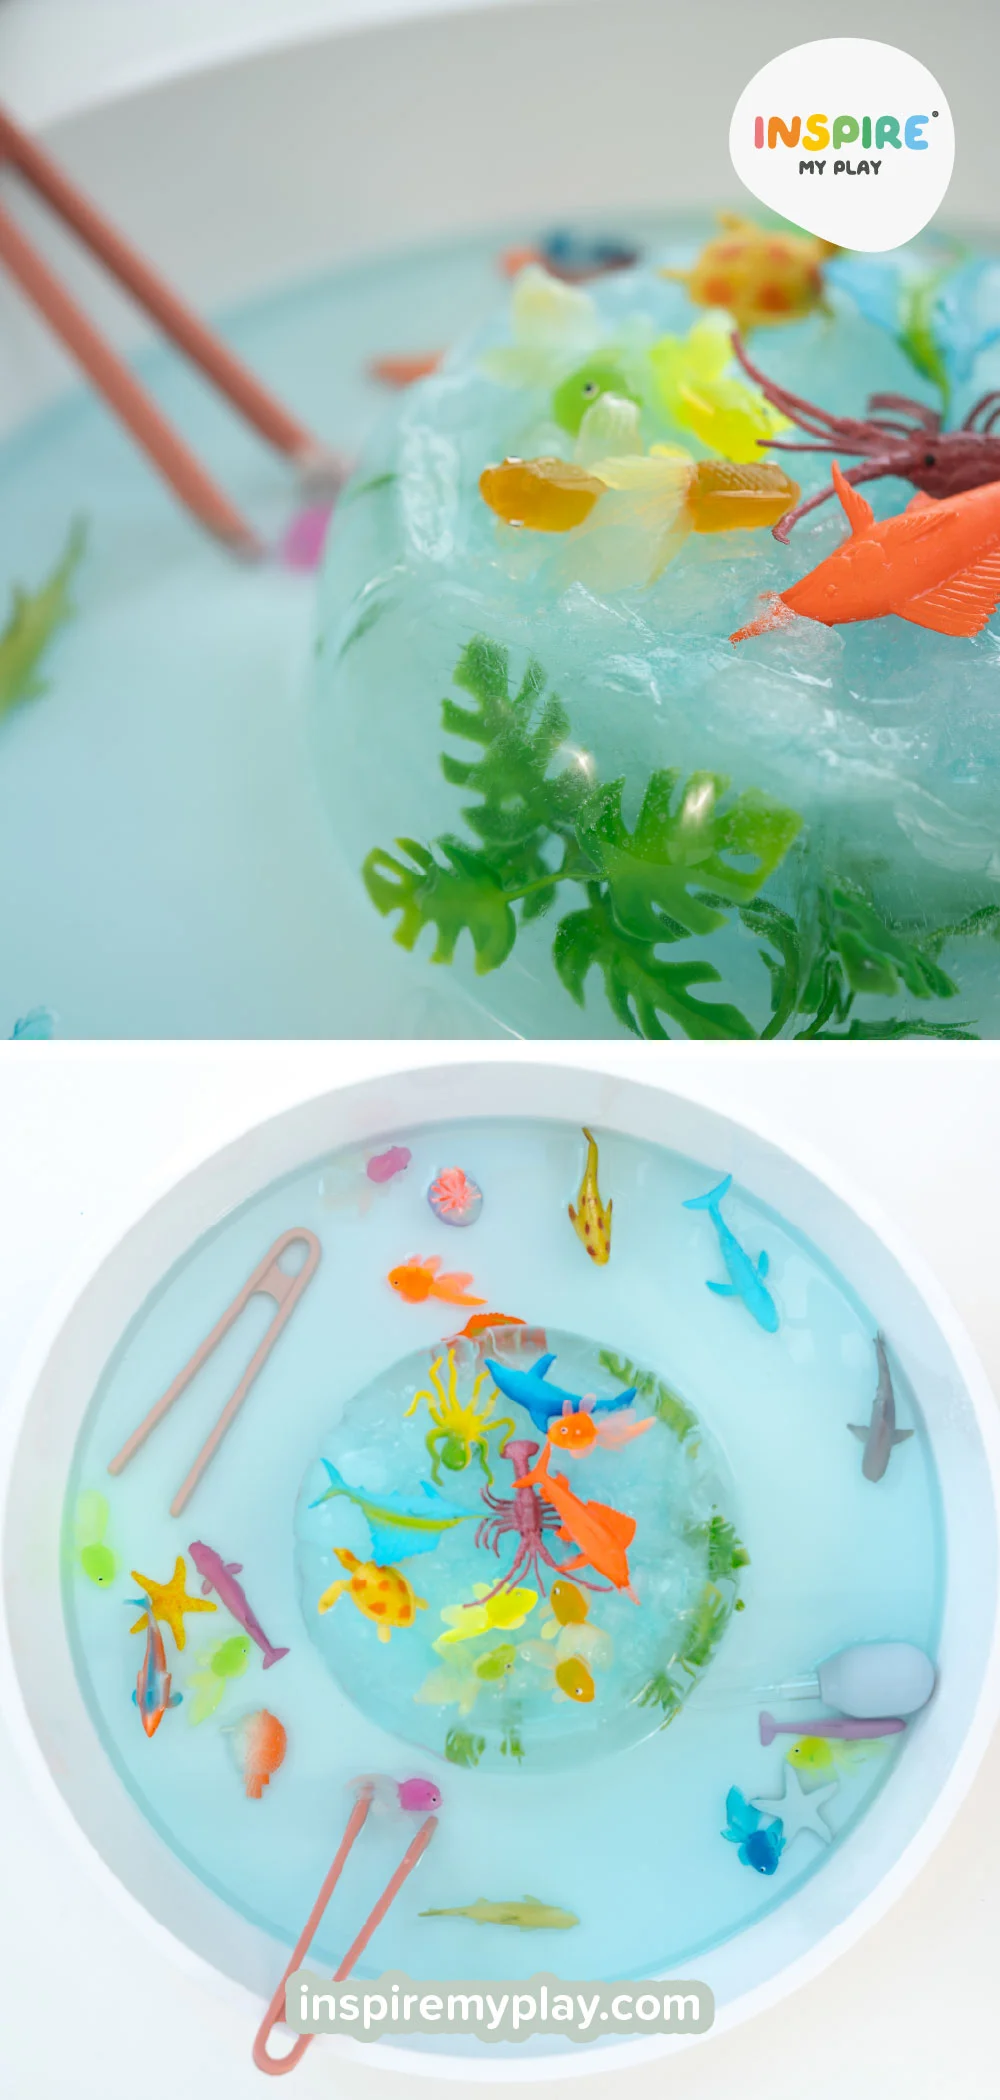
Once they’re ready, set out warm water with droppers, tongs, and a spray bottle (always a guaranteed hit!) to help melt the ice. Kids can chip away with our tongs and scoops to carefully rescue each creature.
Over the years, this kind of icy rescue has proved to be a total winner in our house — it’s engaging, repeatable, and you can always pop it back into the freezer to play again another day. A simple setup with endless excitement!
We hope these winter-themed sensory and creative play ideas bring plenty of joy, curiosity, and giggles to your little ones this season. The colder months are such a lovely time to slow down and enjoy play that spark imagination and helps children learn through hands-on exploration.
If you try any of these activities, we’d love to see — feel free to tag us over on Instagram @inspiremyplay so we can share the fun!
Happy PlayTRAYing!


