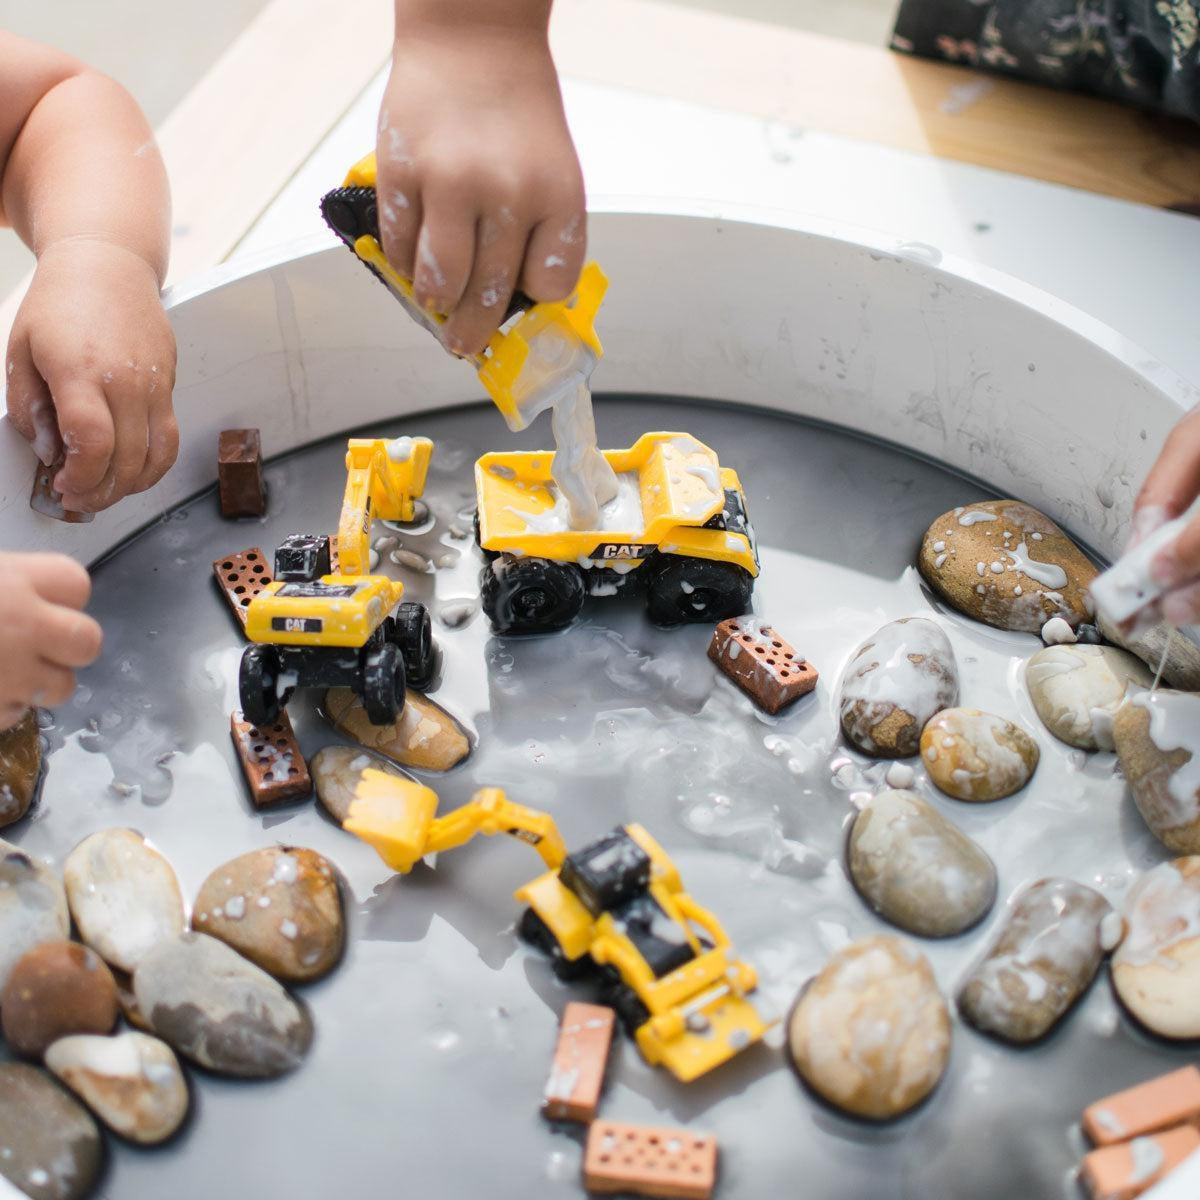
How to Make 'Concrete' Oobleck


Laura @inspiremyplay
Founder of @inspiremyplay, Early Years teacher for 11 years and mummy to three gorgeous girls. I'm passionate about the benefits of play in early childhood.

What is Oobleck?
In case you're new to oobleck it’s a non-Newtonian fluid, meaning it is neither a liquid nor a solid. It may appear to be a solid or a liquid at times, but it behaves differently from a typical solid or liquid. Making oobleck is an excellent science activity for kids to demonstrate how pressure may alter the properties of certain materials.
To test the difference pressure makes to oobleck apply some pressure with a spoon to the oobleck you make. This will press the cornflour particles more closely together and increase its viscosity and you should be able to mould the oobleck into a ball with your hands. If you release the pressure or dip your spoon slowly into the mixture, it will behave more like water as the particles have more time to move out of the way.
A Step-by-Step Guide to make Concrete Oobleck
To make Oobleck you will need:
-
Cornflour (also known as Cornstarch)
- Water
- Food colouring (this is optional - for our ‘concrete’ oobleck we added black food colouring)
- Add 2 or 3 cups of cornflour to a tray.
- Add the same amount of water, coloured with a few drops of black food colouring or add the food colouring straight to the tray.
- Mix it altogether - this takes a little bit of effort at first but as it mixes it becomes easier!


Helpful Tips
You may need to experiment to get the consistency just right. If its a bit too runny when you pick it up from your tray and it doesn’t form a solid, just add a little more cornflour. If it’s a little too solid and doesn’t drip like a liquid add a little more water.
Oobleck is great fun but it can get quite messy so be prepared, either with a sheet under your tray or take it outside. Once you've finished playing pop the lid on the PlayTRAY if you would like to extend the life of oobleck for a bit longer. Without the lid on oobleck will dry out after a day or two. Don't throw it away though as it's great fun to then give the kids spoons to break it into pieces! Its like having a whole new play set up to enjoy!

Get your FREE ebook
For more simple DIY recipes & ideas for sensory play at home download your Beginner's Guide to Sensory Play by subscribing to Inspire My Play today.


